
Initial Concept
My very first personal project on the farm was a pumpkin patch. I was looking for a potential cash crop to get into without needing to make a huge investment; pumpkins fit the bill. The seeds were inexpensive, and the resulting fruit experienced a reliable surge in popularity every fall. Plus, I enjoy decorating with the squash for Halloween each year myself, so I hoped to find a passion for growing them as well. And honestly, how hard could it be?
Pumpkins were on my mind for quite a while prior to taking any action. They came into my sights in late 2023, and I was determined to research my way to success. I spent every lunch break throwing search after search, question after question, at Google’s search engine. There was a lot to learn, as it turned out, there was a little more to just putting the seeds in the ground. My righteous voyage through the internet took me to faraway lands of college extension pages, social media groups, and forum write-ups from 2002. My computer became home to a research document chock full of links to websites, videos, and articles.
Mapping Out The Basics
It eventually became evident that there are multiple fronts to keep an eye on when it comes to growing the natural decorations. First, one had to consider soil condition. Well-drained soil is ideal, and a slightly acidic PH range of roughly 6.0-6-8 is your best bet. Then there are planting techniques. Pumpkins can be direct sown in rows, but it’s generally accepted that the seeds are best planted in dirt hills for improved drainage. As previously noted, the seeds are relatively cheap, and the germination rate is less than 100%, so it’s recommended to sow 3-4 seeds per hill.
Assuming your pumpkins do sprout and make it past the initial seedling phase, they will develop vines. Those vines will spread out in every possible direction, potentially reaching lengths of several feet. So spacing is another important consideration, with recommendations ranging from 4-8 feet between hills, and 6-10 feet between rows. Proper spacing will help prevent your vines from growing all over each other and making it difficult to navigate your patch. Now, if you’ve got your soil set, your hills made, and your seeds sown, comes the hard part.
I once read something to the effect of “raising pumpkins is a race to harvest fruit before something kills your plants.” There’s always a possibility that you’ll get heavy rain after planting, which generates risks of seed rot, or your seeds may simply get washed away. Of course, they need to get some moisture to sprout, and it needs to be fairly warm outside. As a side note, make sure you plant after the last risk of frost, or your venture may be doomed from the start. Chances are, your seeds will most likely sprout, so I wouldn’t worry about that too much. Then you need to defend your little producers from a myriad of threats, pretty much from sprout to fruit.
To start with, there’s the risk of drought or flood. Too little water can cause your plants to shrivel up and stunt the growth of fruit. Too much moisture can lead to powdery mildew and root rot. The vines, leaves, and fruit are all in danger of being eaten. There are several types of bugs you need to watch out for, such as vine borers and the dreaded squash beetles. If your patch is located near the woods, like mine have been, there is even risk of deer busting open the fruit for food. Of course, as with virtually any crop, there is the ever-present challenge of weeds, which will provide healthy competition for your crops. Honestly, all this sounds like a lot, and it can be, but all of these can be managed, especially when growing on a smaller scale.
So Where’d It All Go Wrong?
For me, I was more ambitious and jumped right into growing a large patch my first year. I was armed with all the same information you now have, and I was optimistic. Applying that knowledge, however, was easier said than done. We had two dormant fields ripe for the taking, previously used for sweet corn in years past. My first mistake, admittedly, was being lazy about prepping the fields. If you’re shooting for fruit in September-October, you generally don’t need to plant any earlier than early June. Knowing this, I pretty much let April slide by.
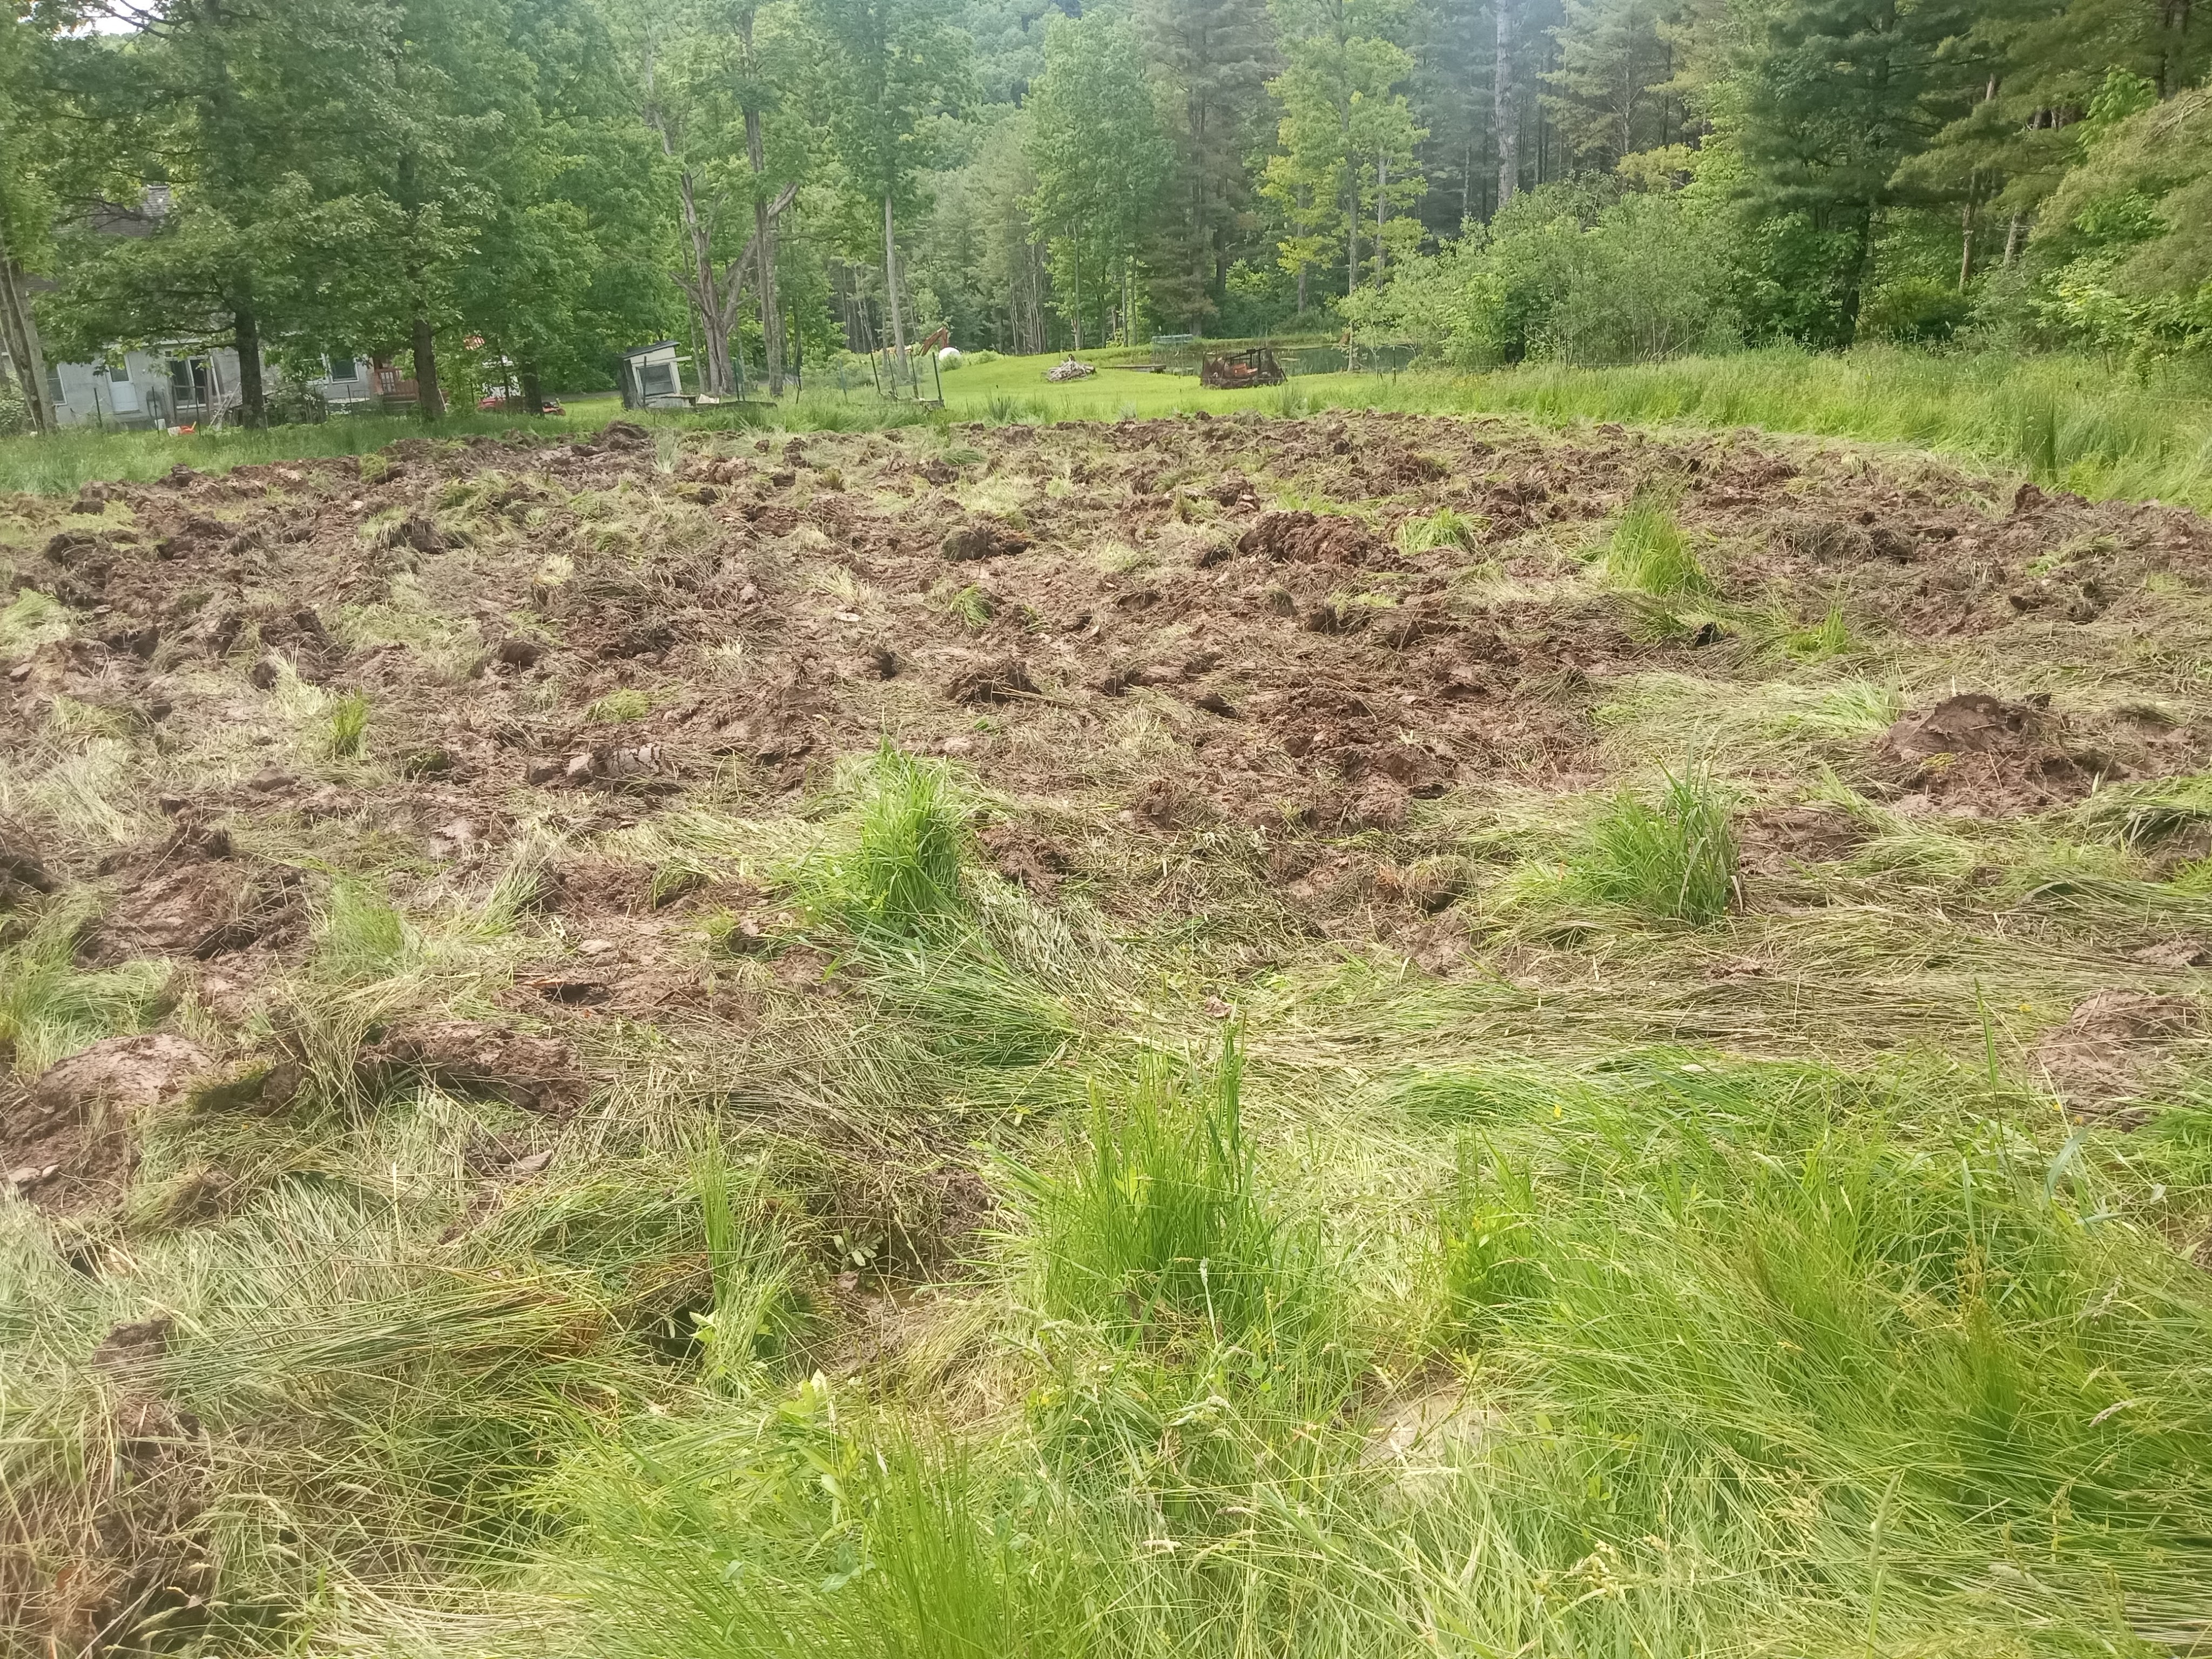
The weather can be unpredictable in the spring, and in retrospect, the fields should have been worked up as soon as possible. It was May until we got started on the fields, beginning with a pass using a 3-bottom plow. Then we went over the ground with a disc once, maybe twice. Perhaps that would have been enough for fields used annually, but not for our ground. The soil was pretty clumpy, with a lot of sod mixed in, but I was out of time. June came, and I needed to plant. Using a measuring tape, I dutifully marked out my hills at proper intervals using sticks and rock piles. My hills were sort of like stacks of dirt chunks, and the seeds were less in the hills so much as under them. The hills were many, 300-400 in number, and I thought surely a decent number would thrive despite the soil.
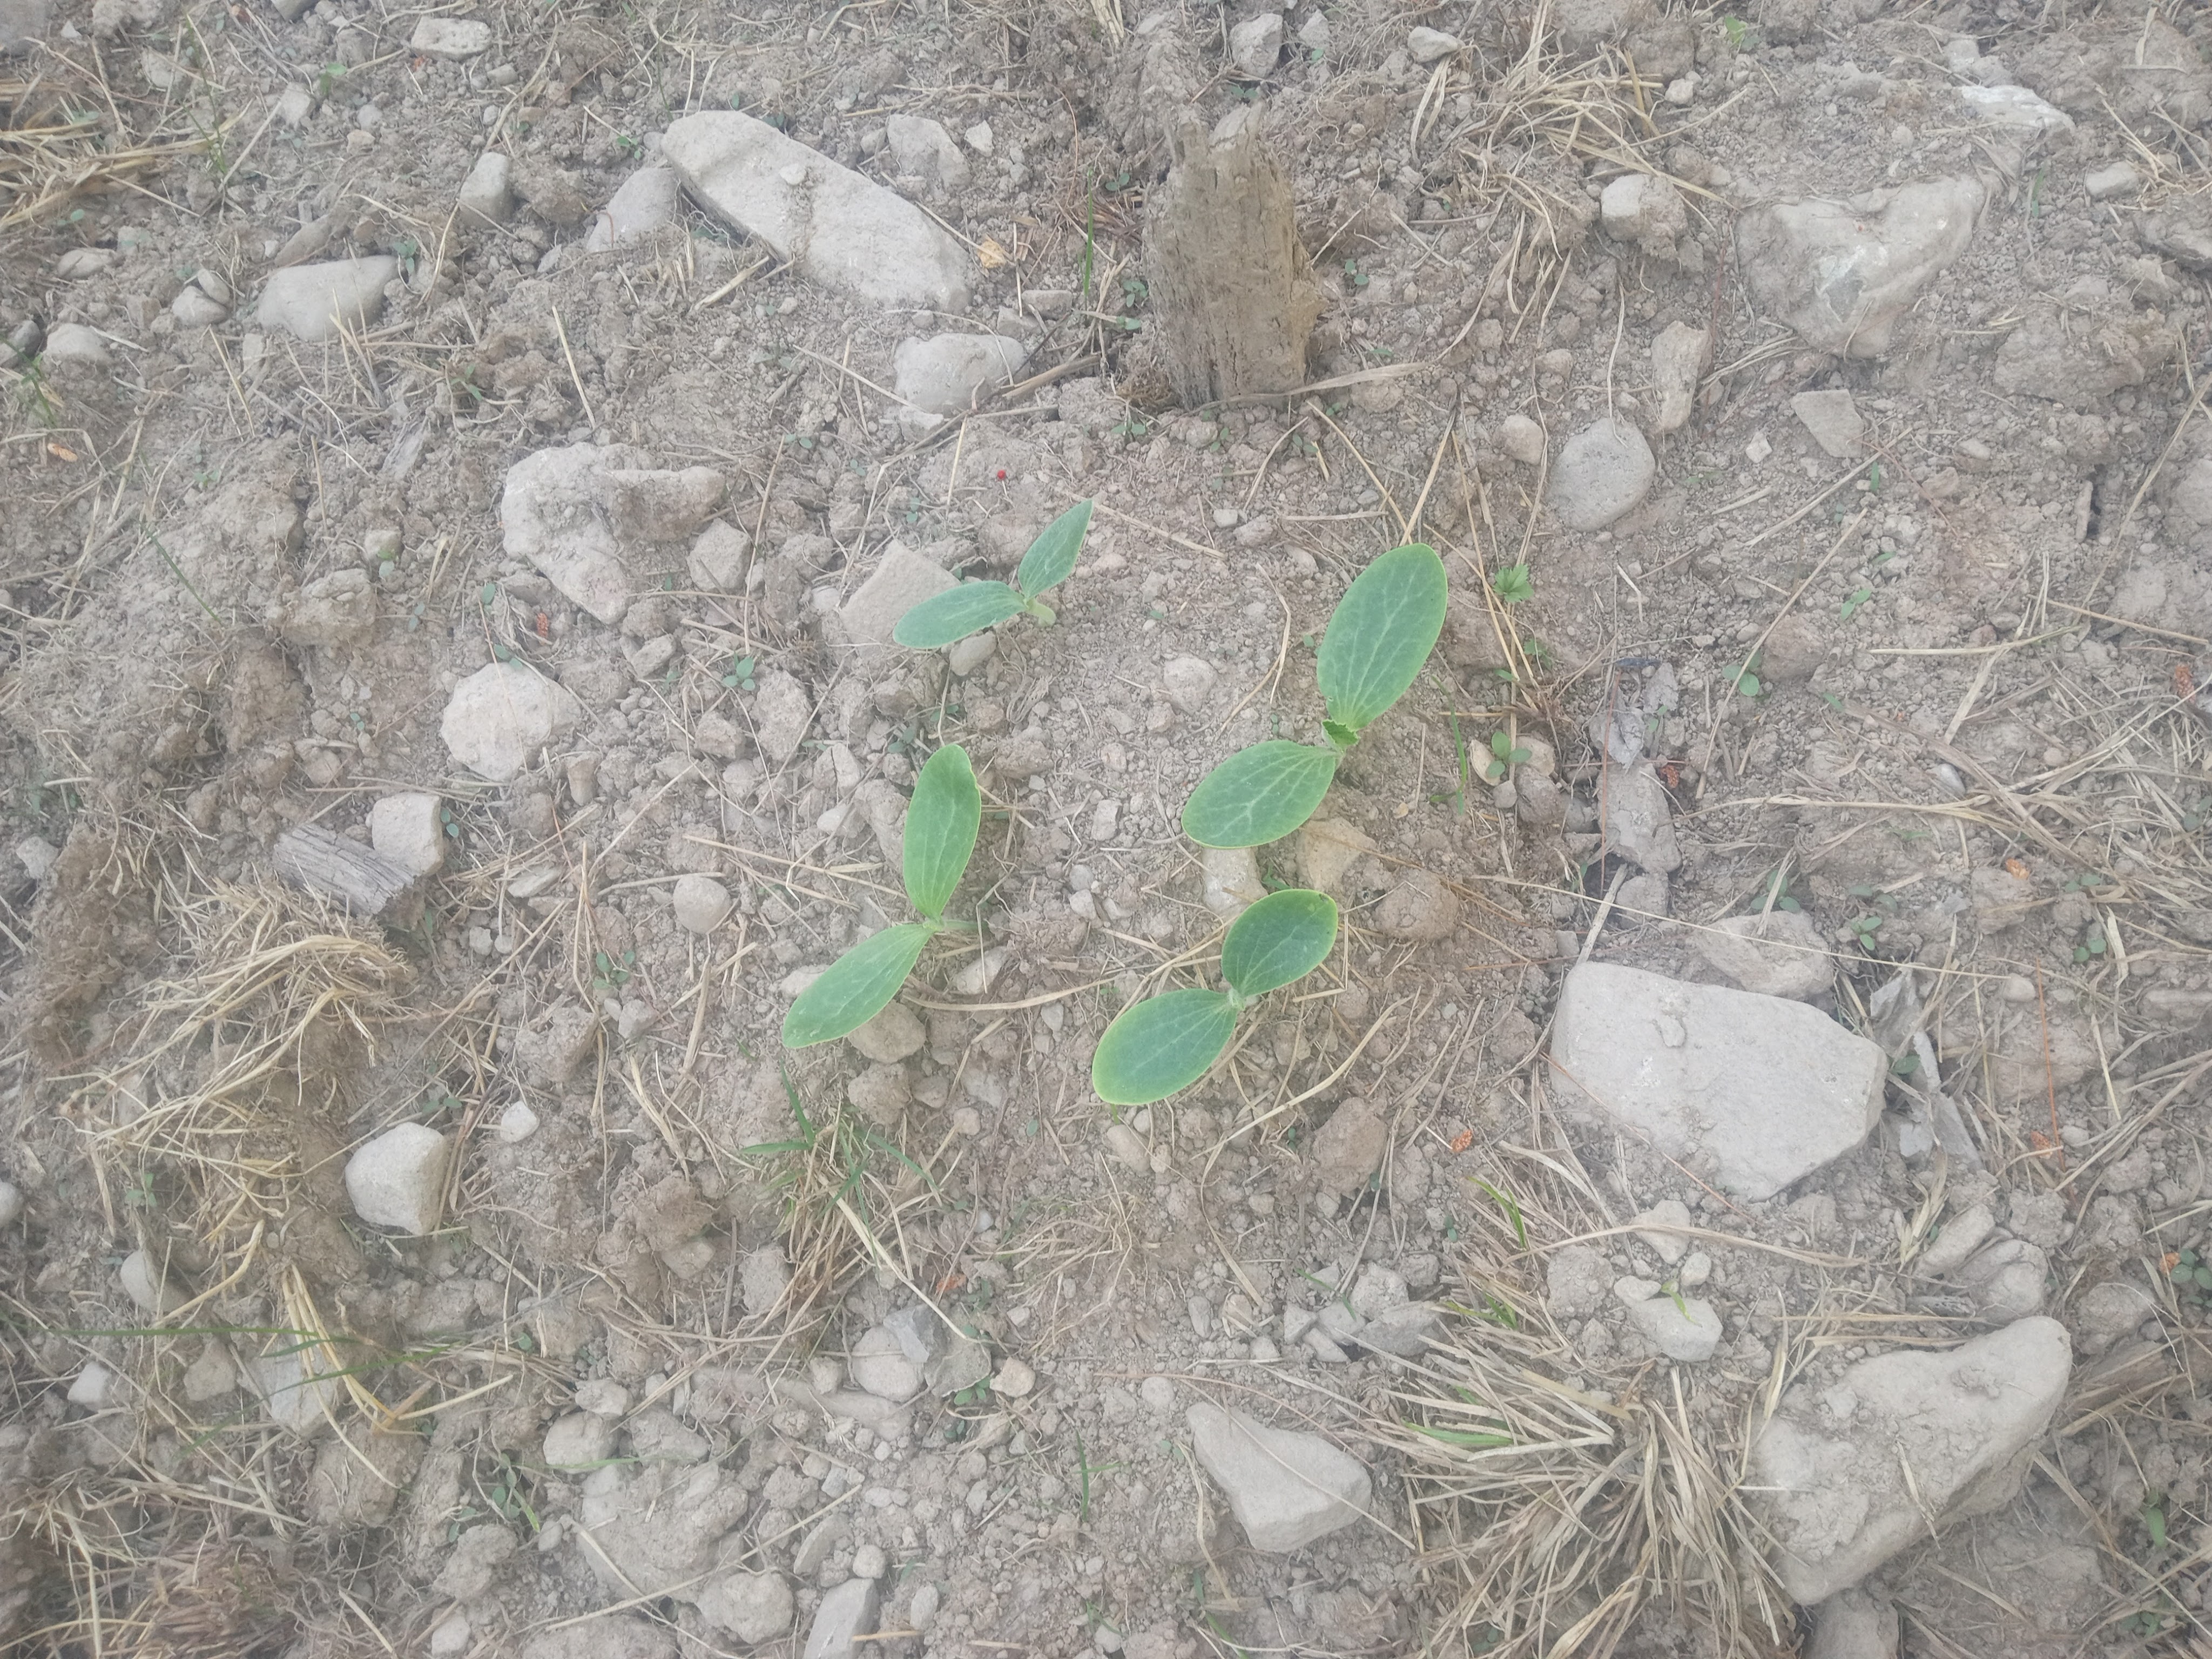
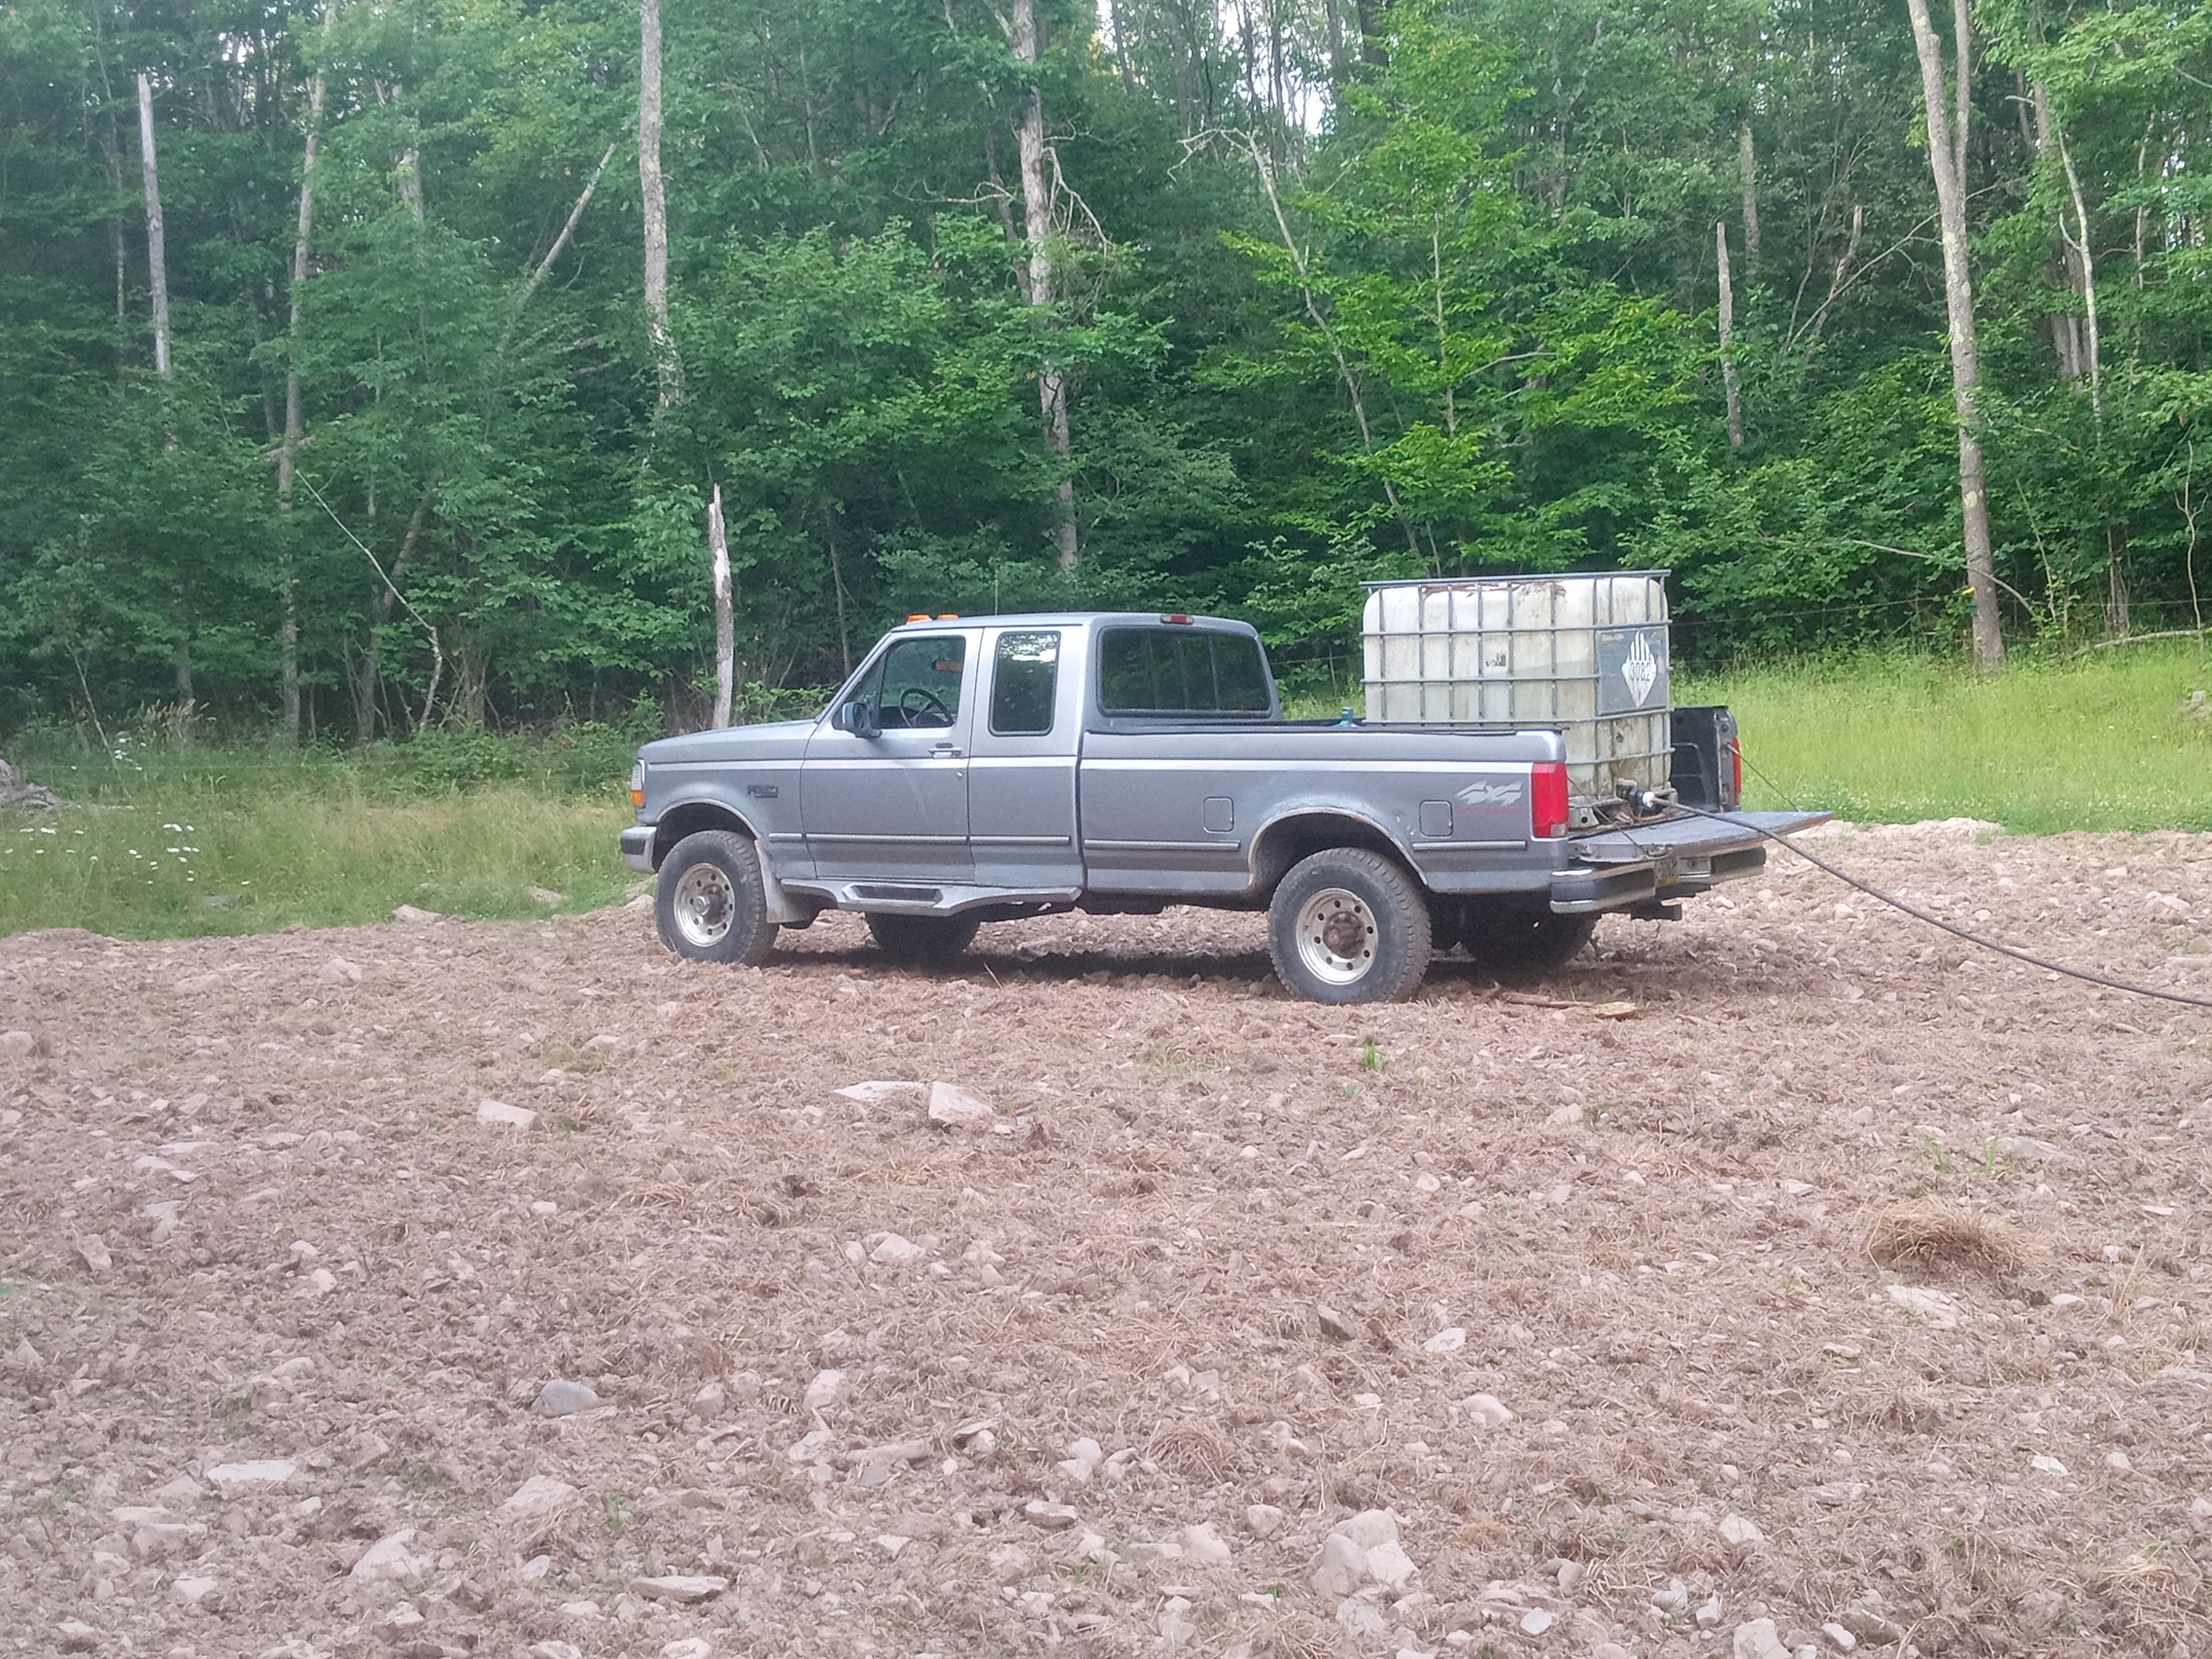
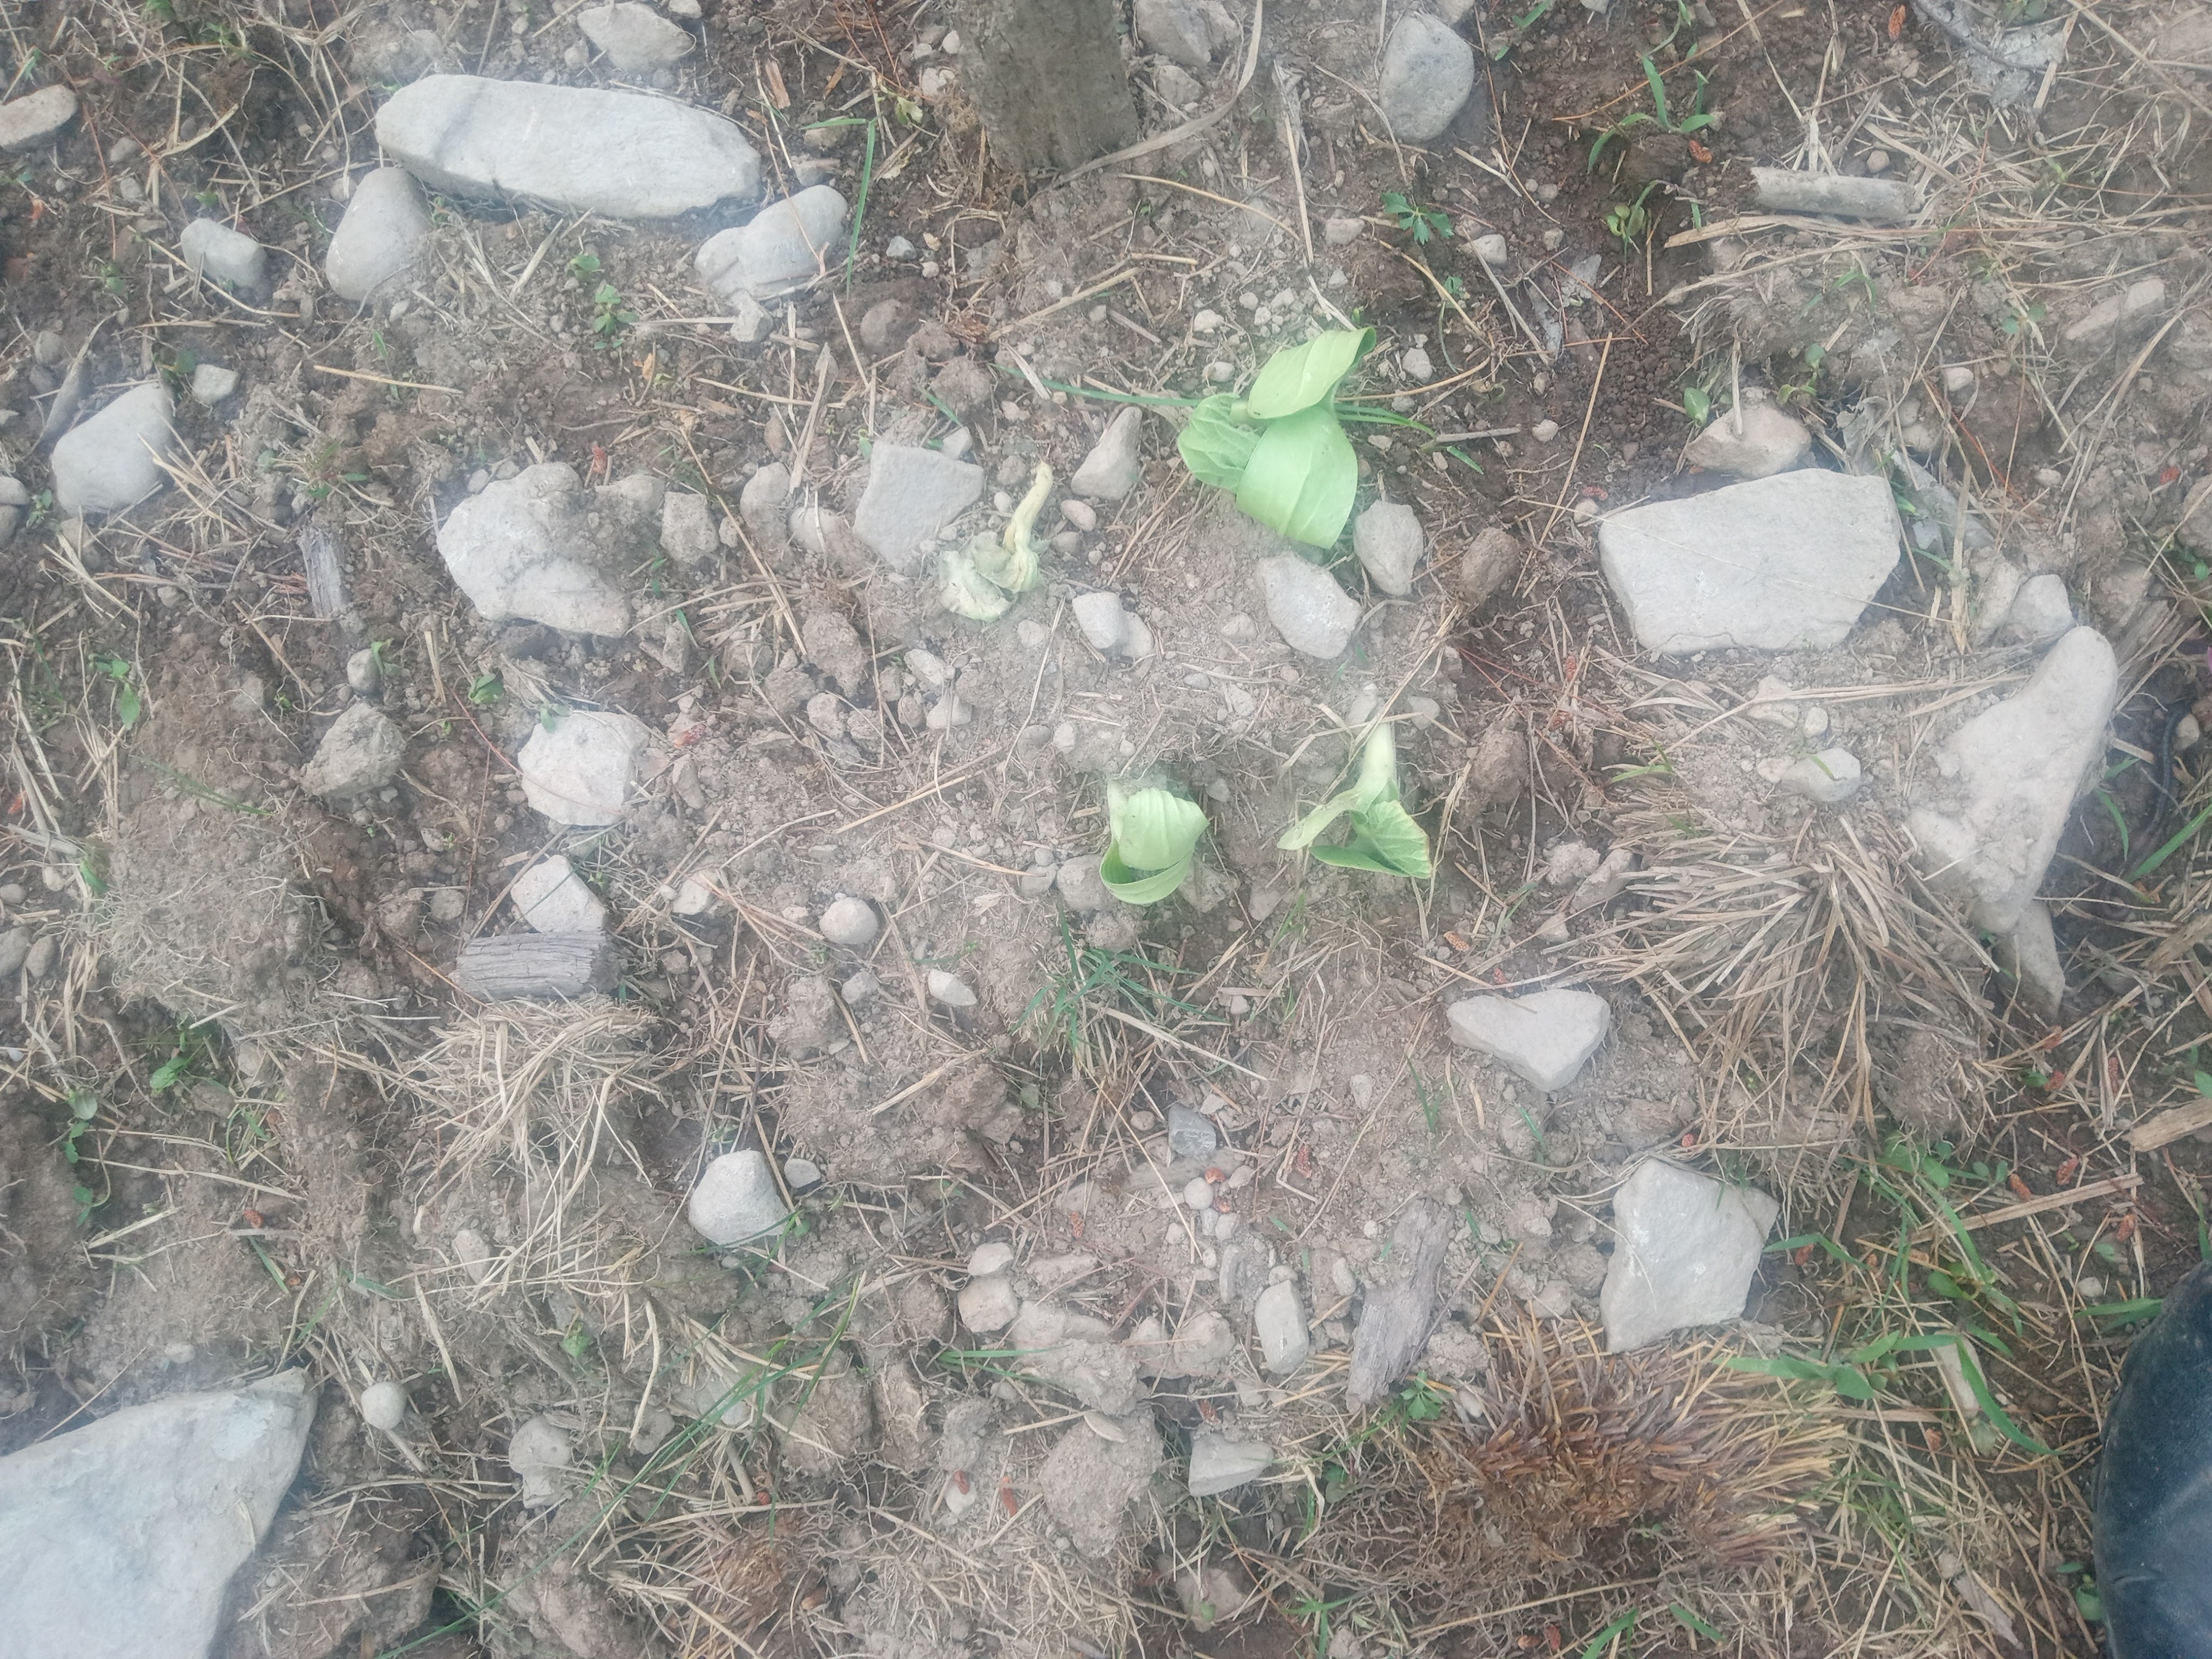
My optimism may have panned out, but then it never rained. Okay, maybe never is an exaggeration, though it sure felt like it that first month. Initially, we got a rain or two, and almost every hill had sprouts after a week. Then came a heat wave. It was 80+ with little to no rain for the rest of June, and I was unprepared. My sprouts quickly began wilting with only the morning dew to provide moisture. In a desperate bid to save them, I made my first attempt at irrigation. The fields were too far from the house to run a hose, but we had a 250-gallon IBC tote. I loaded it into the back of my F-250 and filled it from the pond with a small transfer pump.
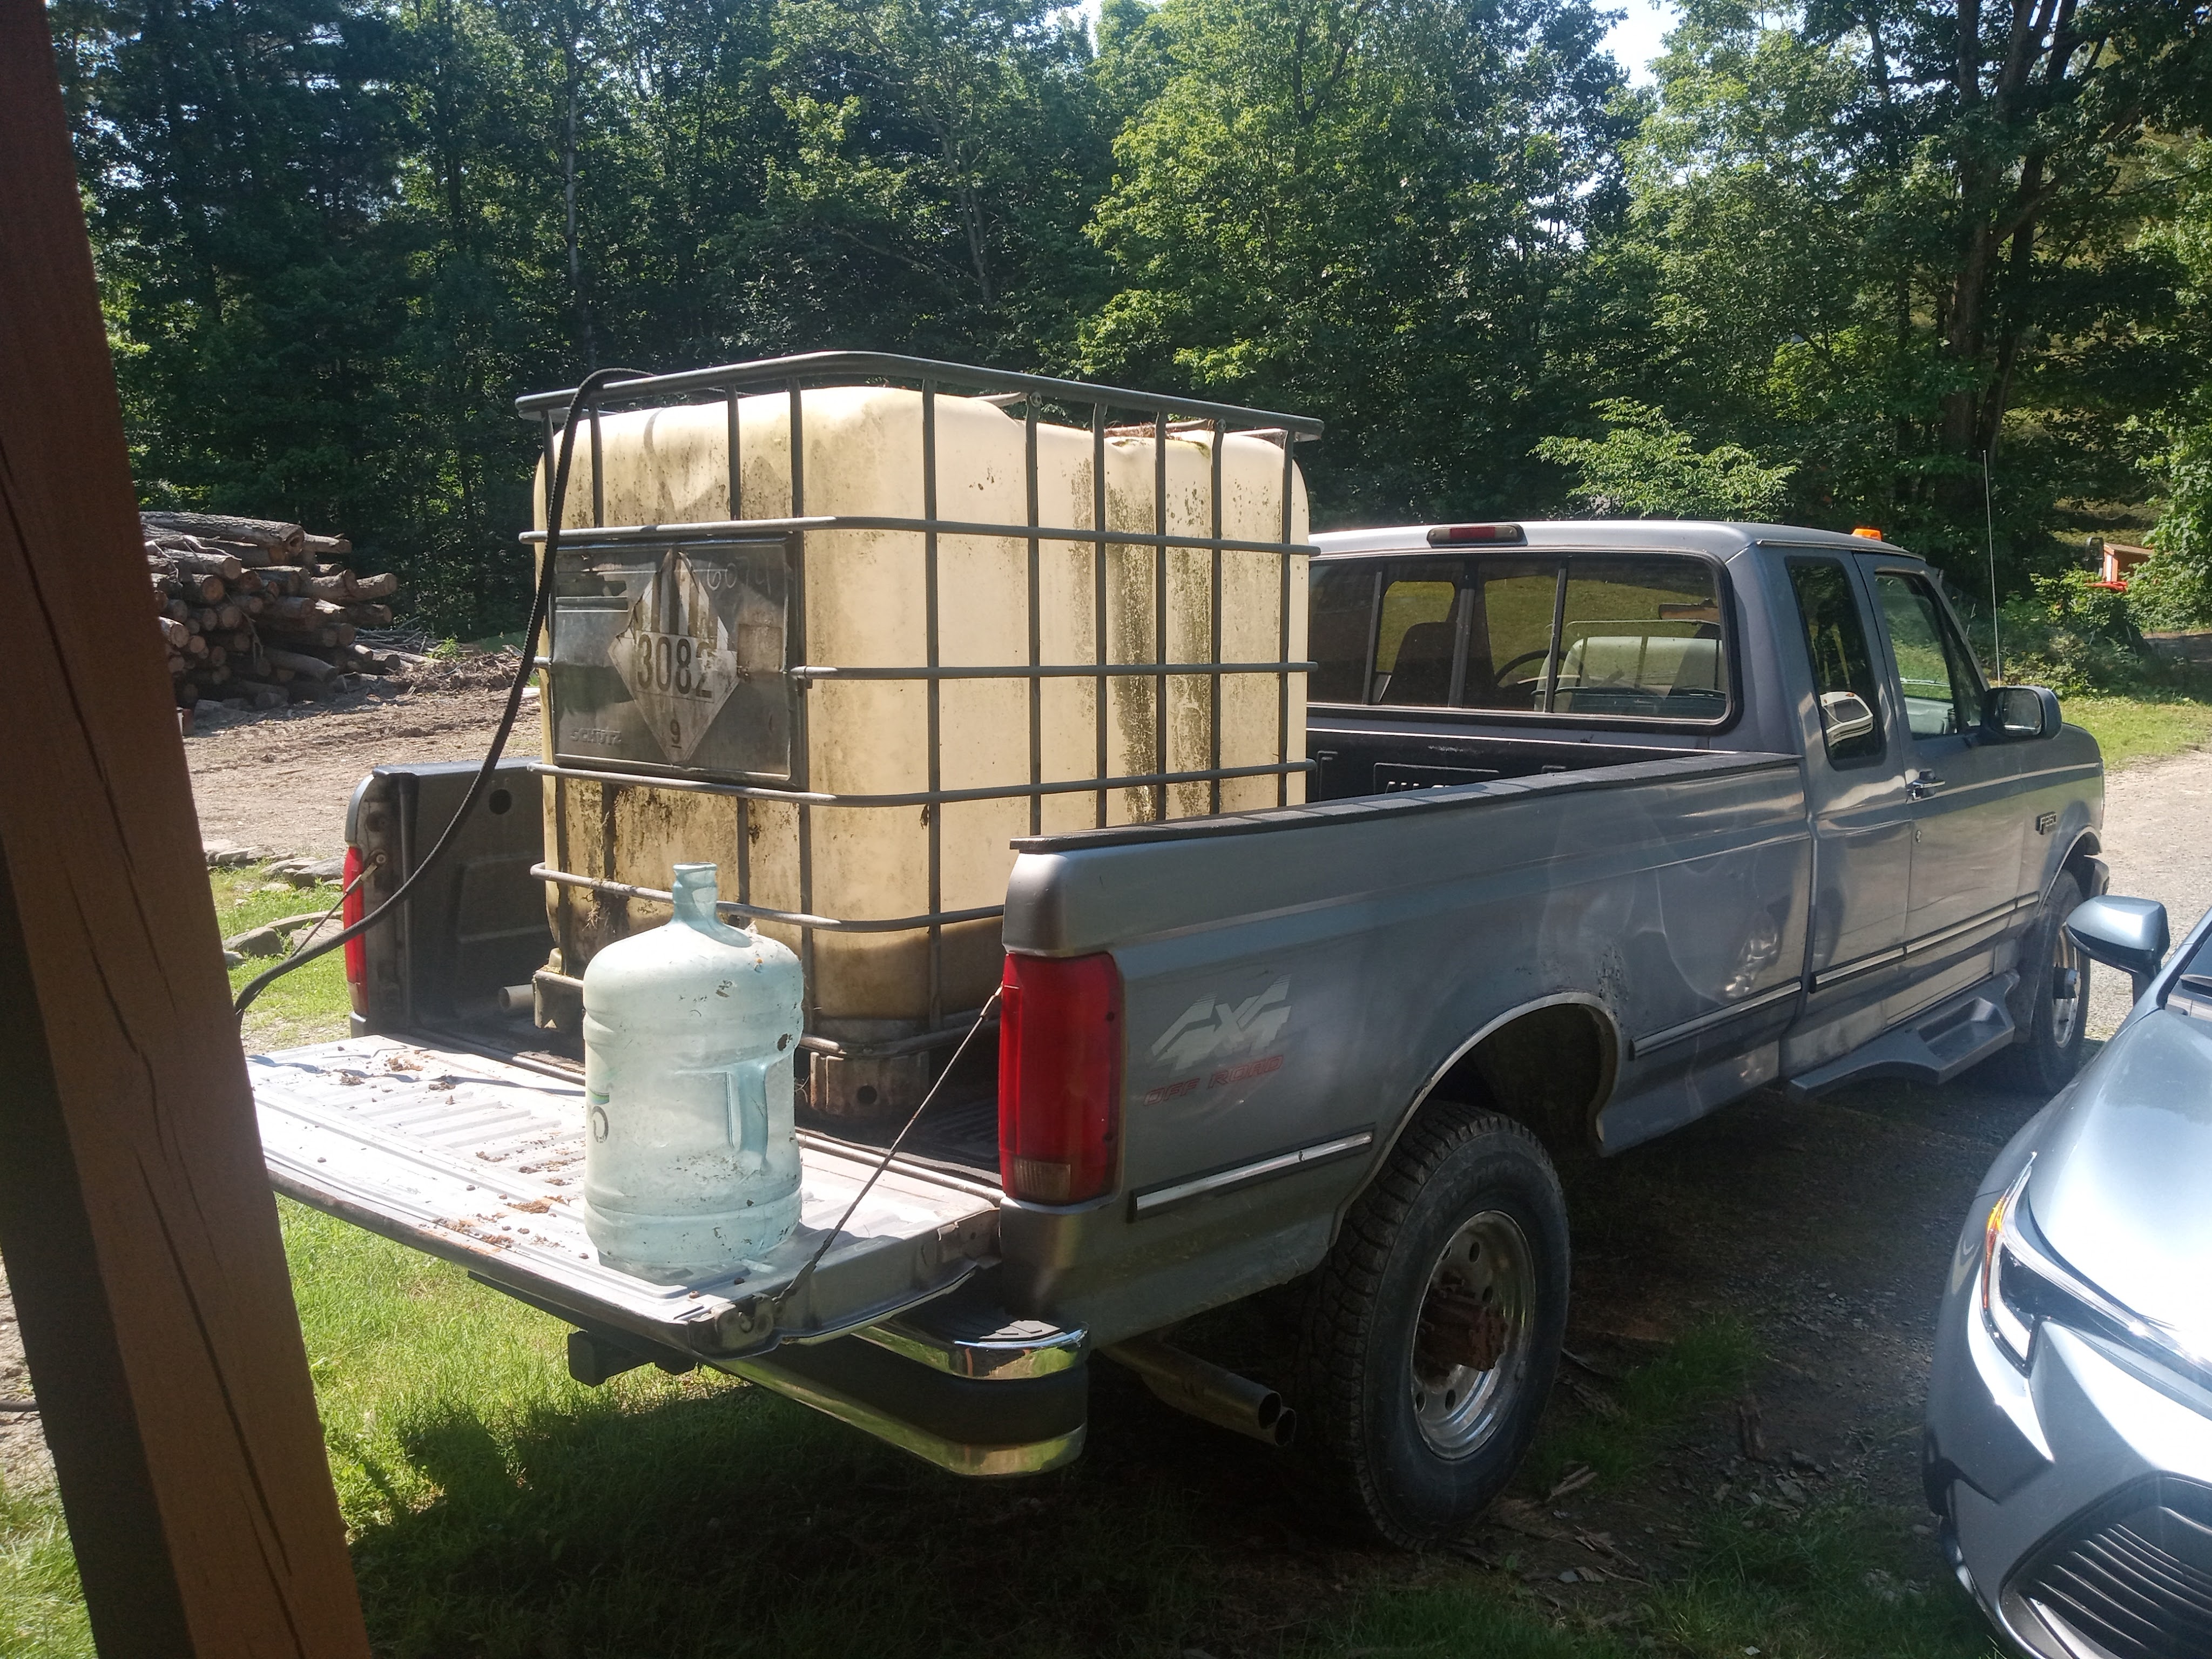
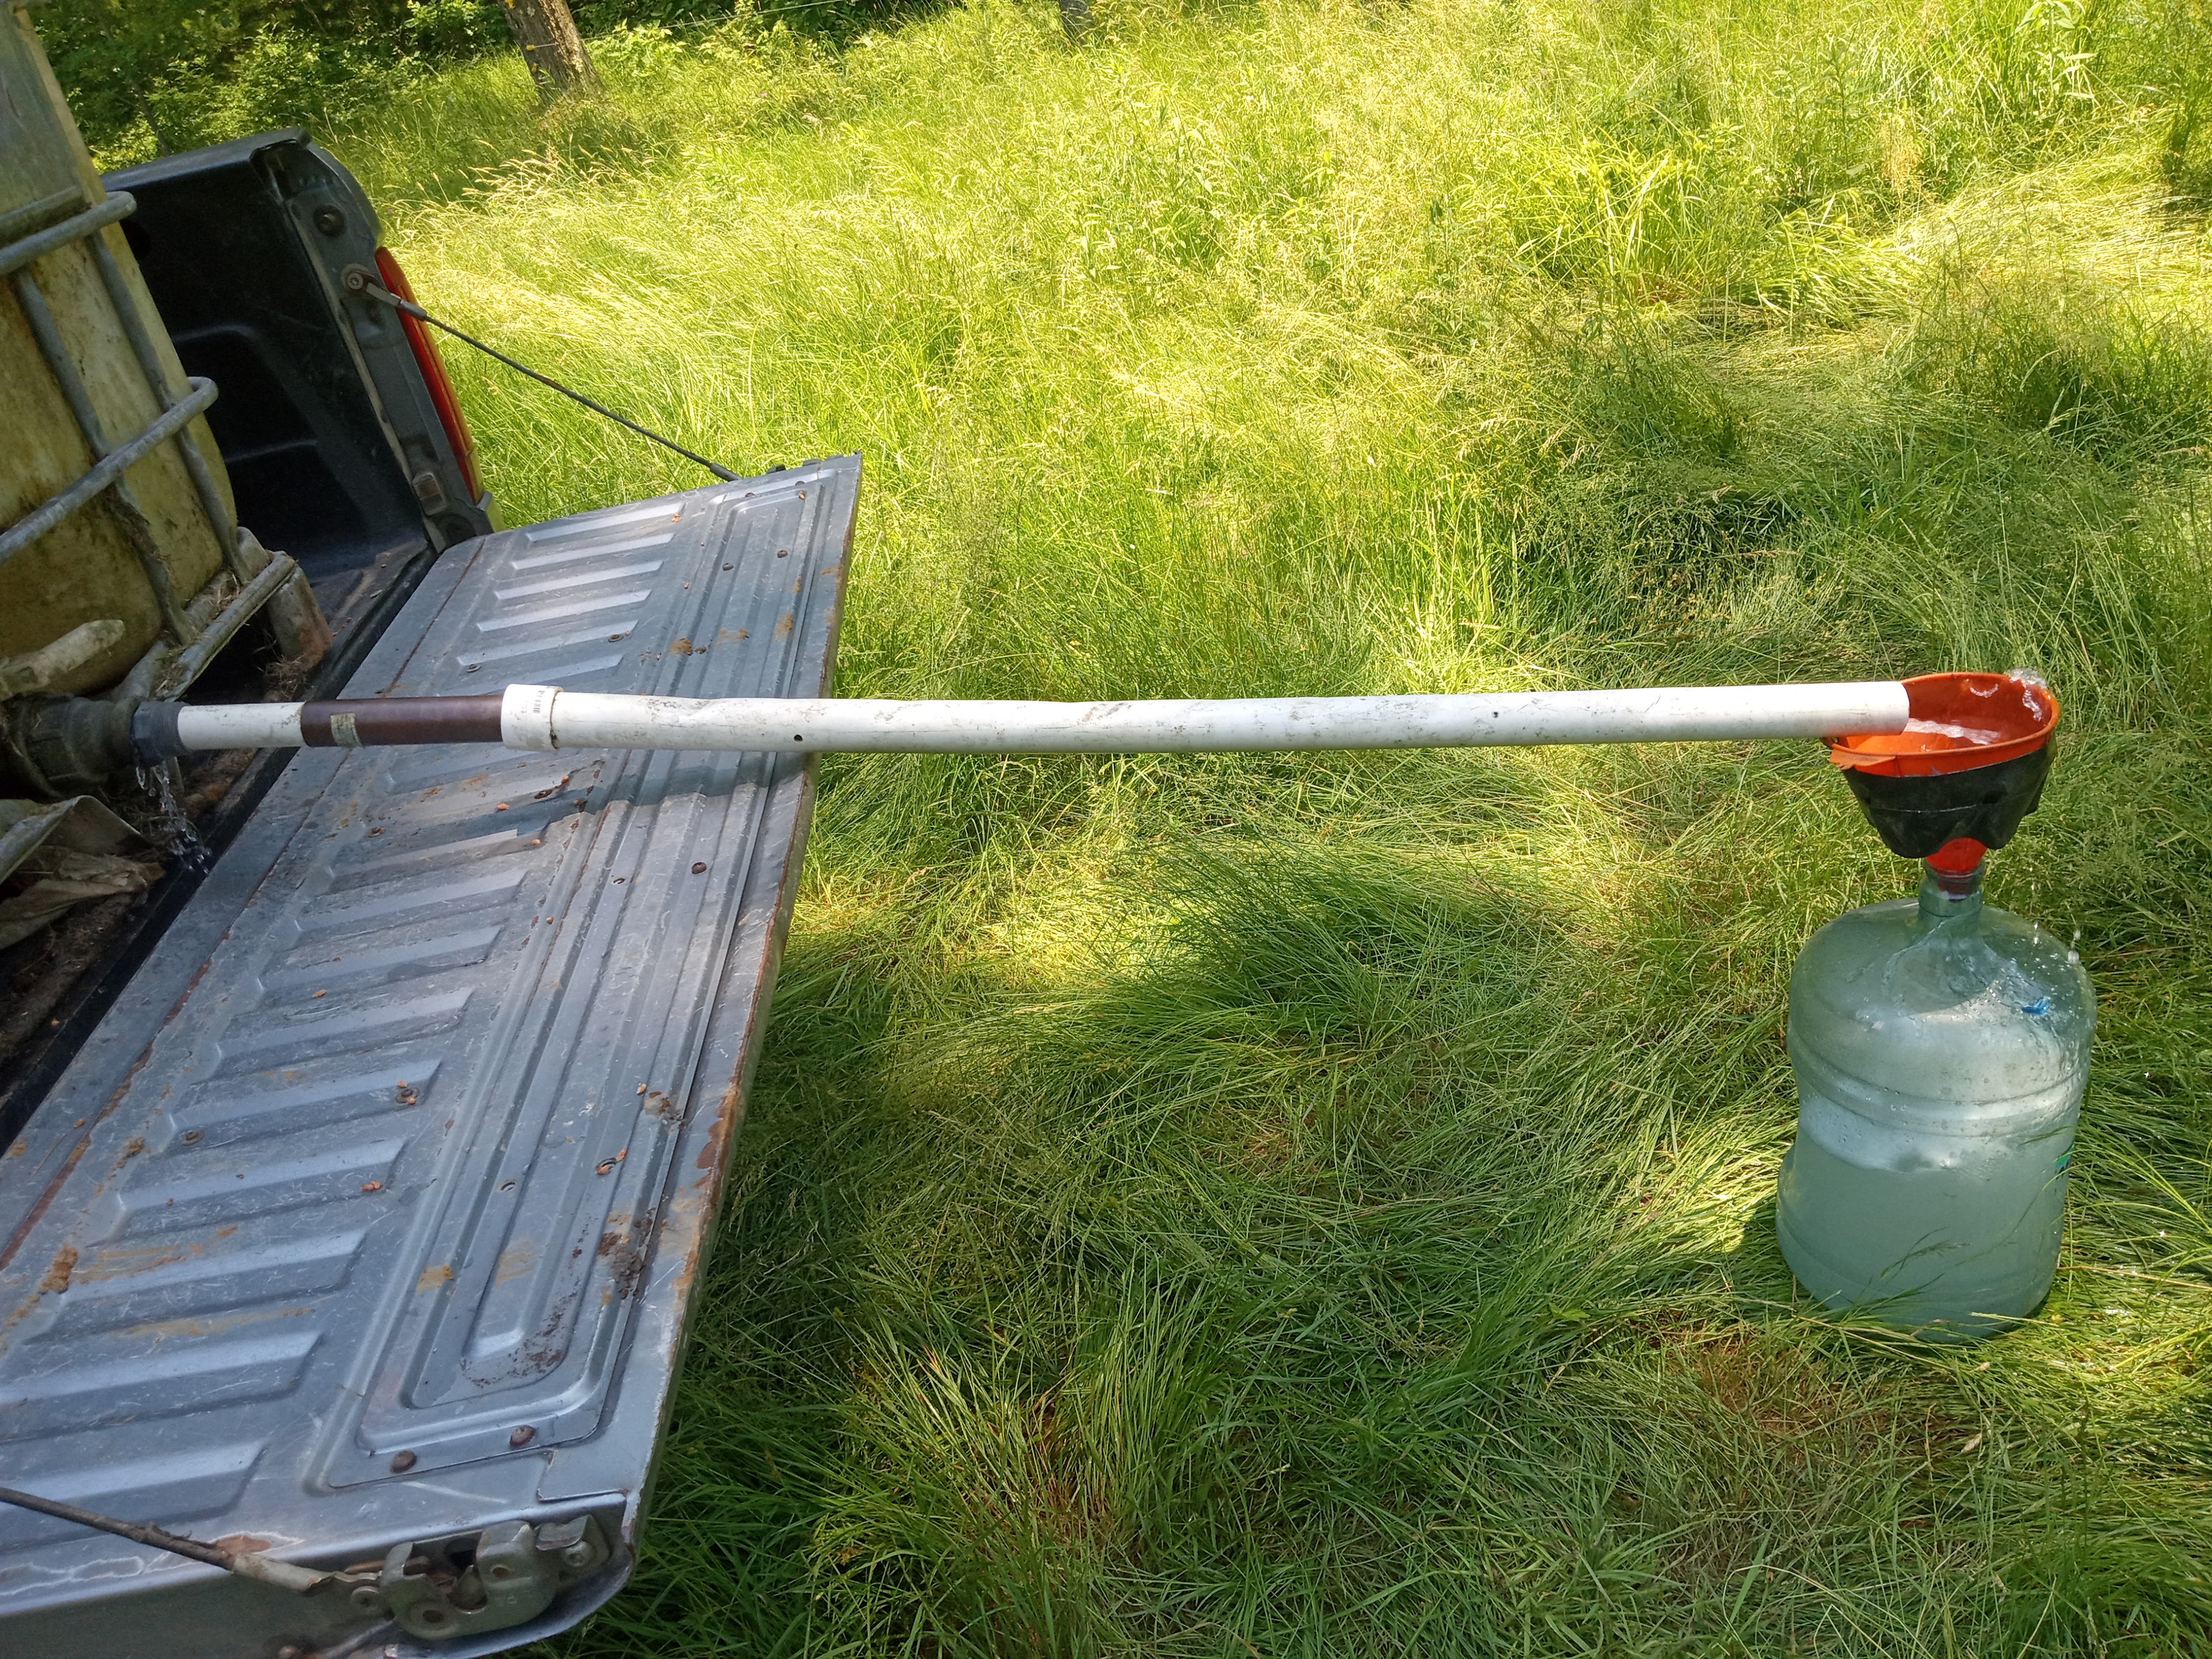
Then I had to get water to the plants. First, I tried filling up 5-gallon buckets from the tote and carrying the water around the field. That got more water on me than the plants, and it was time-consuming. So I tried a water cooler jug; a little less messy, sure, but it was killer on my back trying to accurately pour the water out. Then I went to the hardware store and asked for all the pieces I needed to get the wide outlet on the tote down to a garden hose hookup. That worked… better. Being that the fields are on an incline, I could park at the top and allow gravity to provide water pressure through the hose. It still wasn’t a perfect system—I regularly had to stop to move the hose around plants—but it worked.
Between my father and me, we got all the pumpkin hills watered a few times during the heat wave. This might have been enough if the soil had been better prepared, but the lack of fine soil meant poor retention. The water tended to run right through the clumpy hills, sometimes taking the seeds with it.
Ultimately, save for 2 or 3 hills, all the plants were lost. It was early July by that point and a bit late for replanting. I wanted to give it one more try, though, so I returned to the lower field, which tended to stay wetter. The couple surviving hills were in one corner of the field, near a clump of aged manure we had dumped in the spring. Unlike the soil, I noticed the manure was fine and grainy. Between this and knowing manure holds vital nutrients, I decided to plant there.
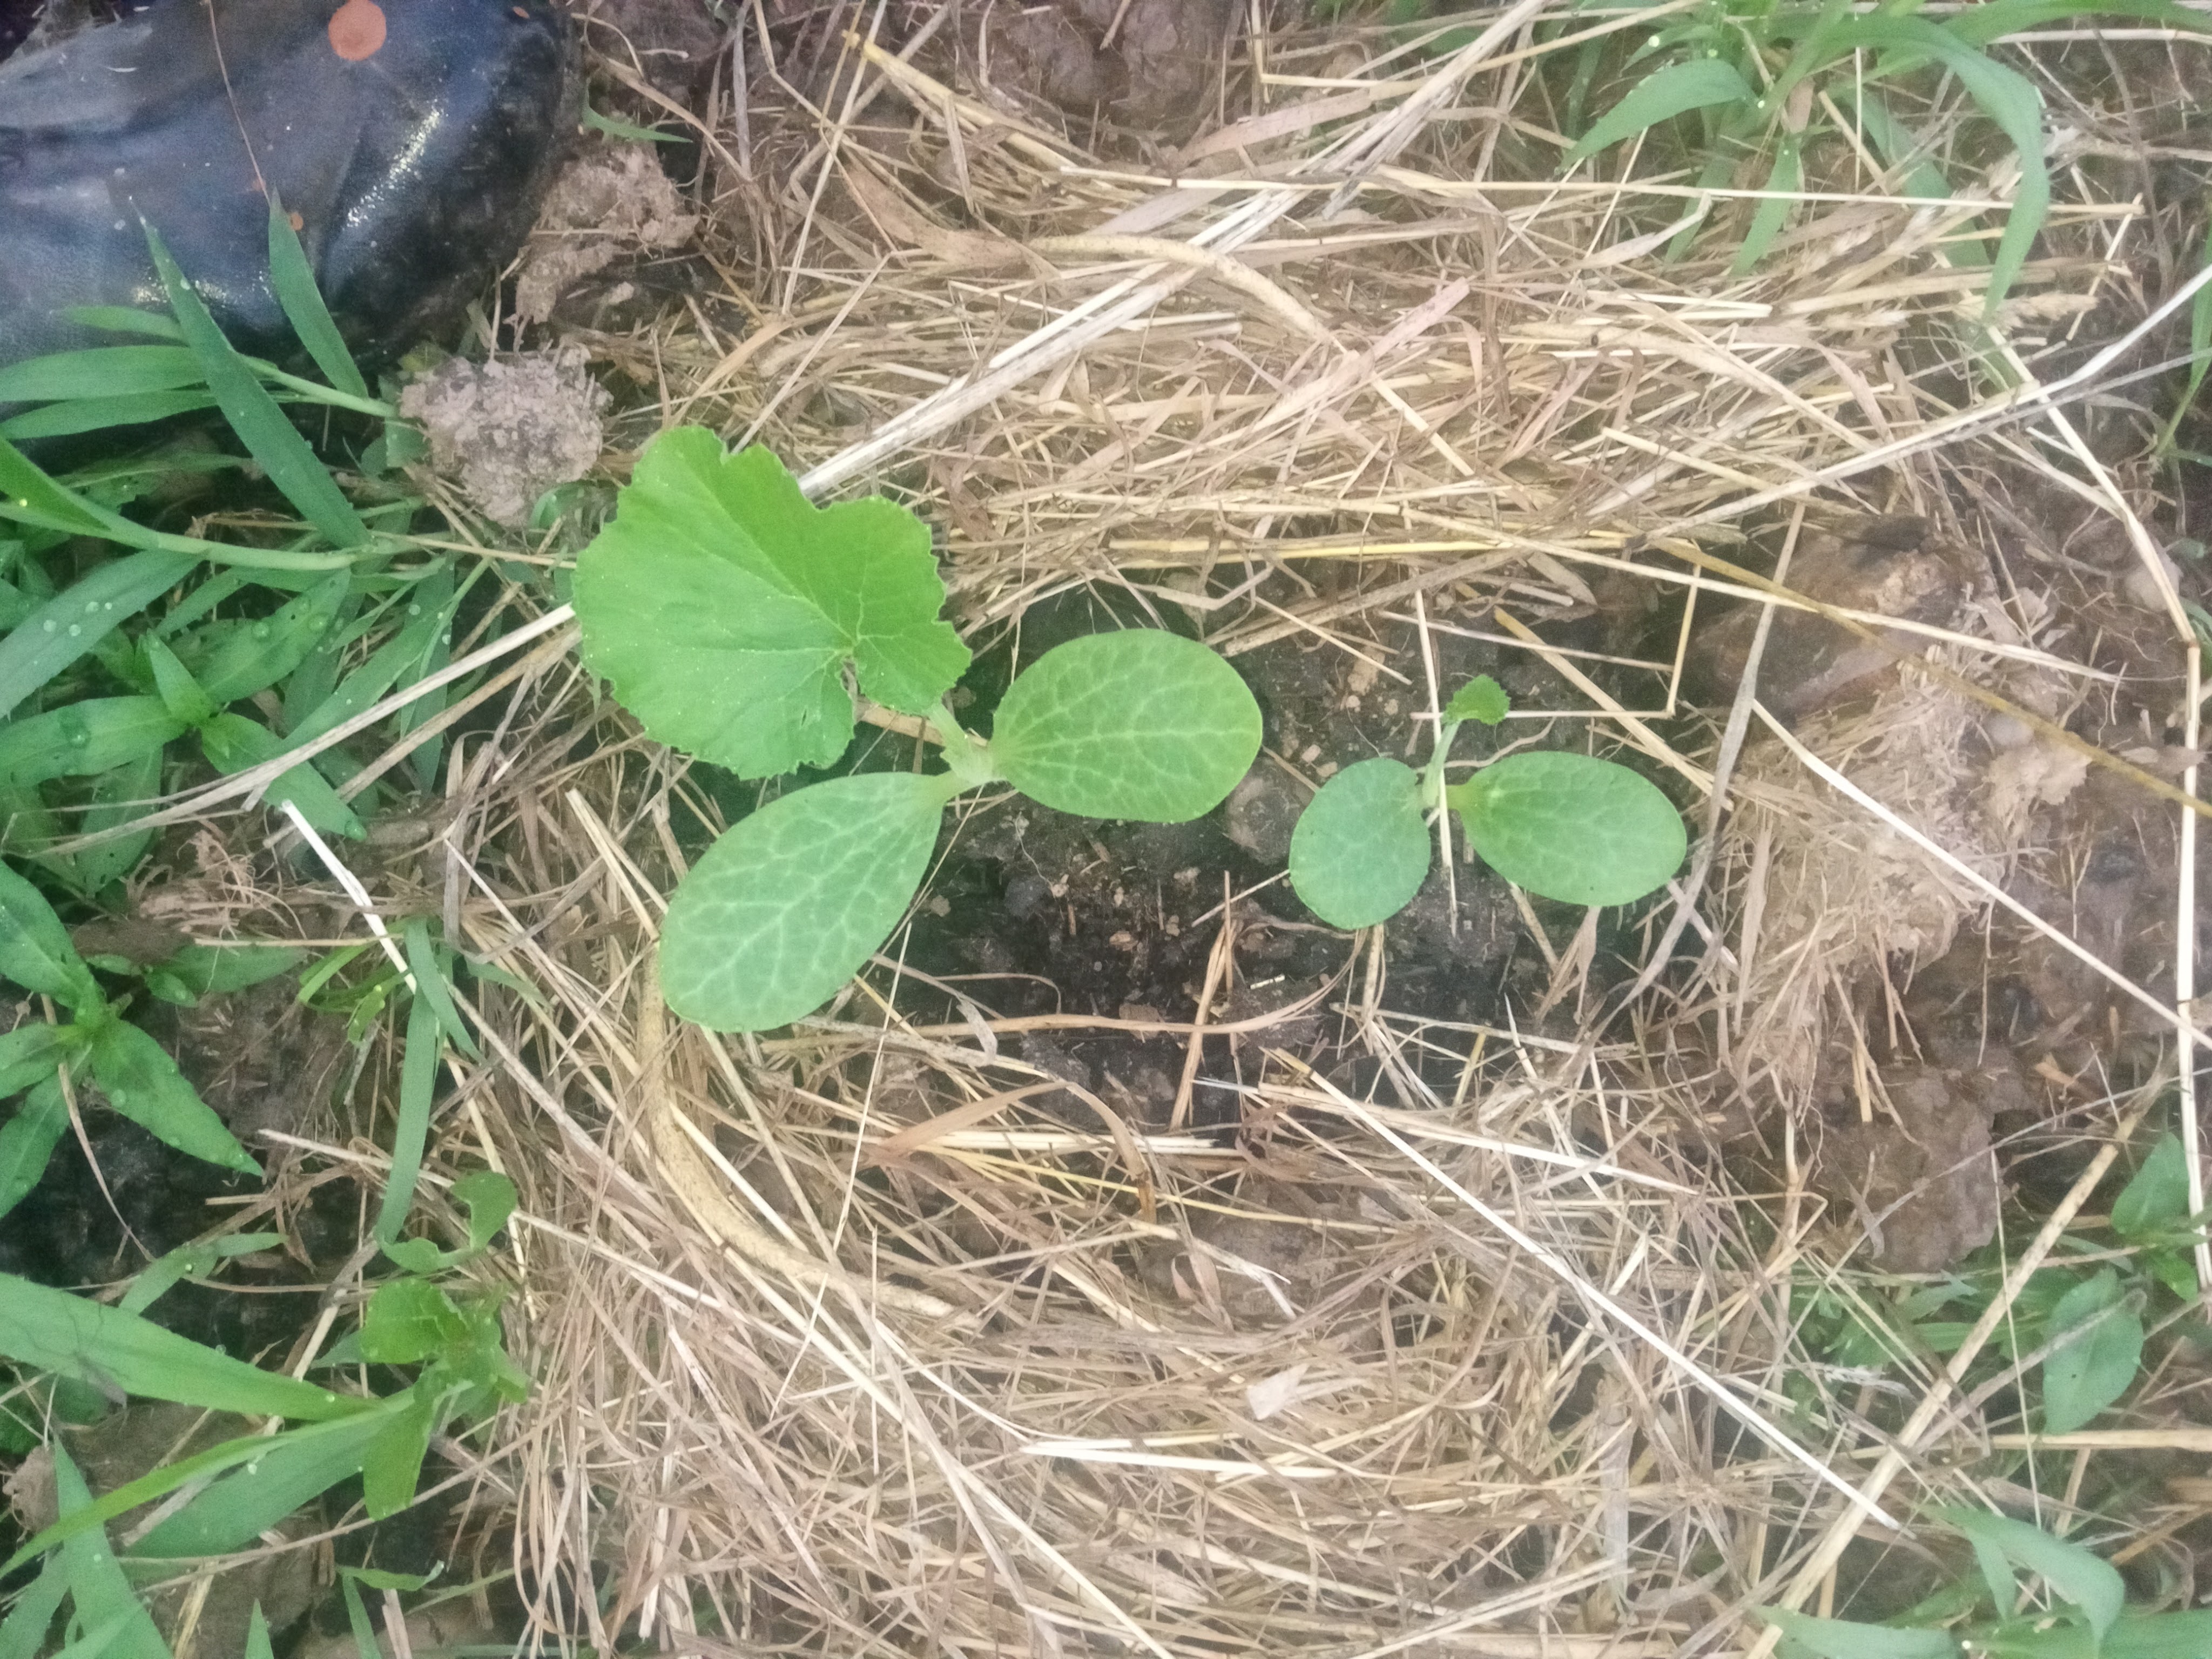
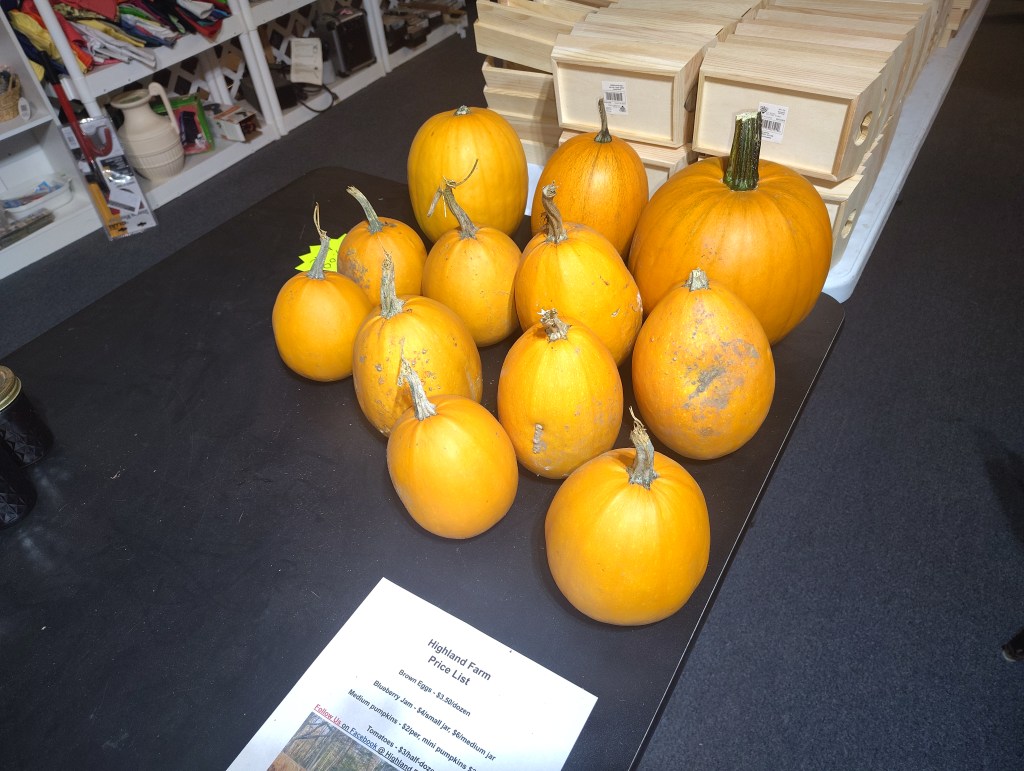
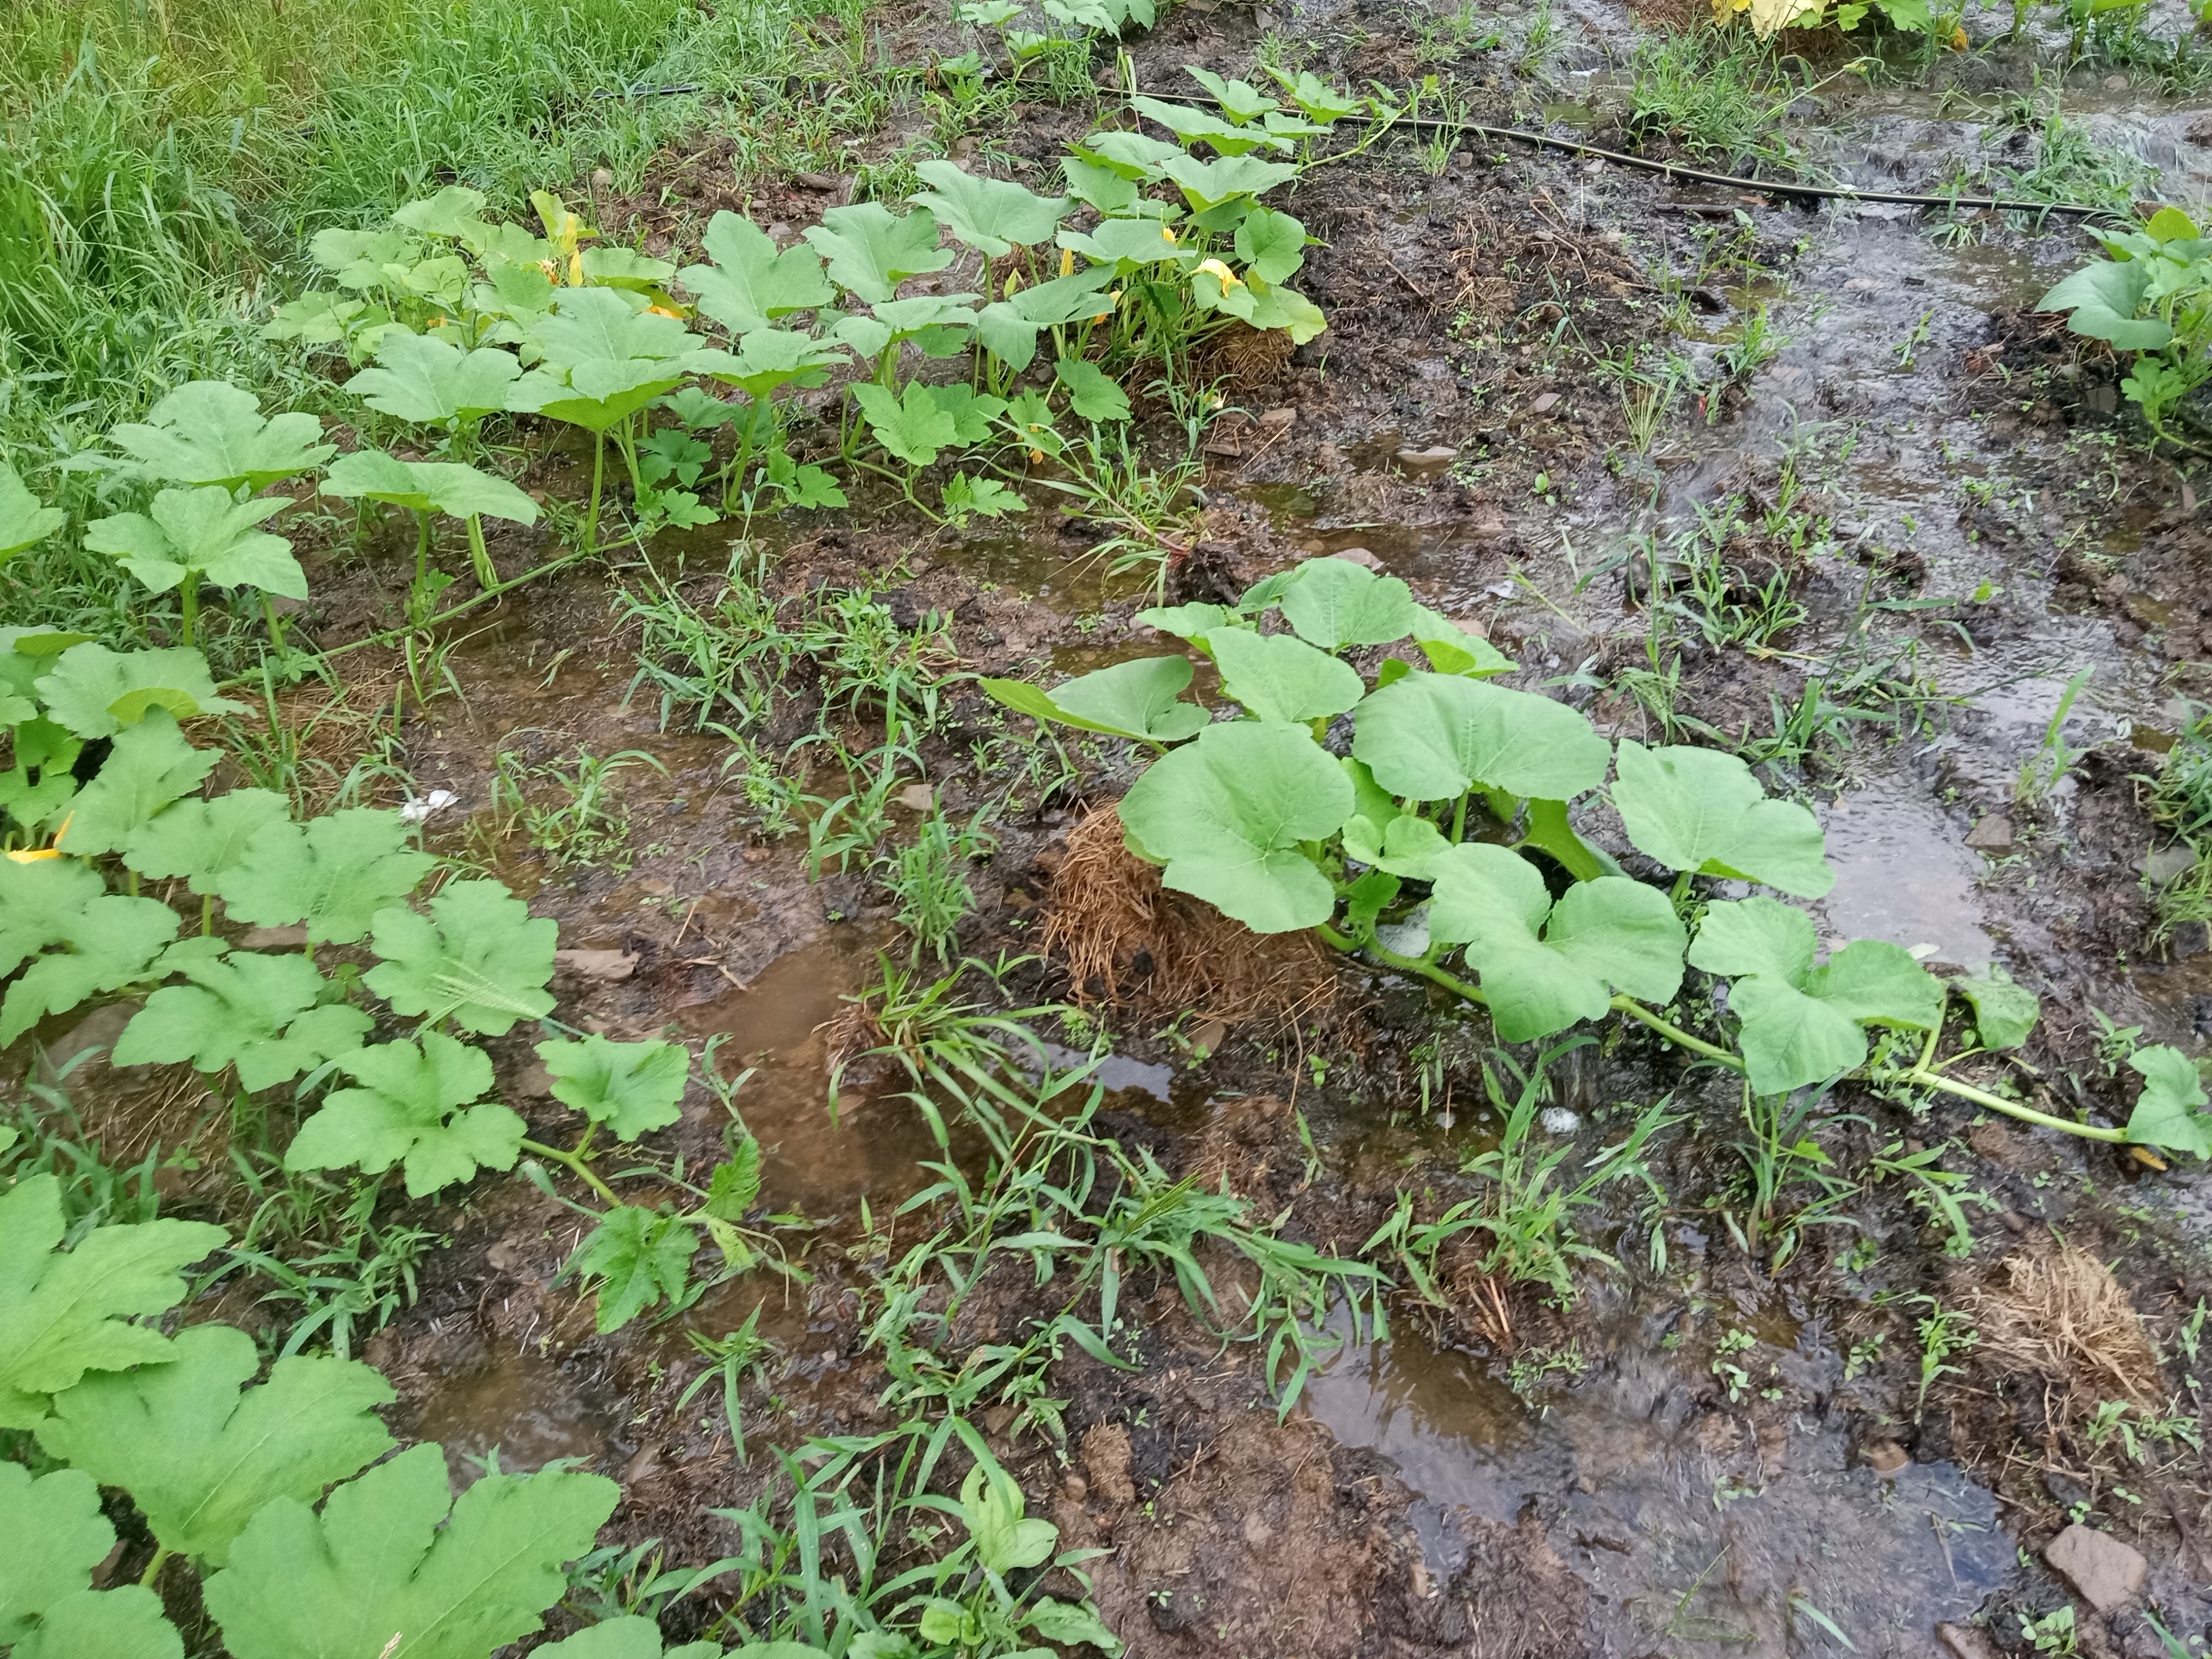
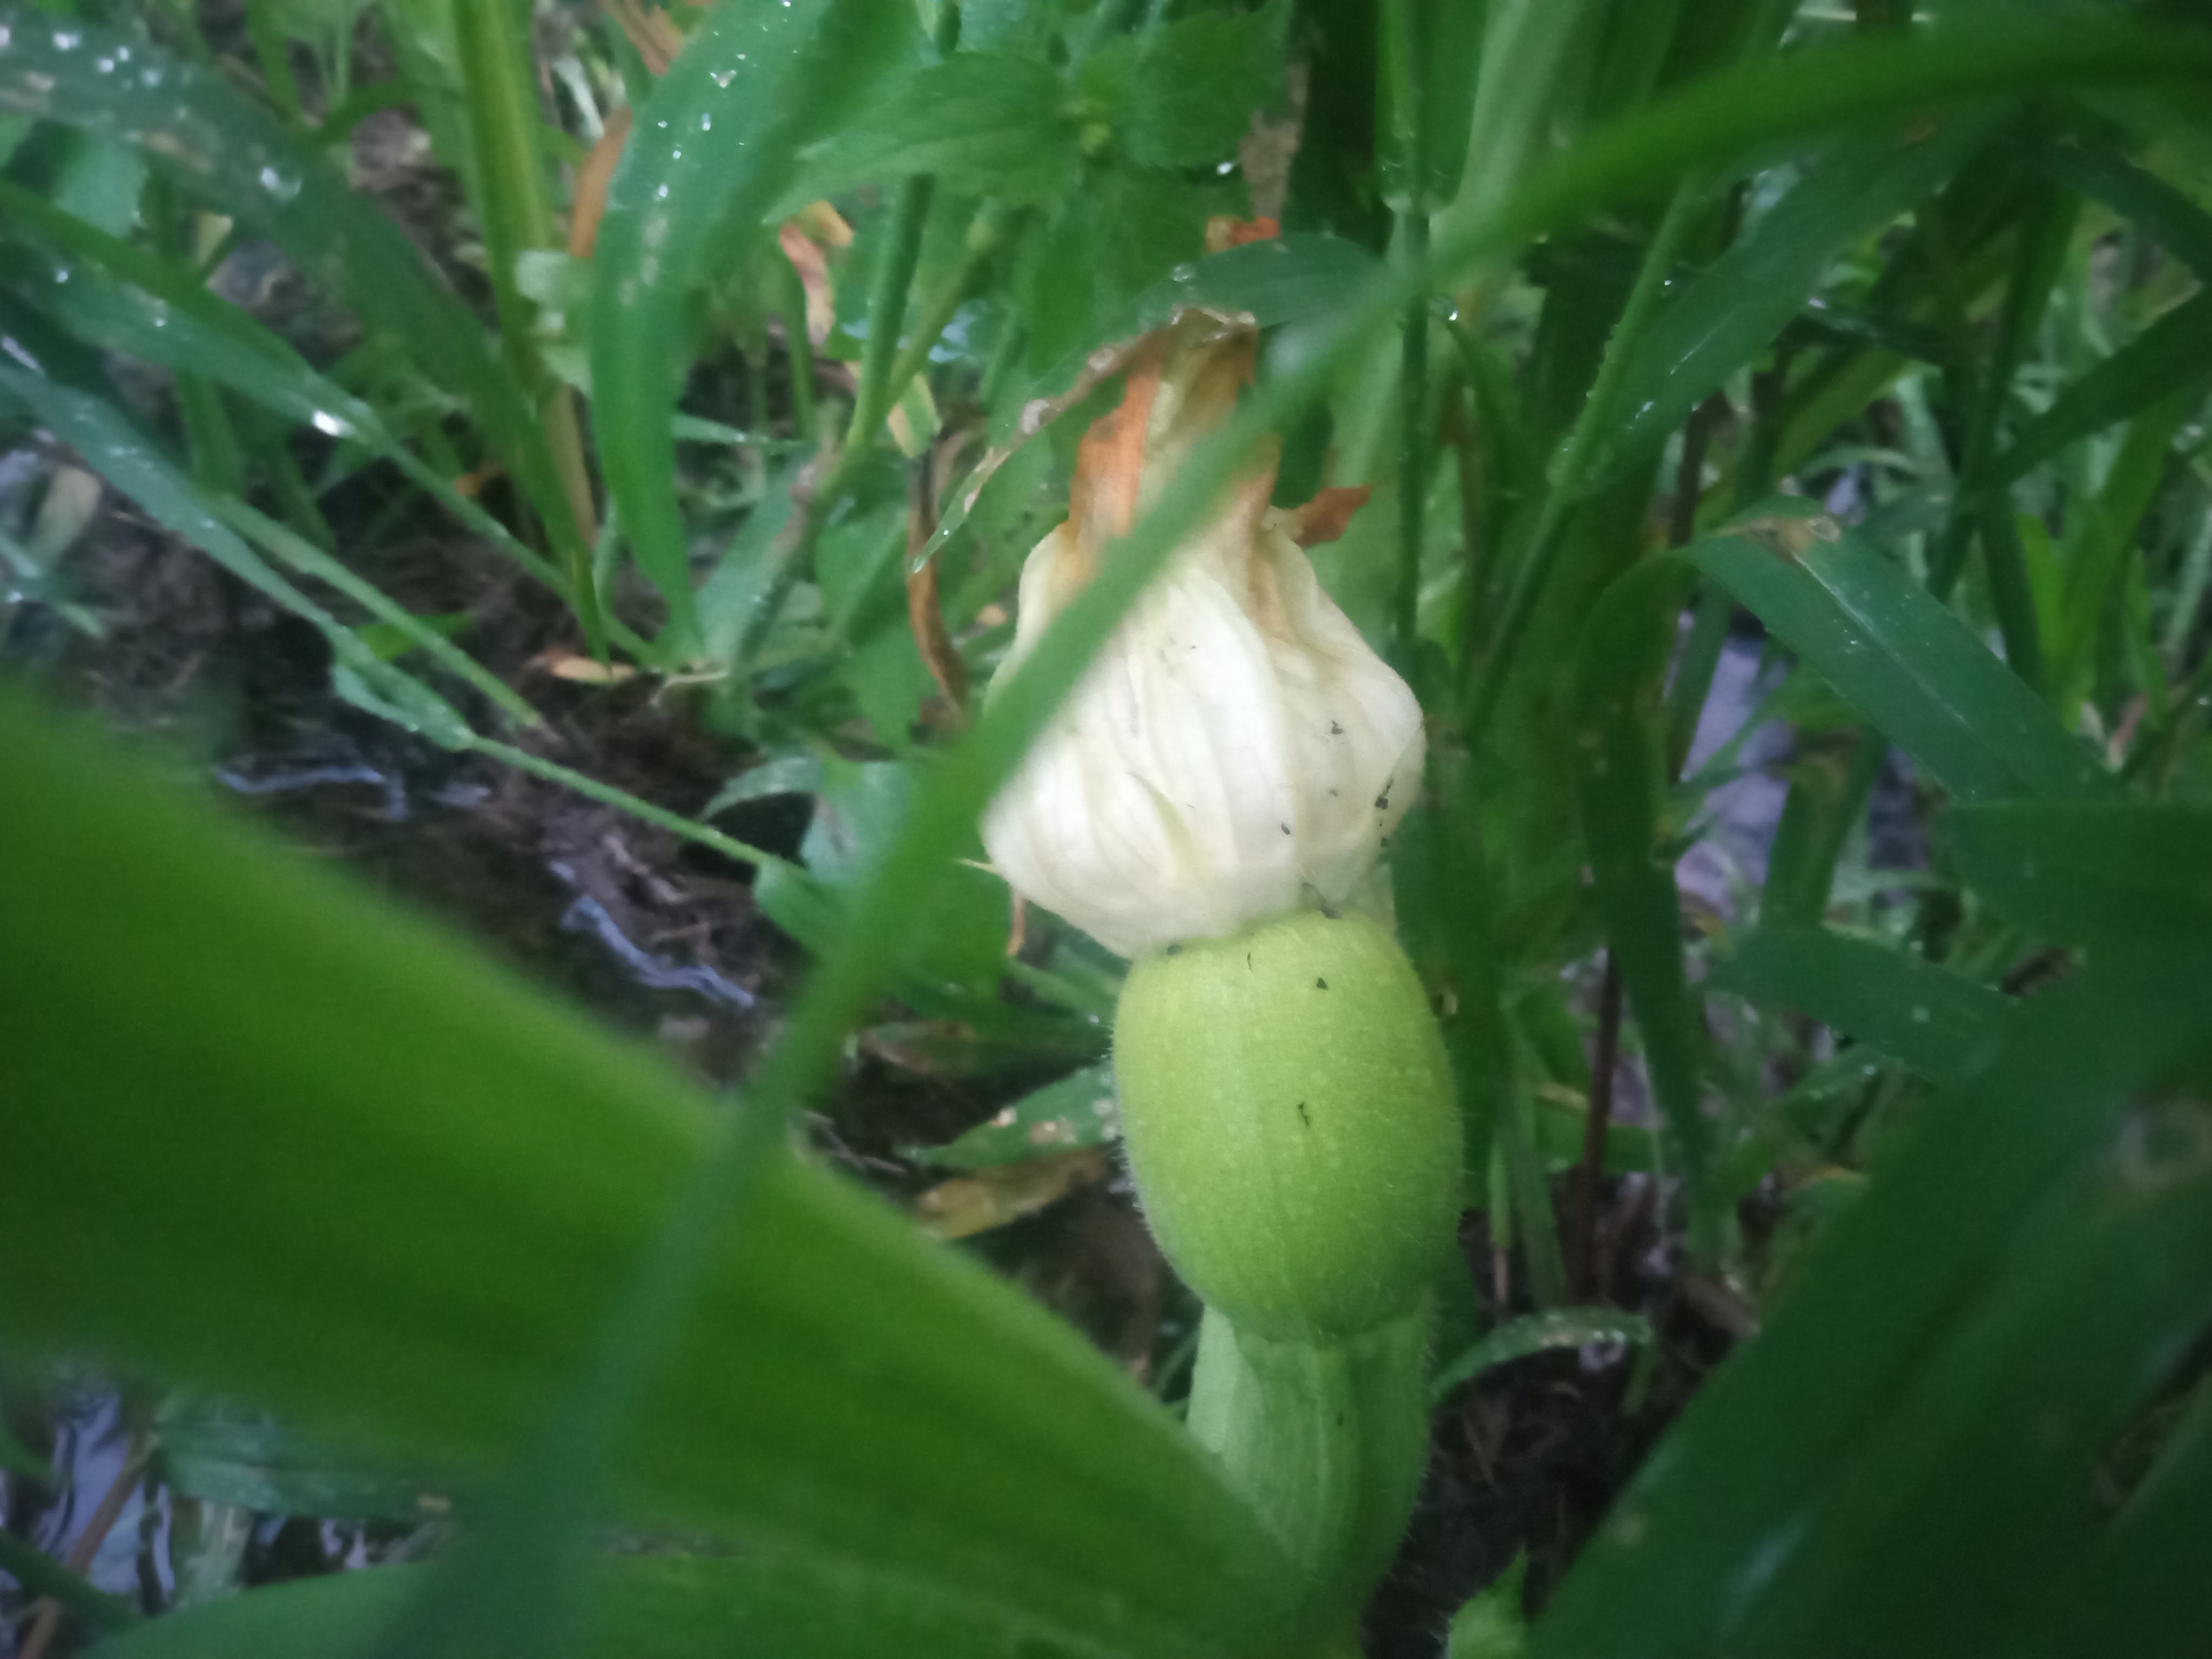
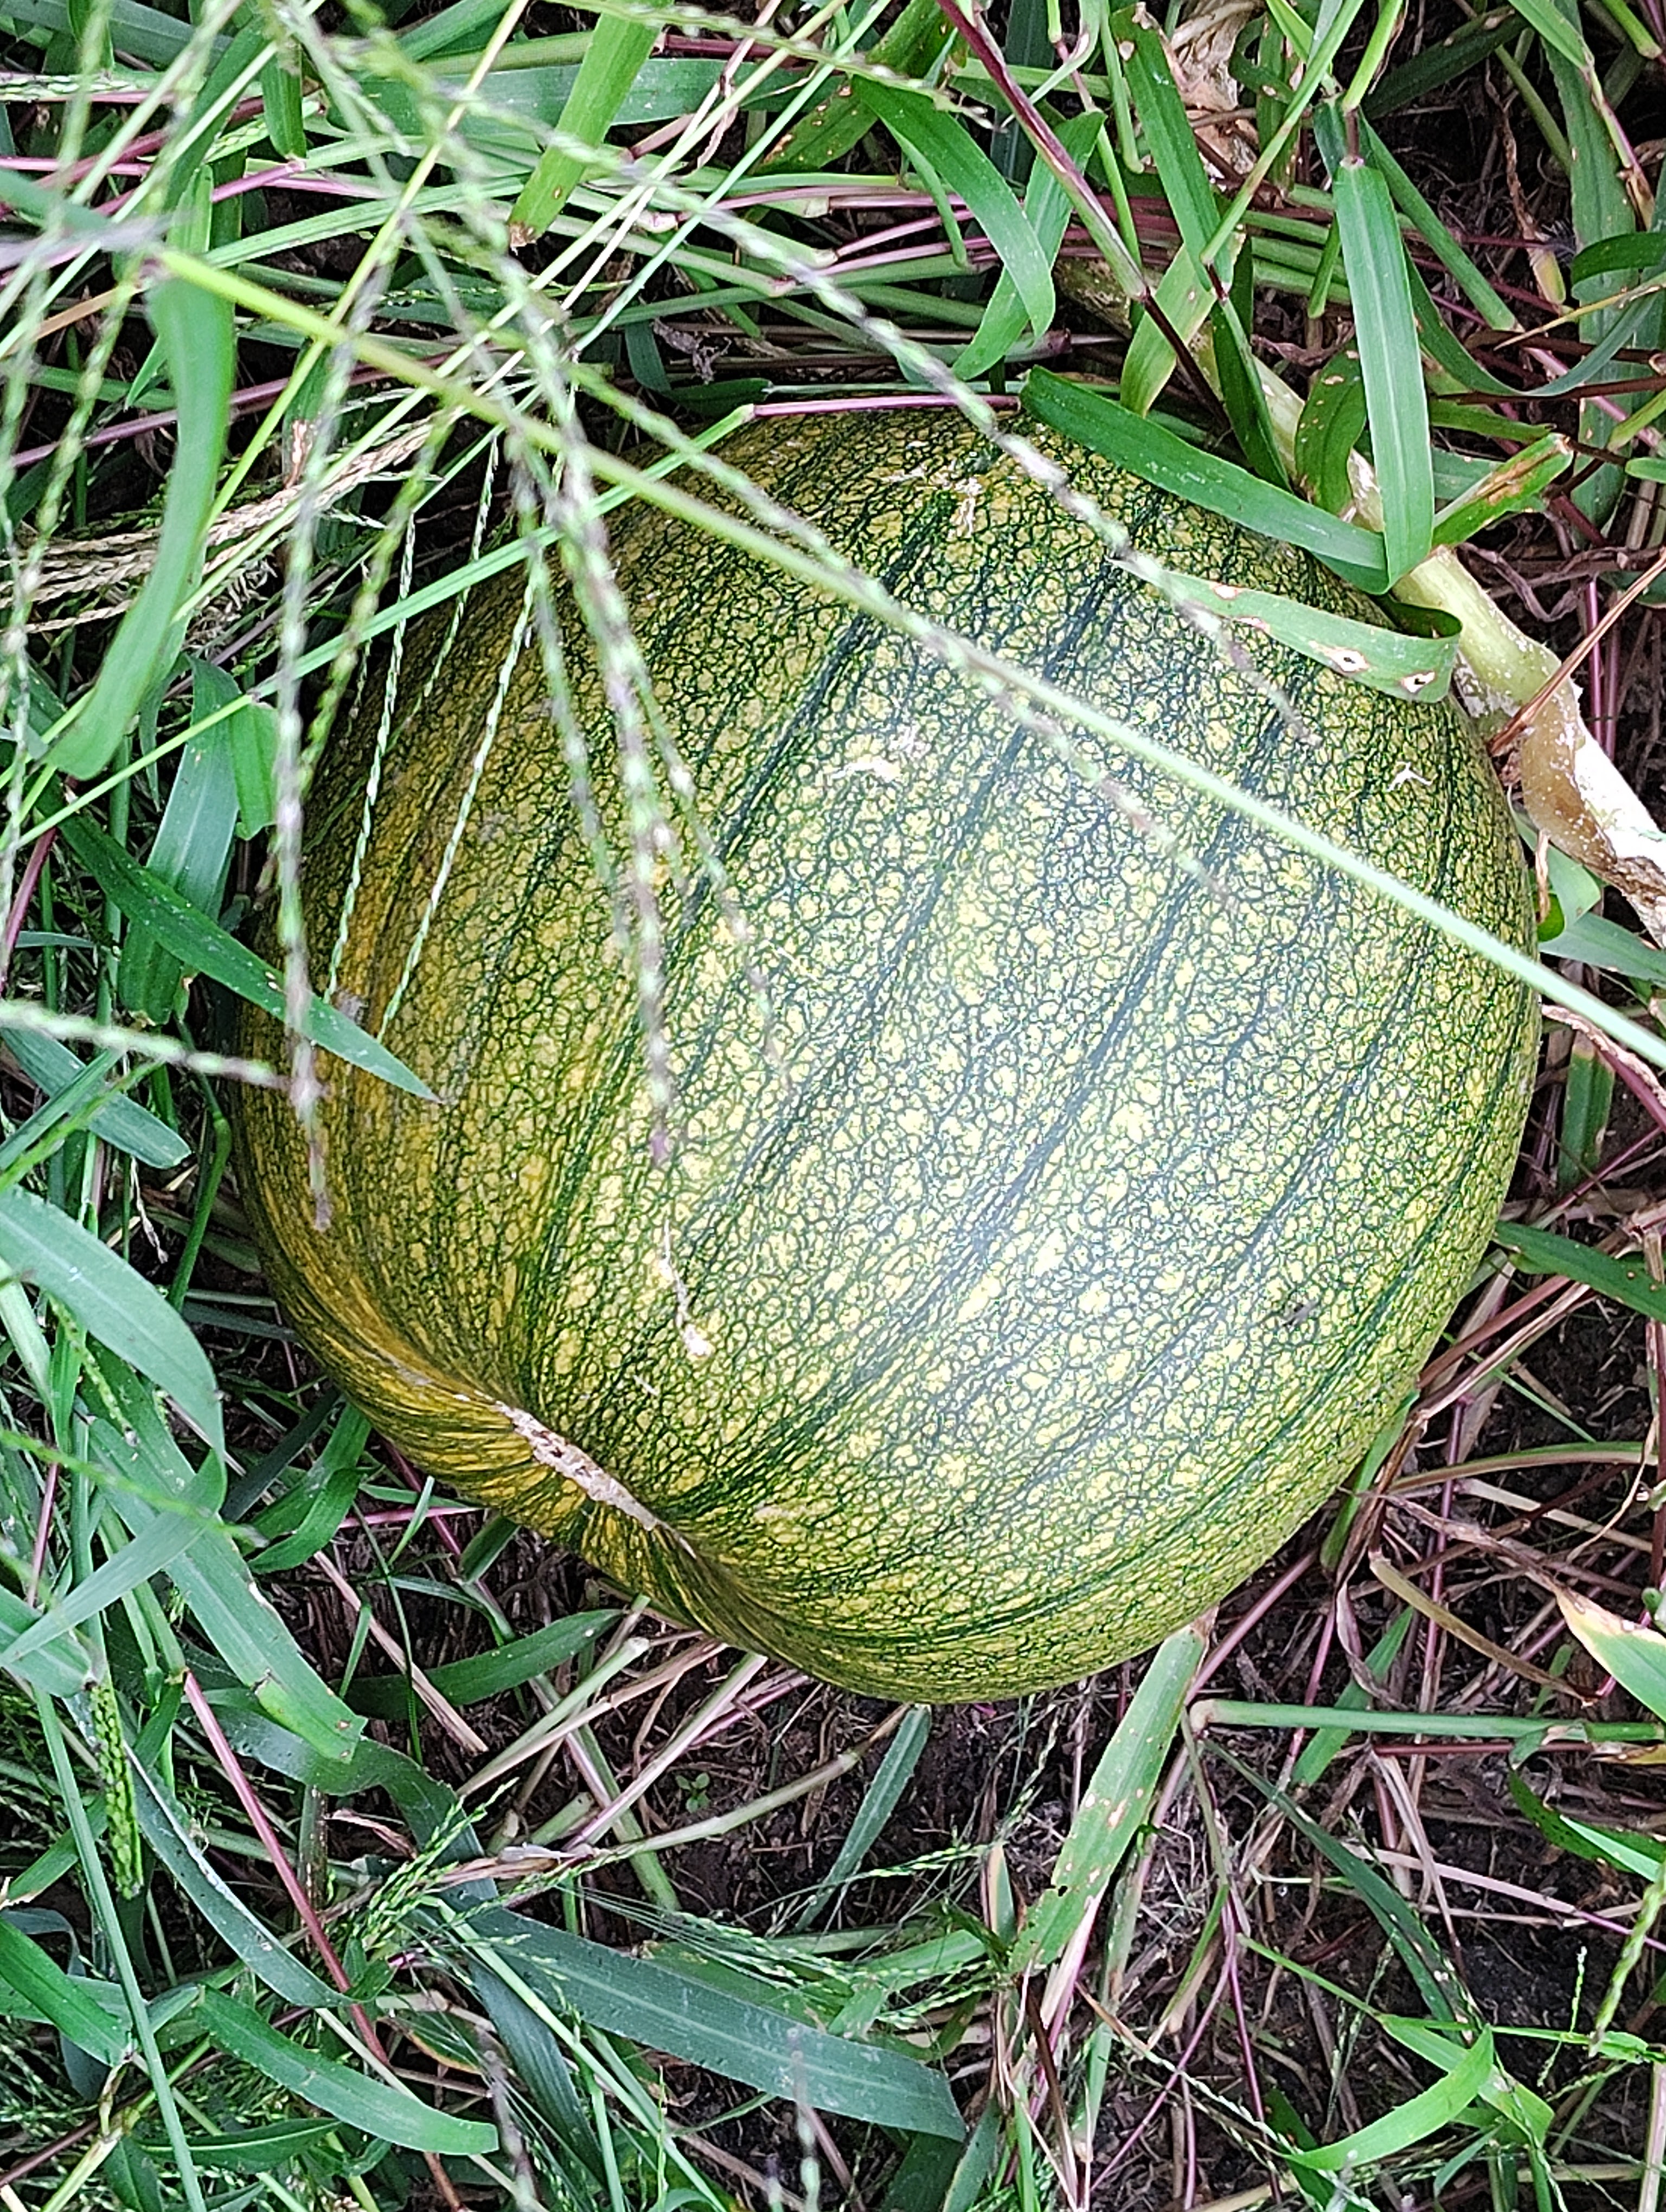
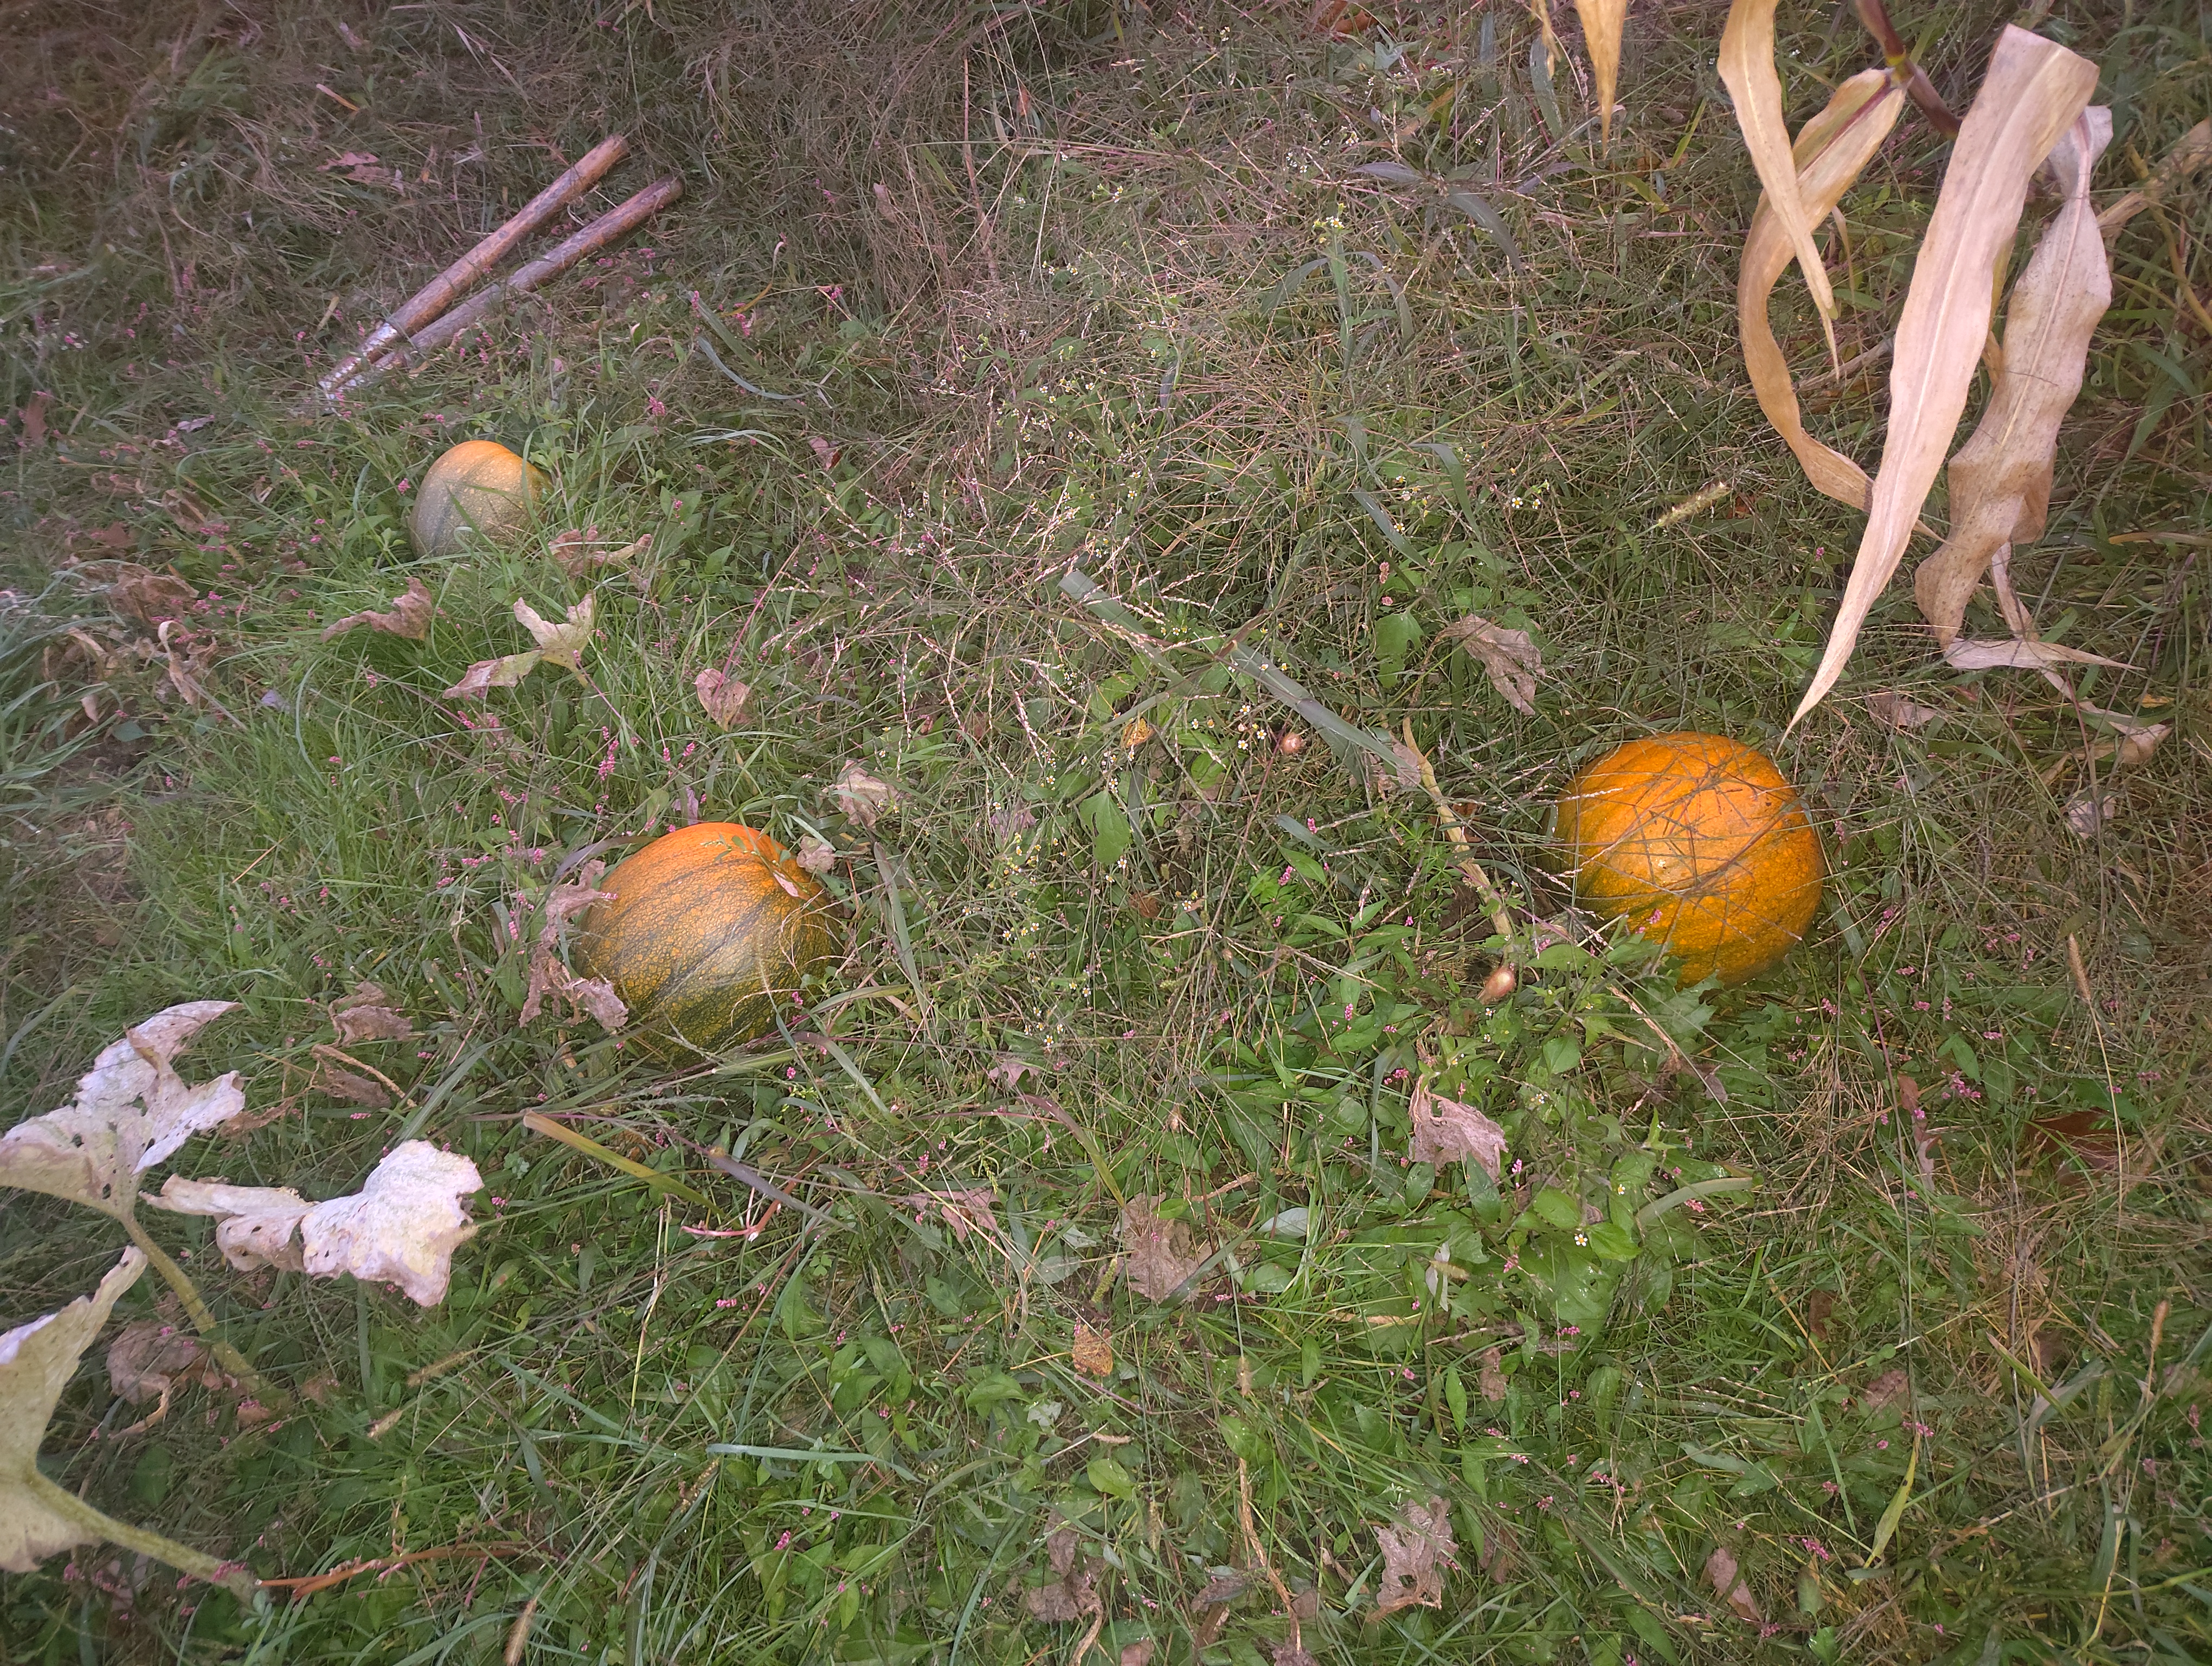
I planted around 20 hills or so this time around, a bit timid after my large patch failed. July was a little kinder weather-wise, and we got regular rain. The new plants made it past the sprout phase and soon grew shockingly long vines. My plants were behind other growers’, but I was still excited to be having some success. The vines developed flowers in August, and the beginnings of fruit soon followed. I irrigated with buckets for a time, then we got major rain that left rivers running through the field; that kept the field pretty wet the rest of the season. I got maybe half a dozen pumpkins that year, none very large. Some of them even failed to turn orange. I chalked this up to the plants having started too late and the cold coming too soon.
Looking Forward
Originally, there were plans to sell boatloads of pumpkins that year, but the poor yield prevented that. At least we got a few for decoration. Anyhow, it was back to the drawing board for the next year, and I was determined to do better. Stay tuned for the thrilling tale of my second attempt the following year.

Leave a comment