
Chicken History
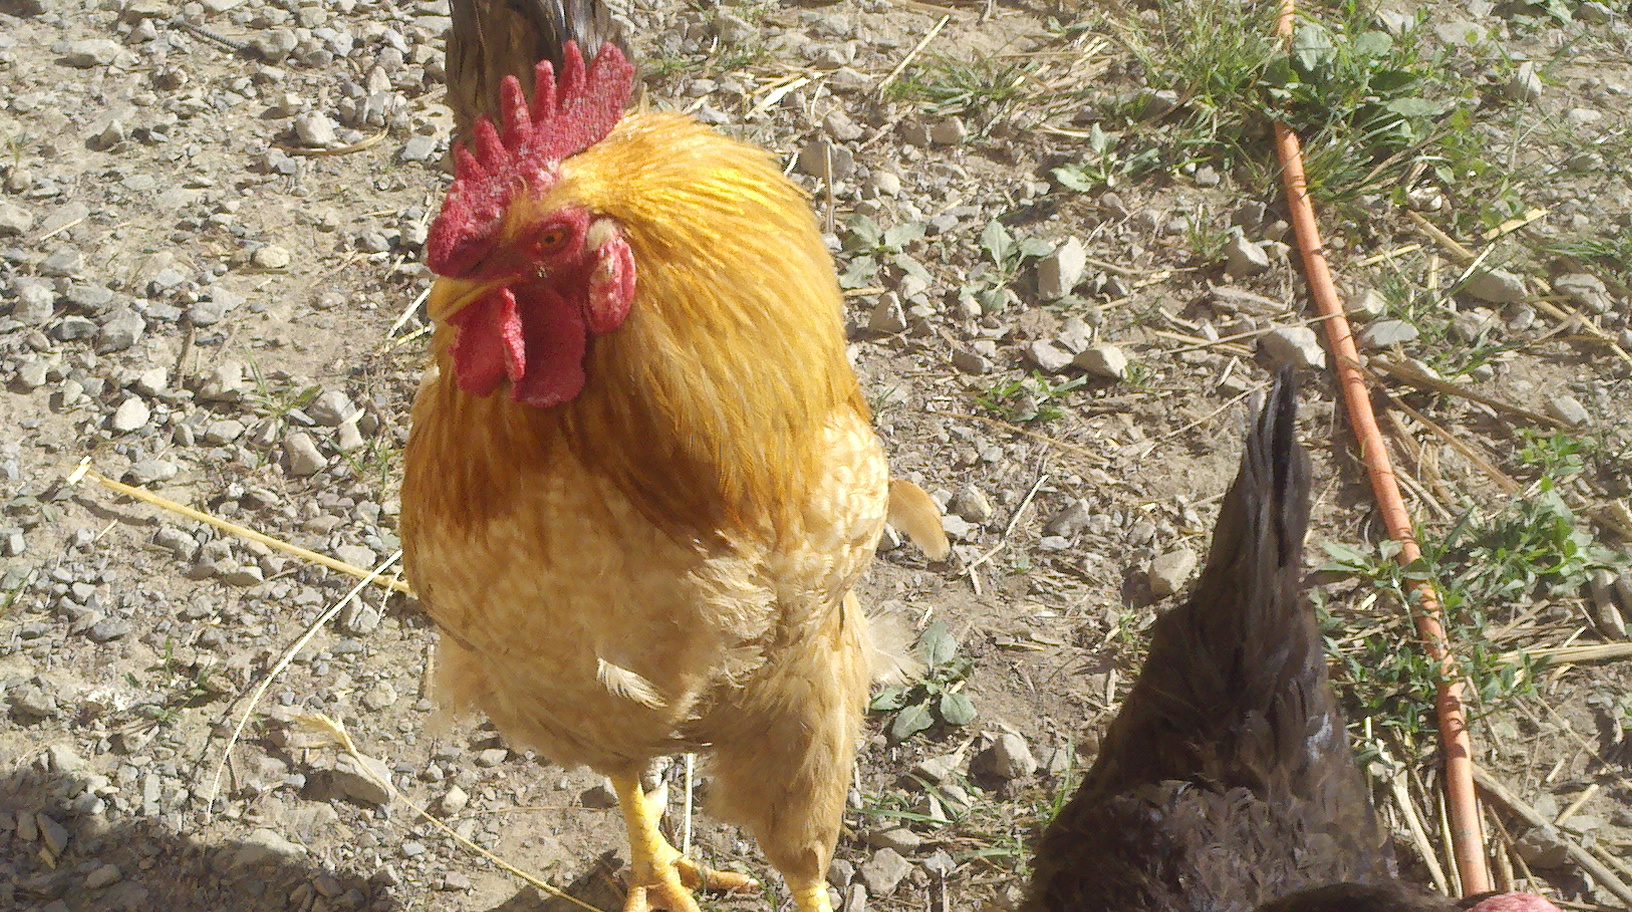
Growing up, the lawn was always dotted with chickens. They were loud, dirty, and often underfoot. However, my mom liked the free eggs, and I soon learned to defend the porch with a garden hose when necessary. Flash forward to last year, and eggs had become part of my new business plan. Initially, my plans for the farm focused mainly on growing so-called ‘cash crops’, in my case, pumpkins and corn. In the meantime, while my seeds were growing, I started testing the waters by selling garden vegetables and eggs at a local indoor flea market.
I started selling eggs simply because we had extra, but it soon became apparent that they were popular. My crops gave a pretty disappointing yield that first year, while the eggs remained a consistent seller. It was obvious that people were willing to pay a premium for farm-raised brown eggs. That only became more true when prices in the stores rose as a result of the bird flu outbreaks on commercial farms. A few years ago, a dozen farm-raised eggs may only have sold for a dollar or two. This past year, mine were selling for at least $4.00 a dozen wherever I sold them.
Hunting the Perfect Coop
It didn’t take me long to come around to the idea of increasing my flock size to meet demand, but that meant I had to have somewhere to put the new chicks. We already had a 10×20 chicken coop attached to our barn populated by around 40 older chickens. However, with their egg production declining as they aged, I decided to start a fresh flock in a new house. There were a few options for this; first, I considered building a coop from scratch. A frame sitting on our property was all that remained of a large camper we once owned, and it seemed like a good potential base. A quick measurement revealed the frame to be 29′ long by 7.5′ wide, plenty large enough for a chicken coop—a chicken palace if you will.
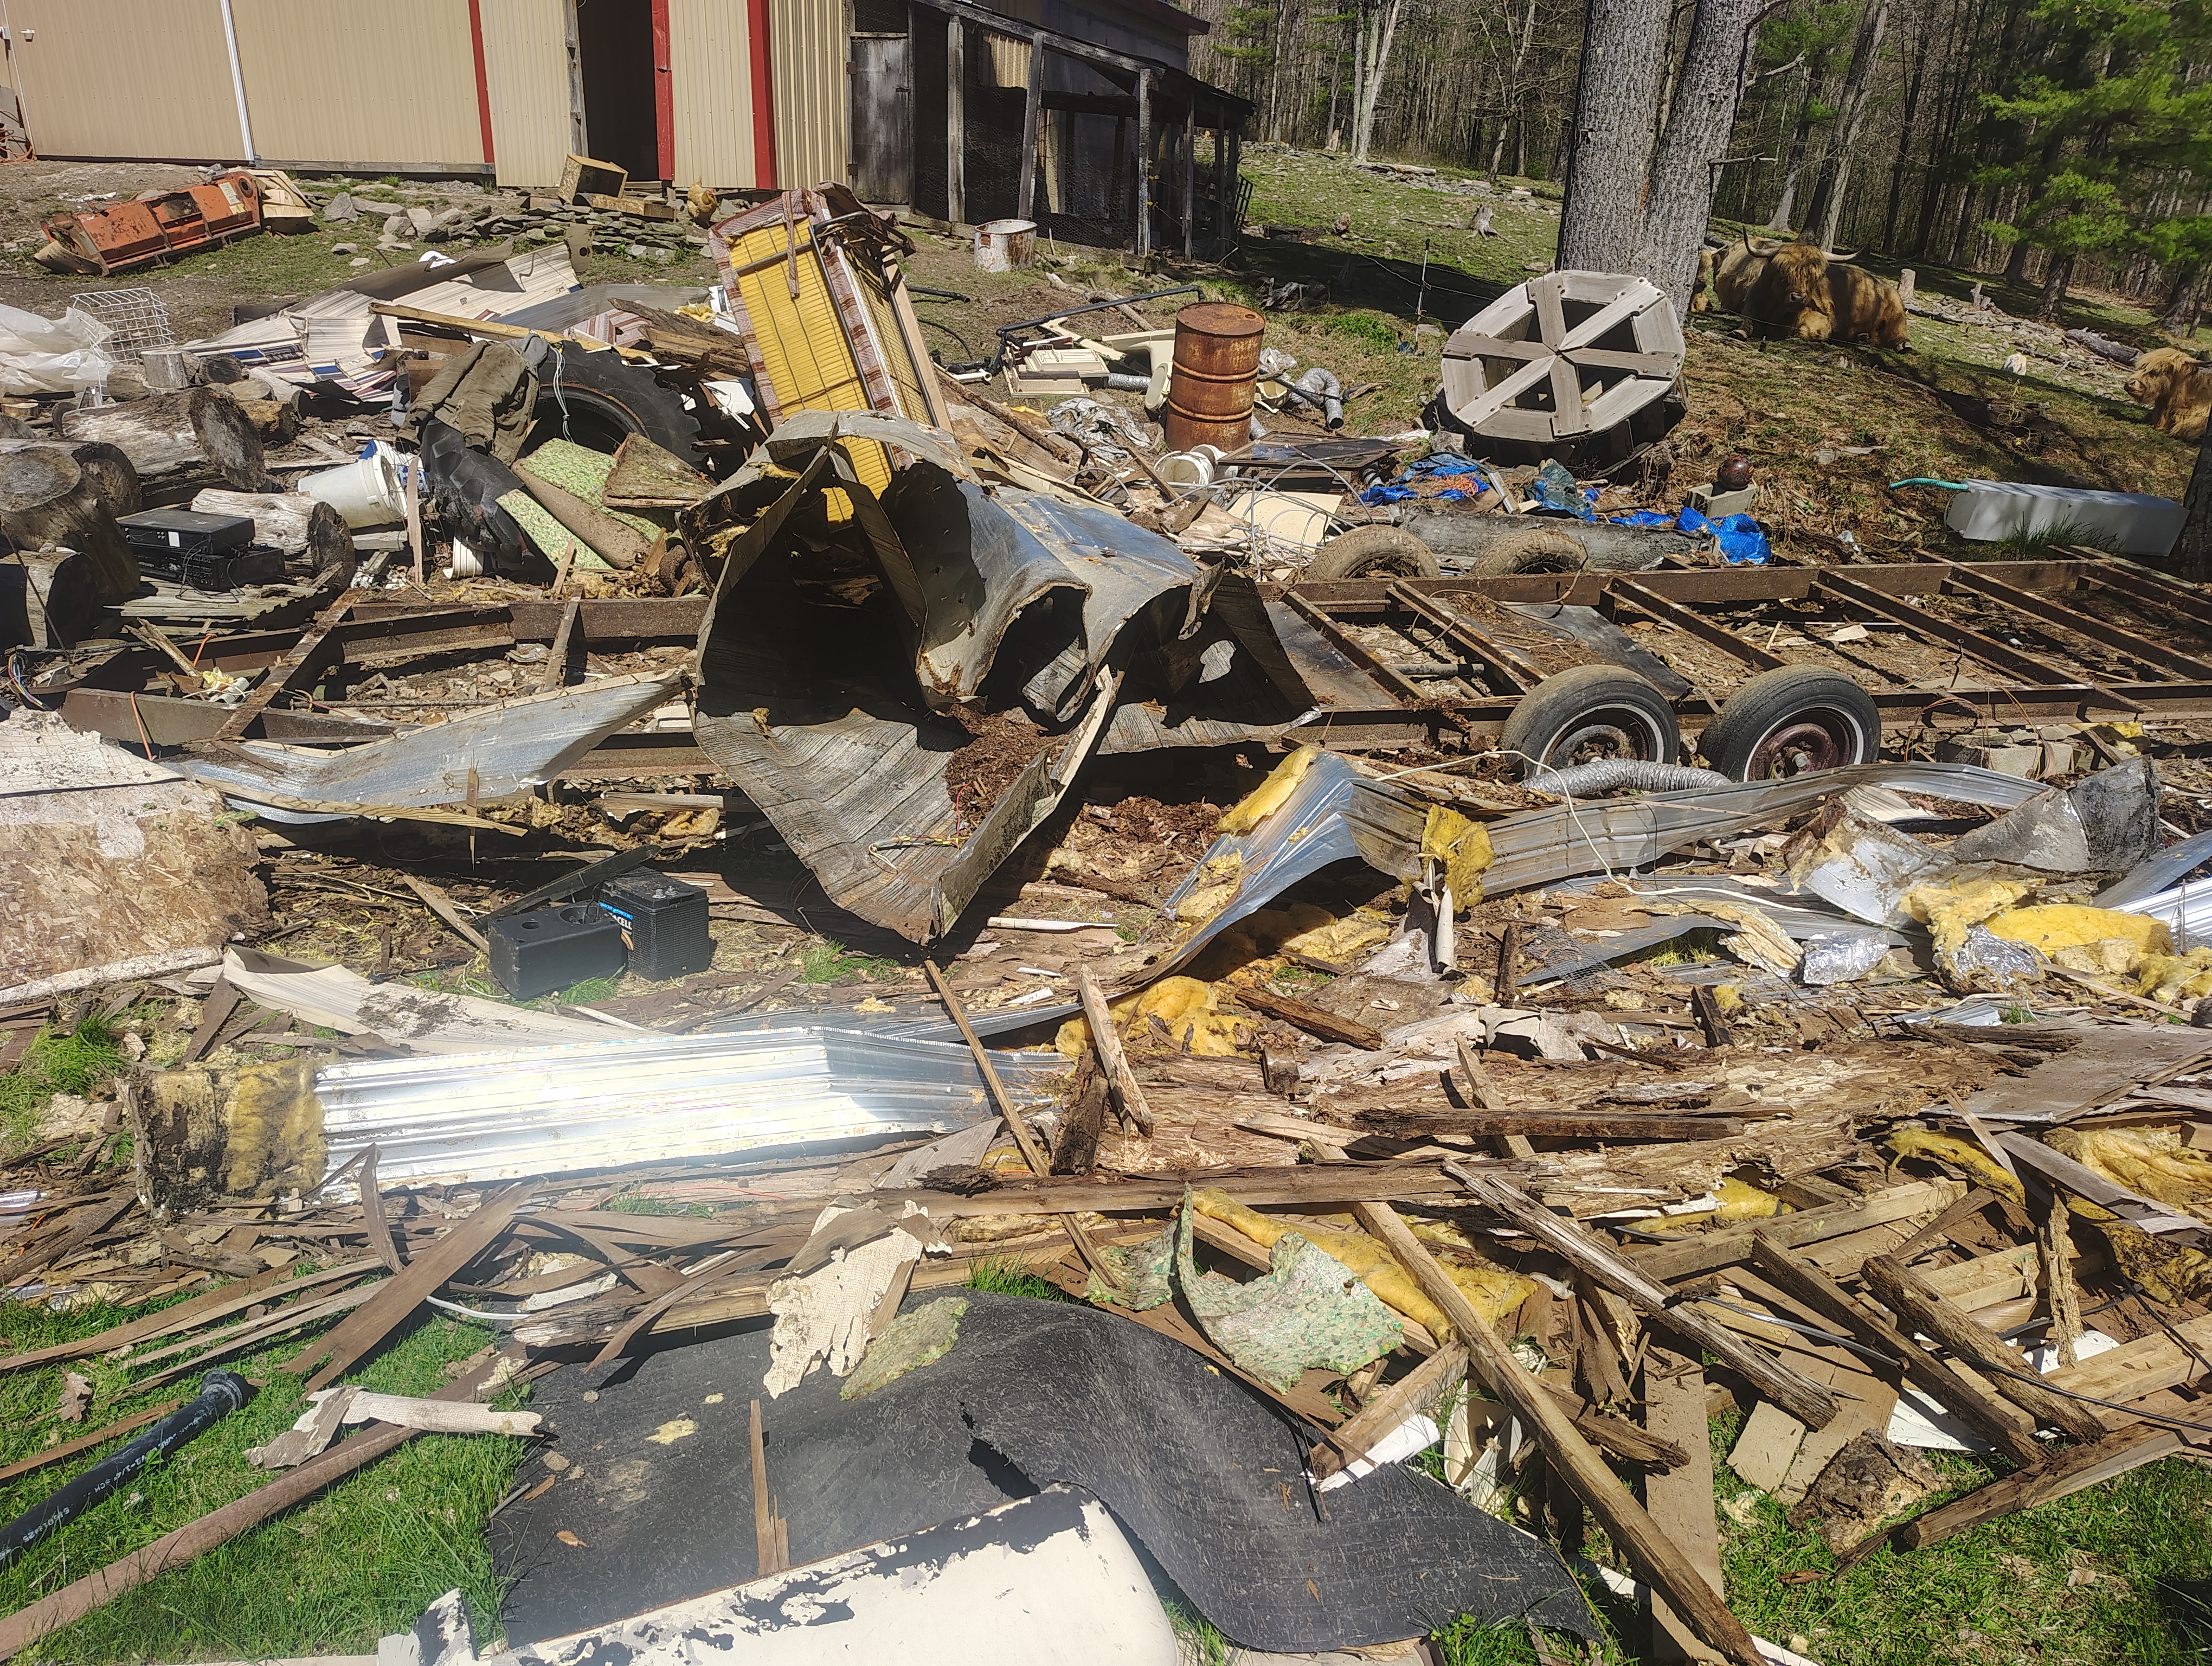
Already endeared to the thought of using the frame, I hurried inside to begin pricing out the needed materials. I spent a couple hours in my bedroom office perusing Lowe’s website. Many a link was copied down for listings of 2x4s, plywood, roof panels, and more. Tragically, when all this was added up, even using the cheapest materials, the total was well over a grand. That was after accounting for only about half of the materials that would be necessary; it might have cost me two or three thousand by the time all was said and done. I didn’t take kindly to the idea of needing to sell eggs at current prices for two or three years just to break even. So, it was time for plan B, the frugal man’s best friend, Facebook Marketplace.
I hopped on the Marketplace site and delved into the magical world of used wares. My first inkling was to search directly for ‘chicken coops.’ I found a few structures here and there advertised as such, but they were often pretty small and frankly didn’t look as if they’d survive the move. Next on my list of ideas was used sheds, but I ran into some of the same issues. Most sheds were roughly 8×8 or 8×10, much too small, and any larger ones were too expensive or too far gone. So, the search continued, and I looked at every roughly square-shaped quasi-structure marketplace had to offer.
Eventually, I narrowed things down to two candidates. Option 1 was a shipping container. They were all 8.5′ wide and came in lengths of either 20′ or 40 ‘. On the plus side, they were large, durable, water-tight, and featured large barn-style doors. The downside? They were pricey, difficult to move if bought from a private seller, and came with an additional shipping fee if sourced through a bona fide container dealer. Beyond that, adding features to walls would have proved difficult due to the containers’ metal construction.

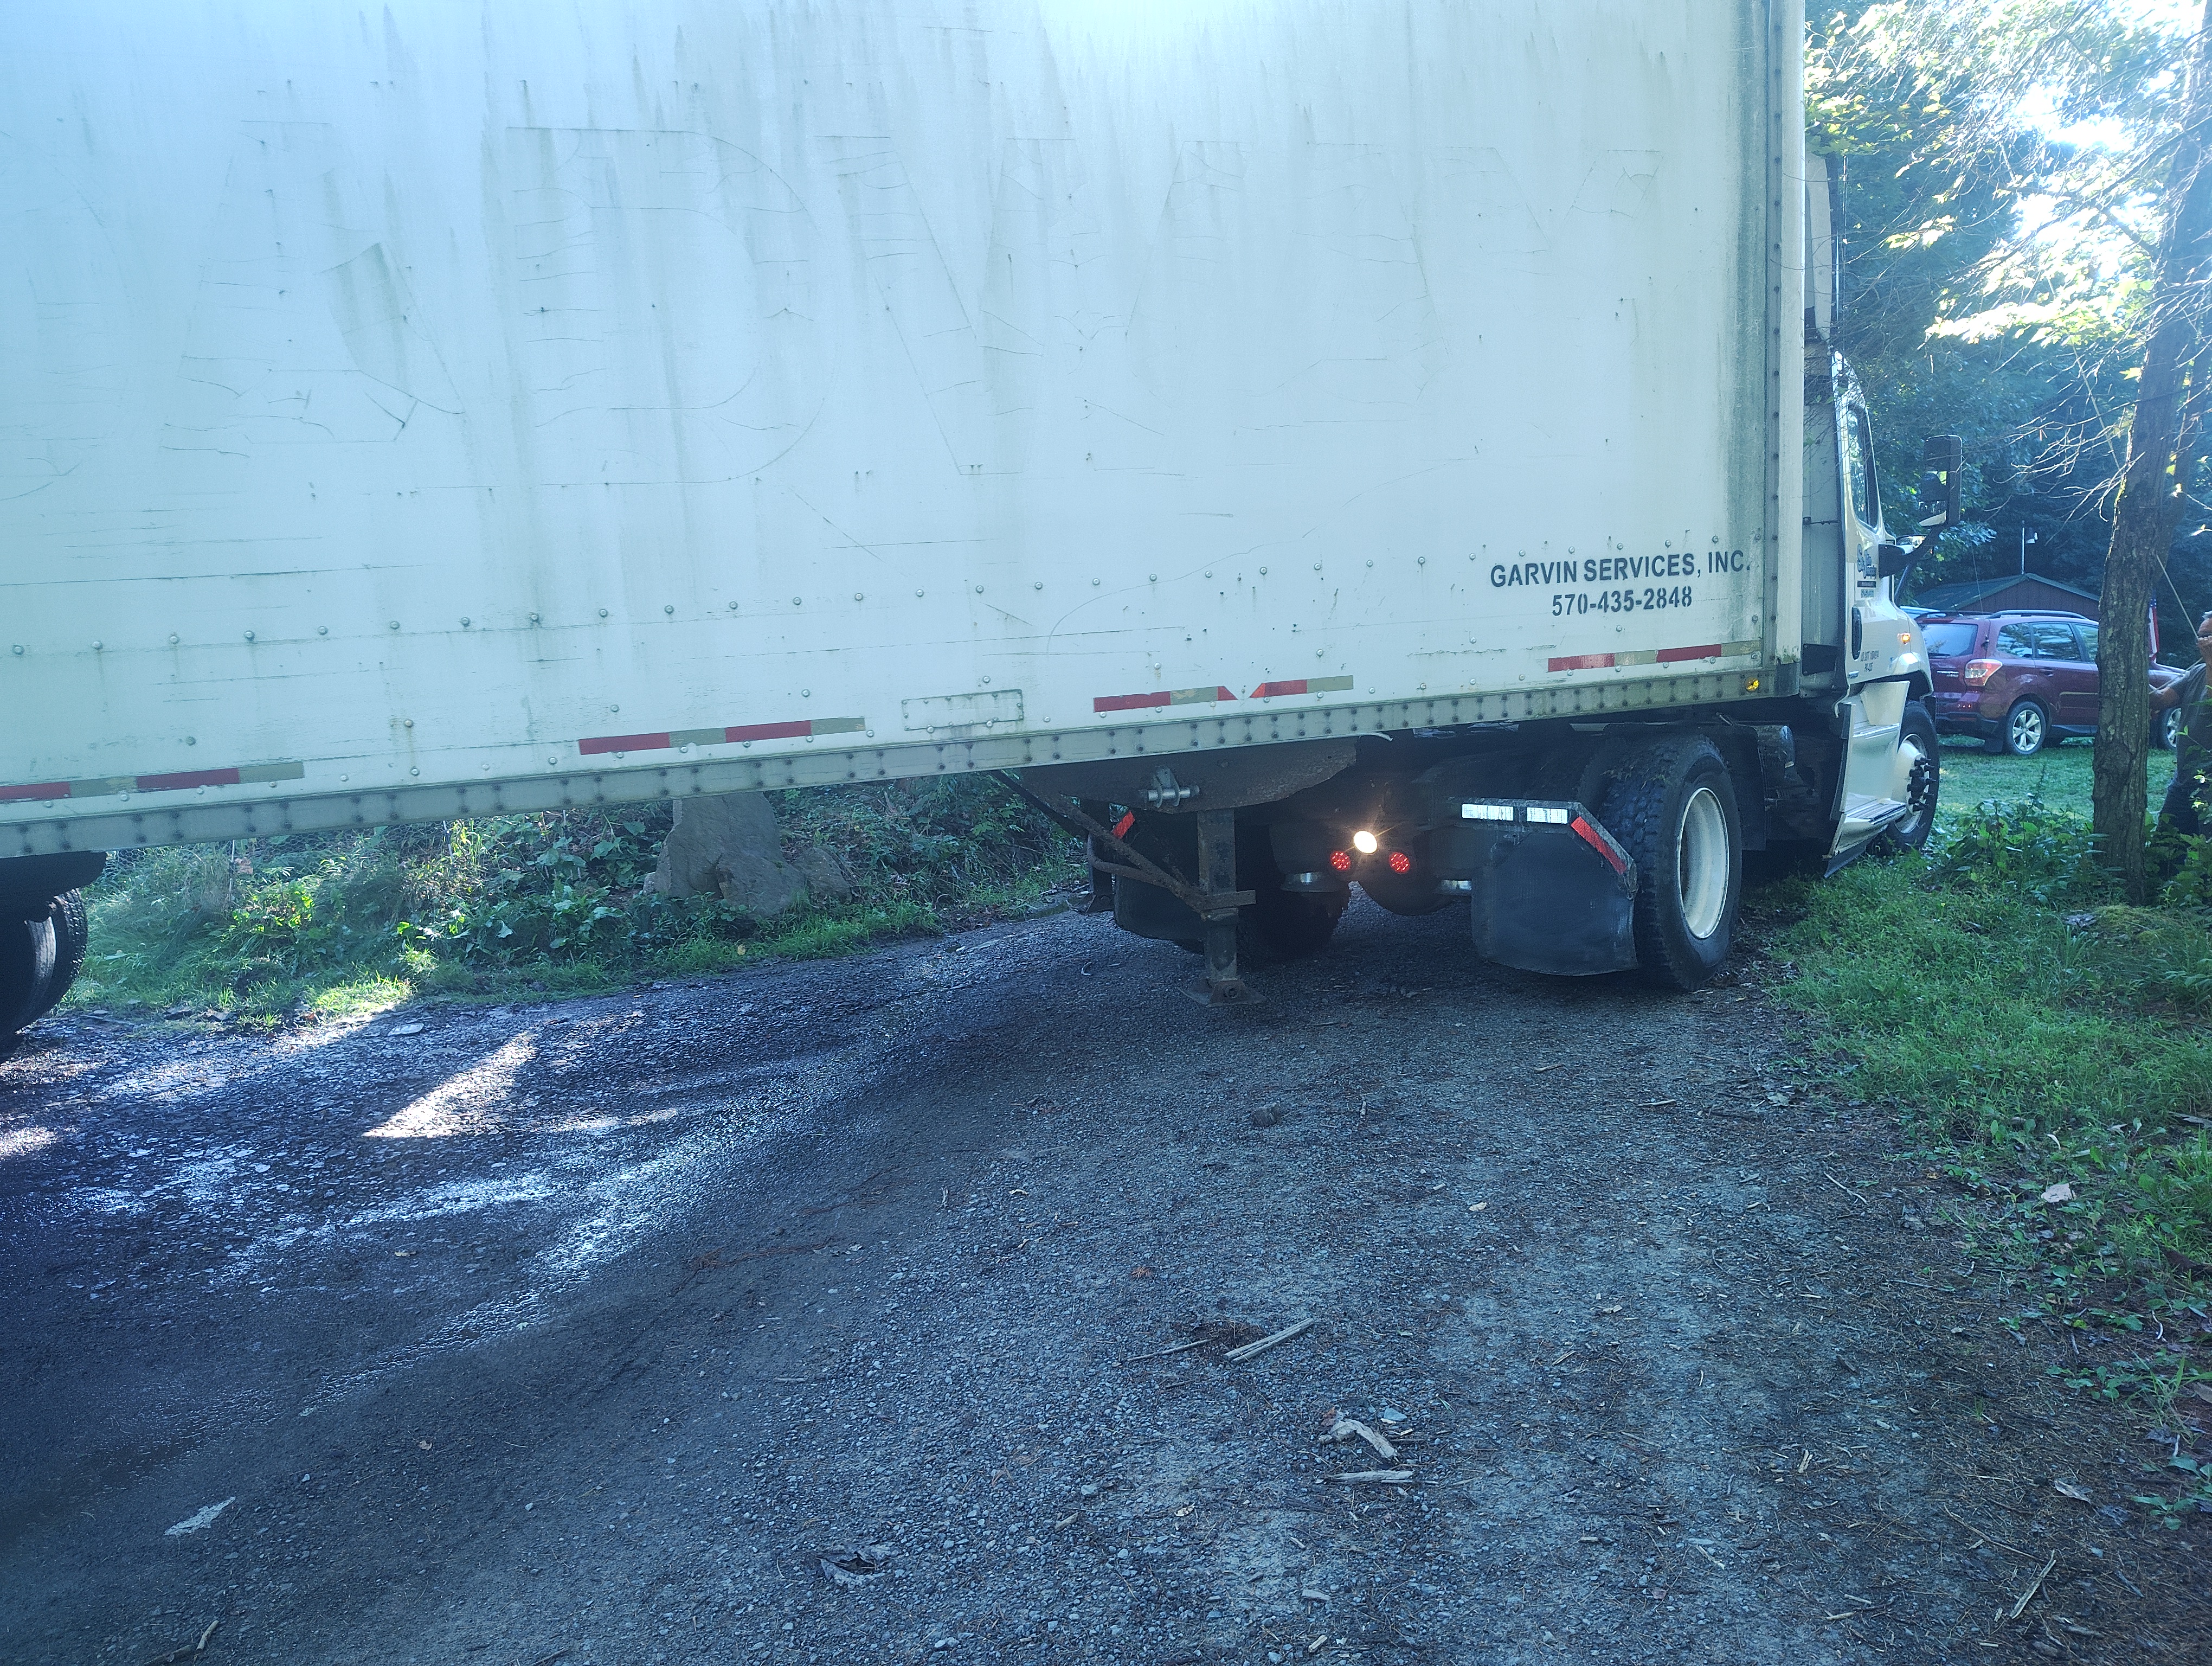
Option number 2 was a box from a van trailer (think tractor-trailer) or a box truck. These could be found in lengths anywhere from 10′ to 53′, were generally cheaper, and if still on the running gear (axles and wheels), they were easily transportable. Another benefit, the wooden walls commonly found in these types of trailers aren’t always as durable as a shipping container’s, but they are easier to cut into.
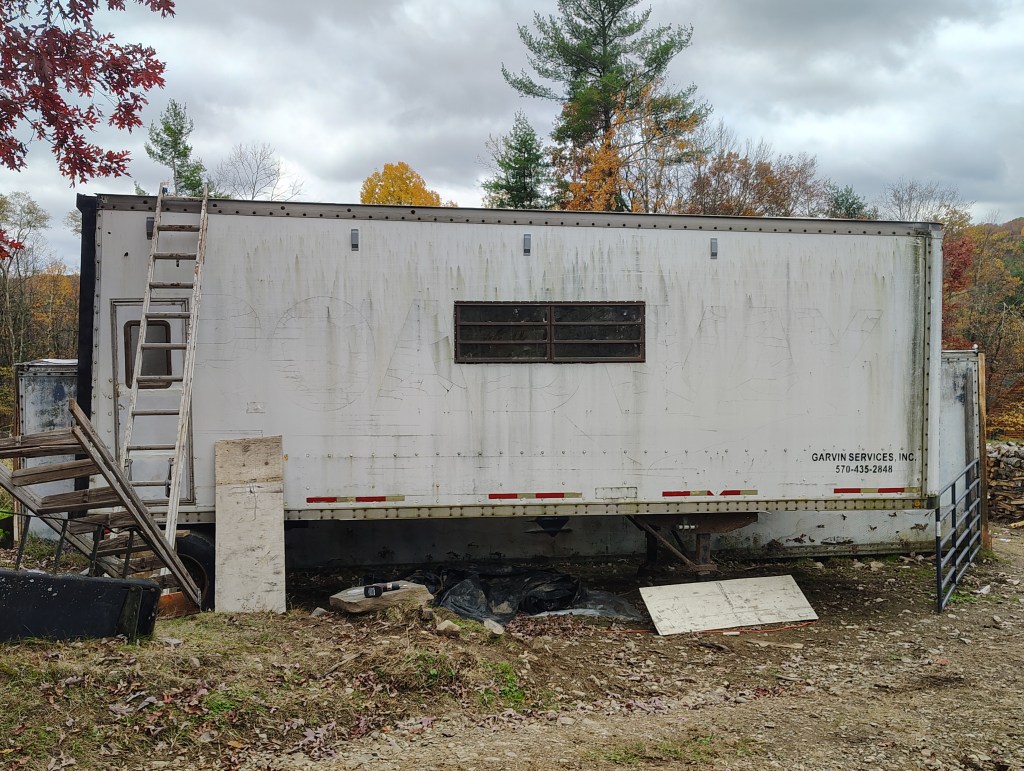
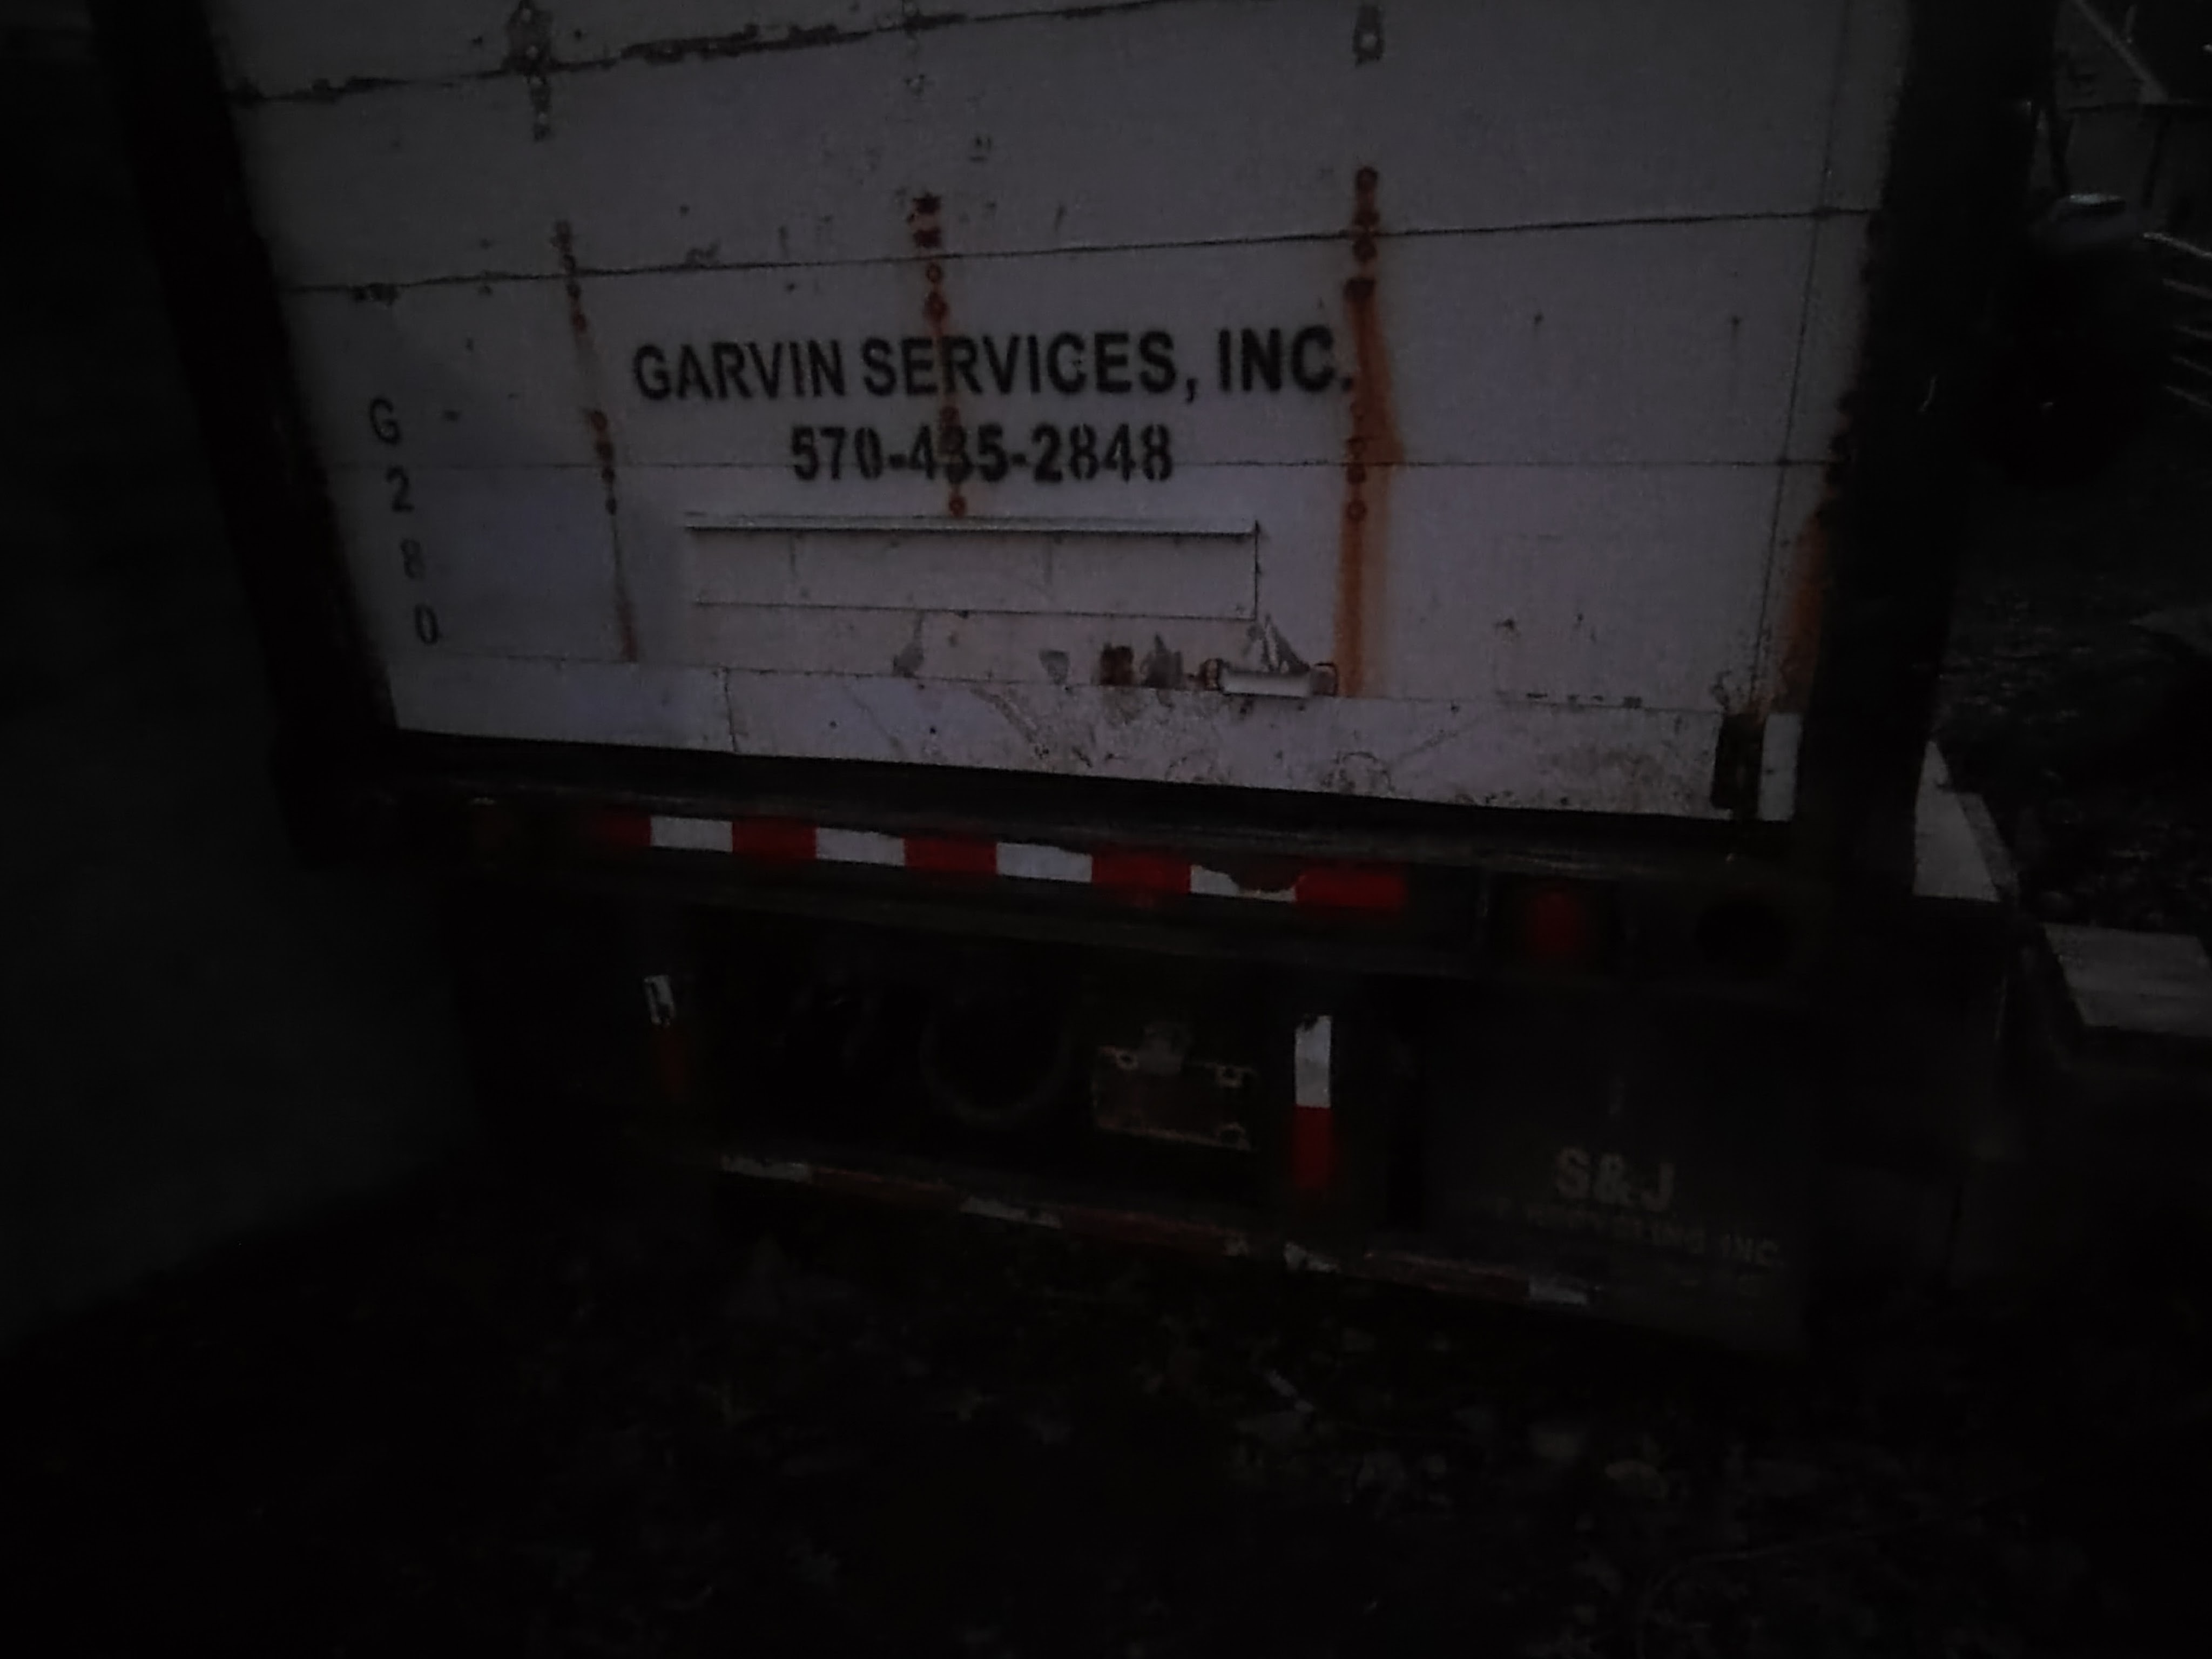
I narrowed my search to these two options and honestly would have gone with either in the event that a good deal appeared. Several sellers were contacted, but in the end, I found success with a tire recycling company roughly 2 hours south of the farm. They had a host of single-axle dry-van 28′ ‘pup’ trailers for sale due to the company updating its fleet. One trailer in particular was listed for just $1,000 because it had been out of service for a while and was used for storage. That meant it was a little rough around the edges and not quite road-worthy—not a problem for me. My searching eyes also quickly noticed that this trailer was equipped with a metal floor, in addition to a metal ceiling and front wall. Thinking that would help preserve the trailer during the course of my usage, I jumped on it. The company charged me 300 for delivery and parked it right where we needed it. The driver was even helpful enough to let us tow him up the last 30 feet or so when he couldn’t make it.
Making a Trailer Into a Home
The trailer sat for a couple weeks while my focus was on other projects. Before long, though, I had to face the task of converting my new acquisition into a functional chicken coop. It was around this time a batch of 50 Isa Brown chicks arrived. We put them up in a smaller spare coop we had not used in a while, after re-hardening its predator defenses, of course. The spare coop was big enough for the time being, but the chicks would soon outgrow their temporary home, which meant the clock was ticking. I had wanted to find a trailer outfitted with a set of barn doors, but the one I ended up with had a roll-up door on the back end. The bottom panel on the door was a bit rotted, and while the whole thing still rolled, it did so reluctantly.
So, the first order of business was to install a man door. If you find yourself in a similar situation, I recommend you buy a door, as I should have. Remember that trailer frame we had lying around? When that old camper fell apart a few years ago, I disassembled what was left and saved a few things. Among those things was a man door and a metal frame with an attached screen door. It’s worth noting at this point that said camper had two man doors, and this door did not originally go to this frame. I assumed that the two mandoors and frames were all the same size. Never assume anything.
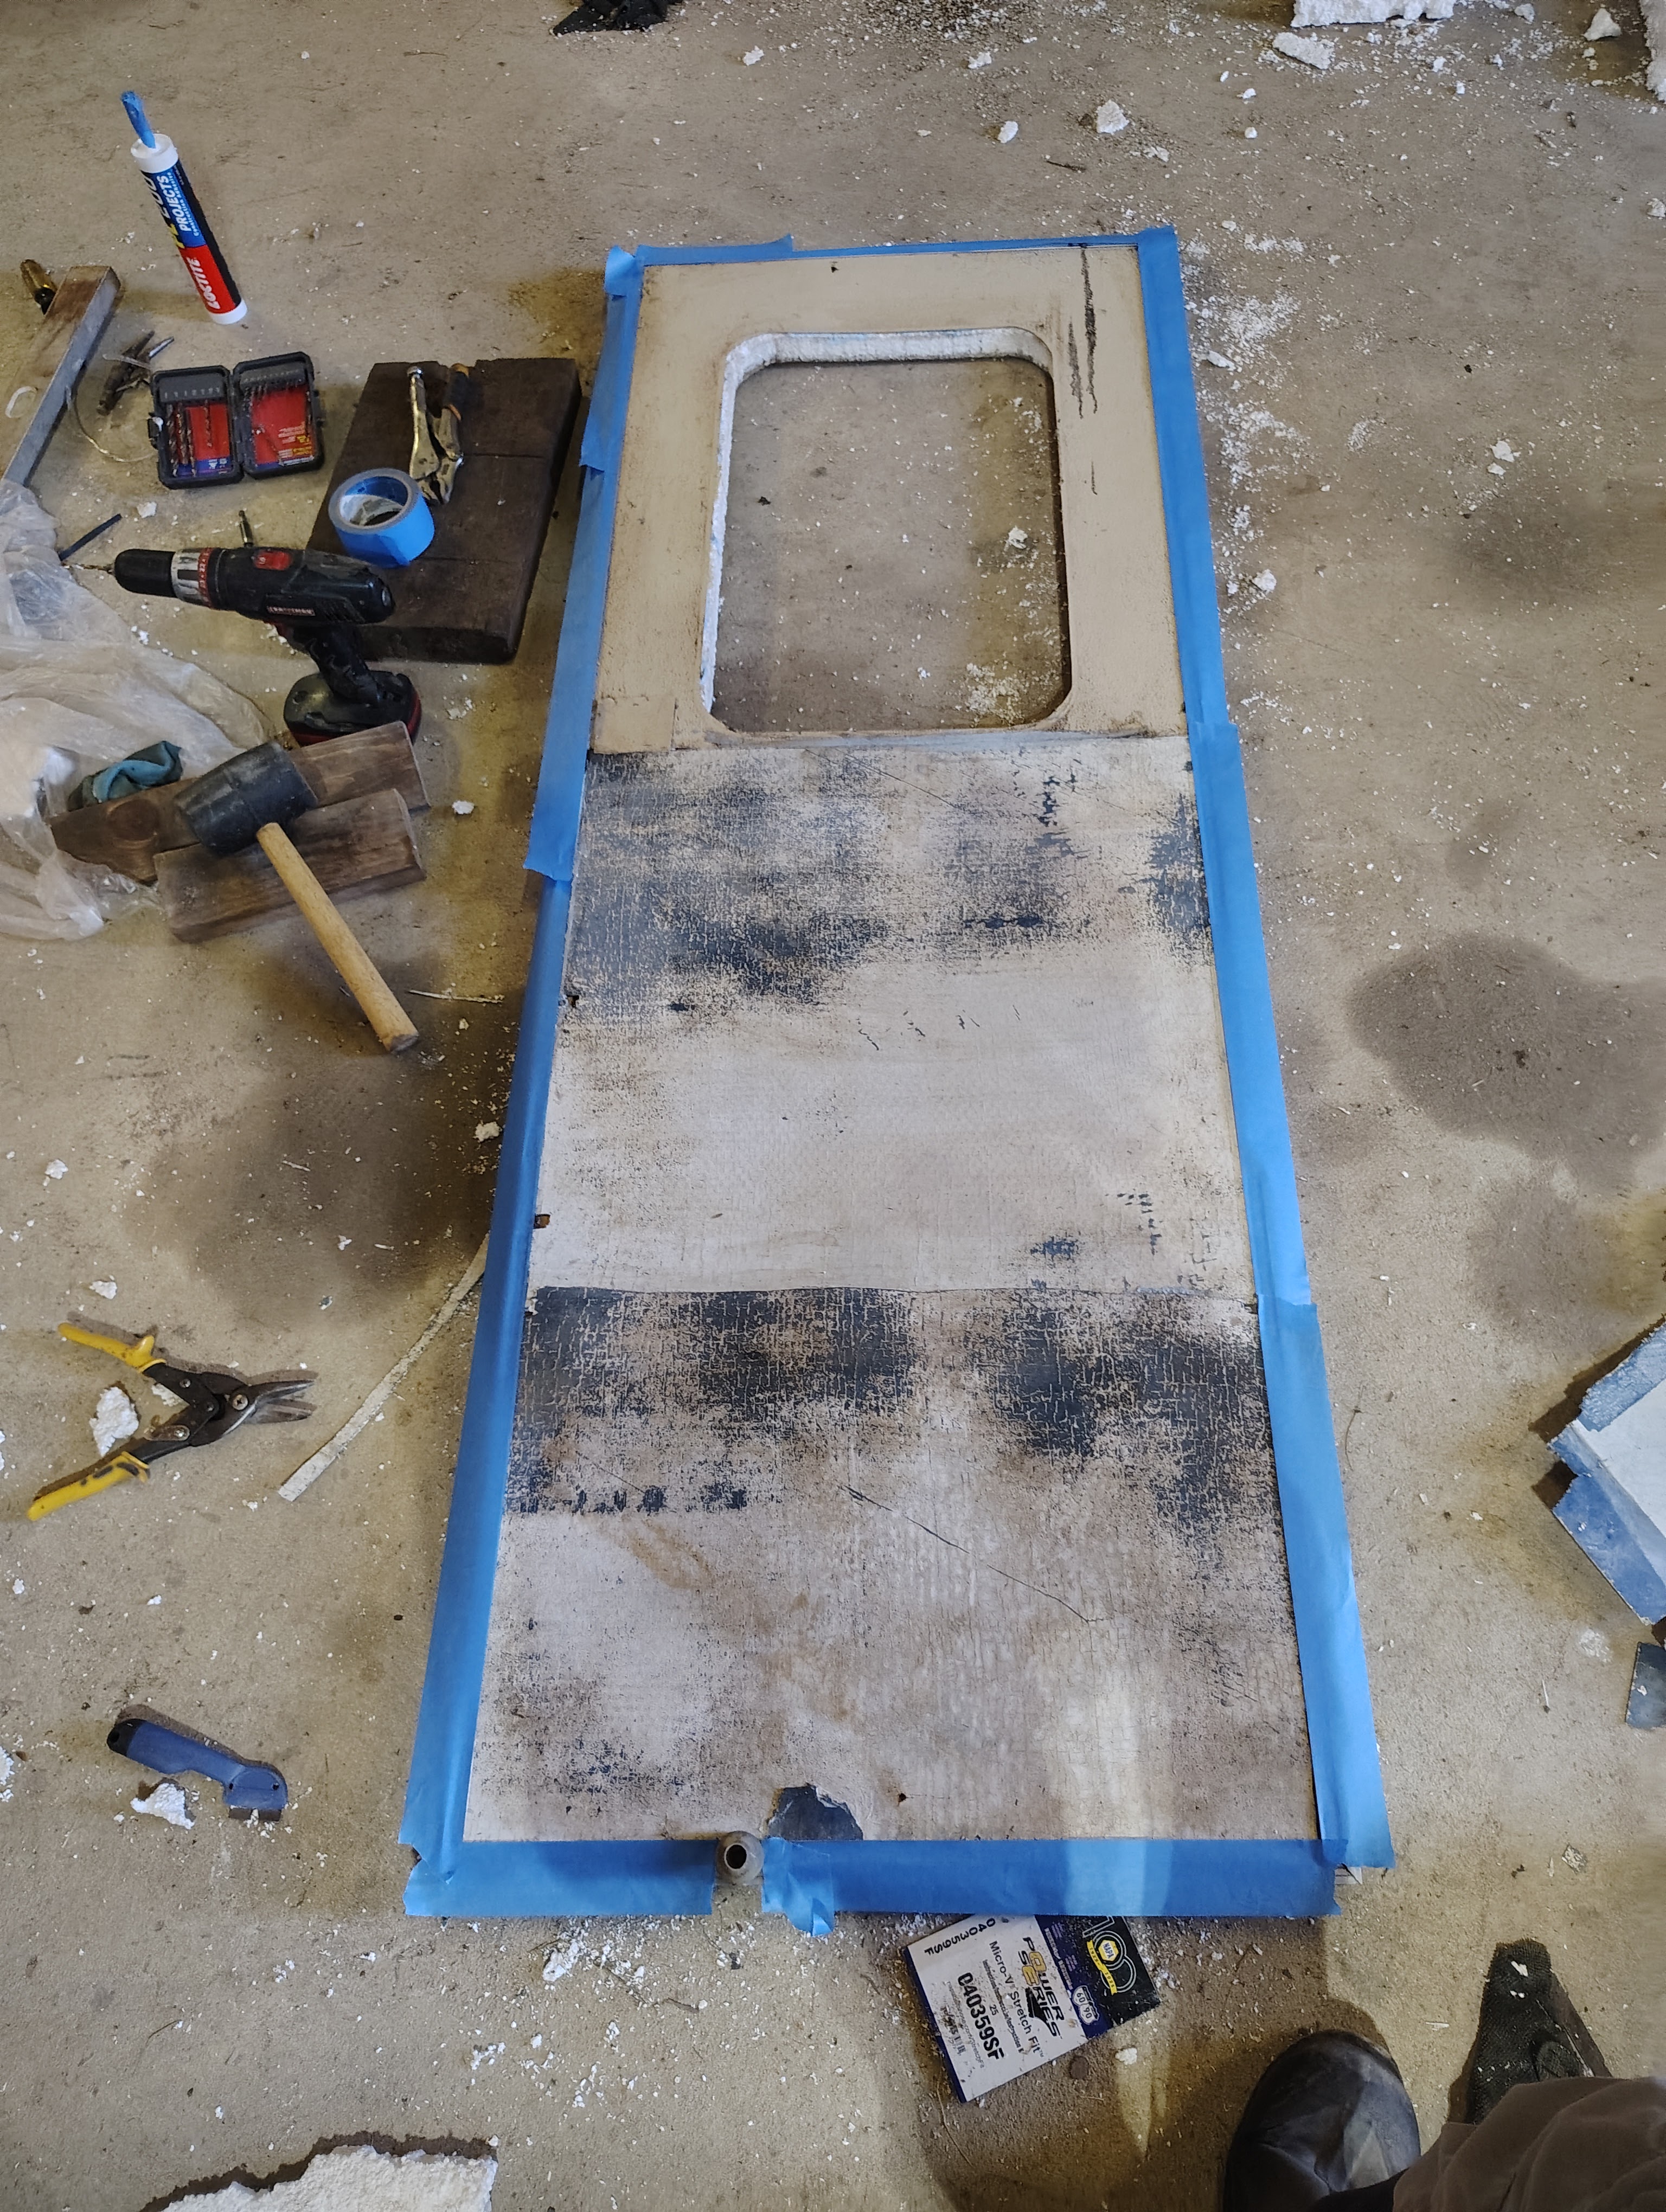
The door I had needed some repair and I was determined to do so without spending any money. I spent longer than I would like to admit replacing a rotted section of the outer door frame, about half of the insulation inside the door, and some of the outer fiberglass panel. I did it all with scrap materials, and it cost me nothing. Every joint and seam on the door was sealed up, and the door looked pretty good, if I do say so myself. Then I mated my door with the good frame I had, closed the door, and… it didn’t fit.
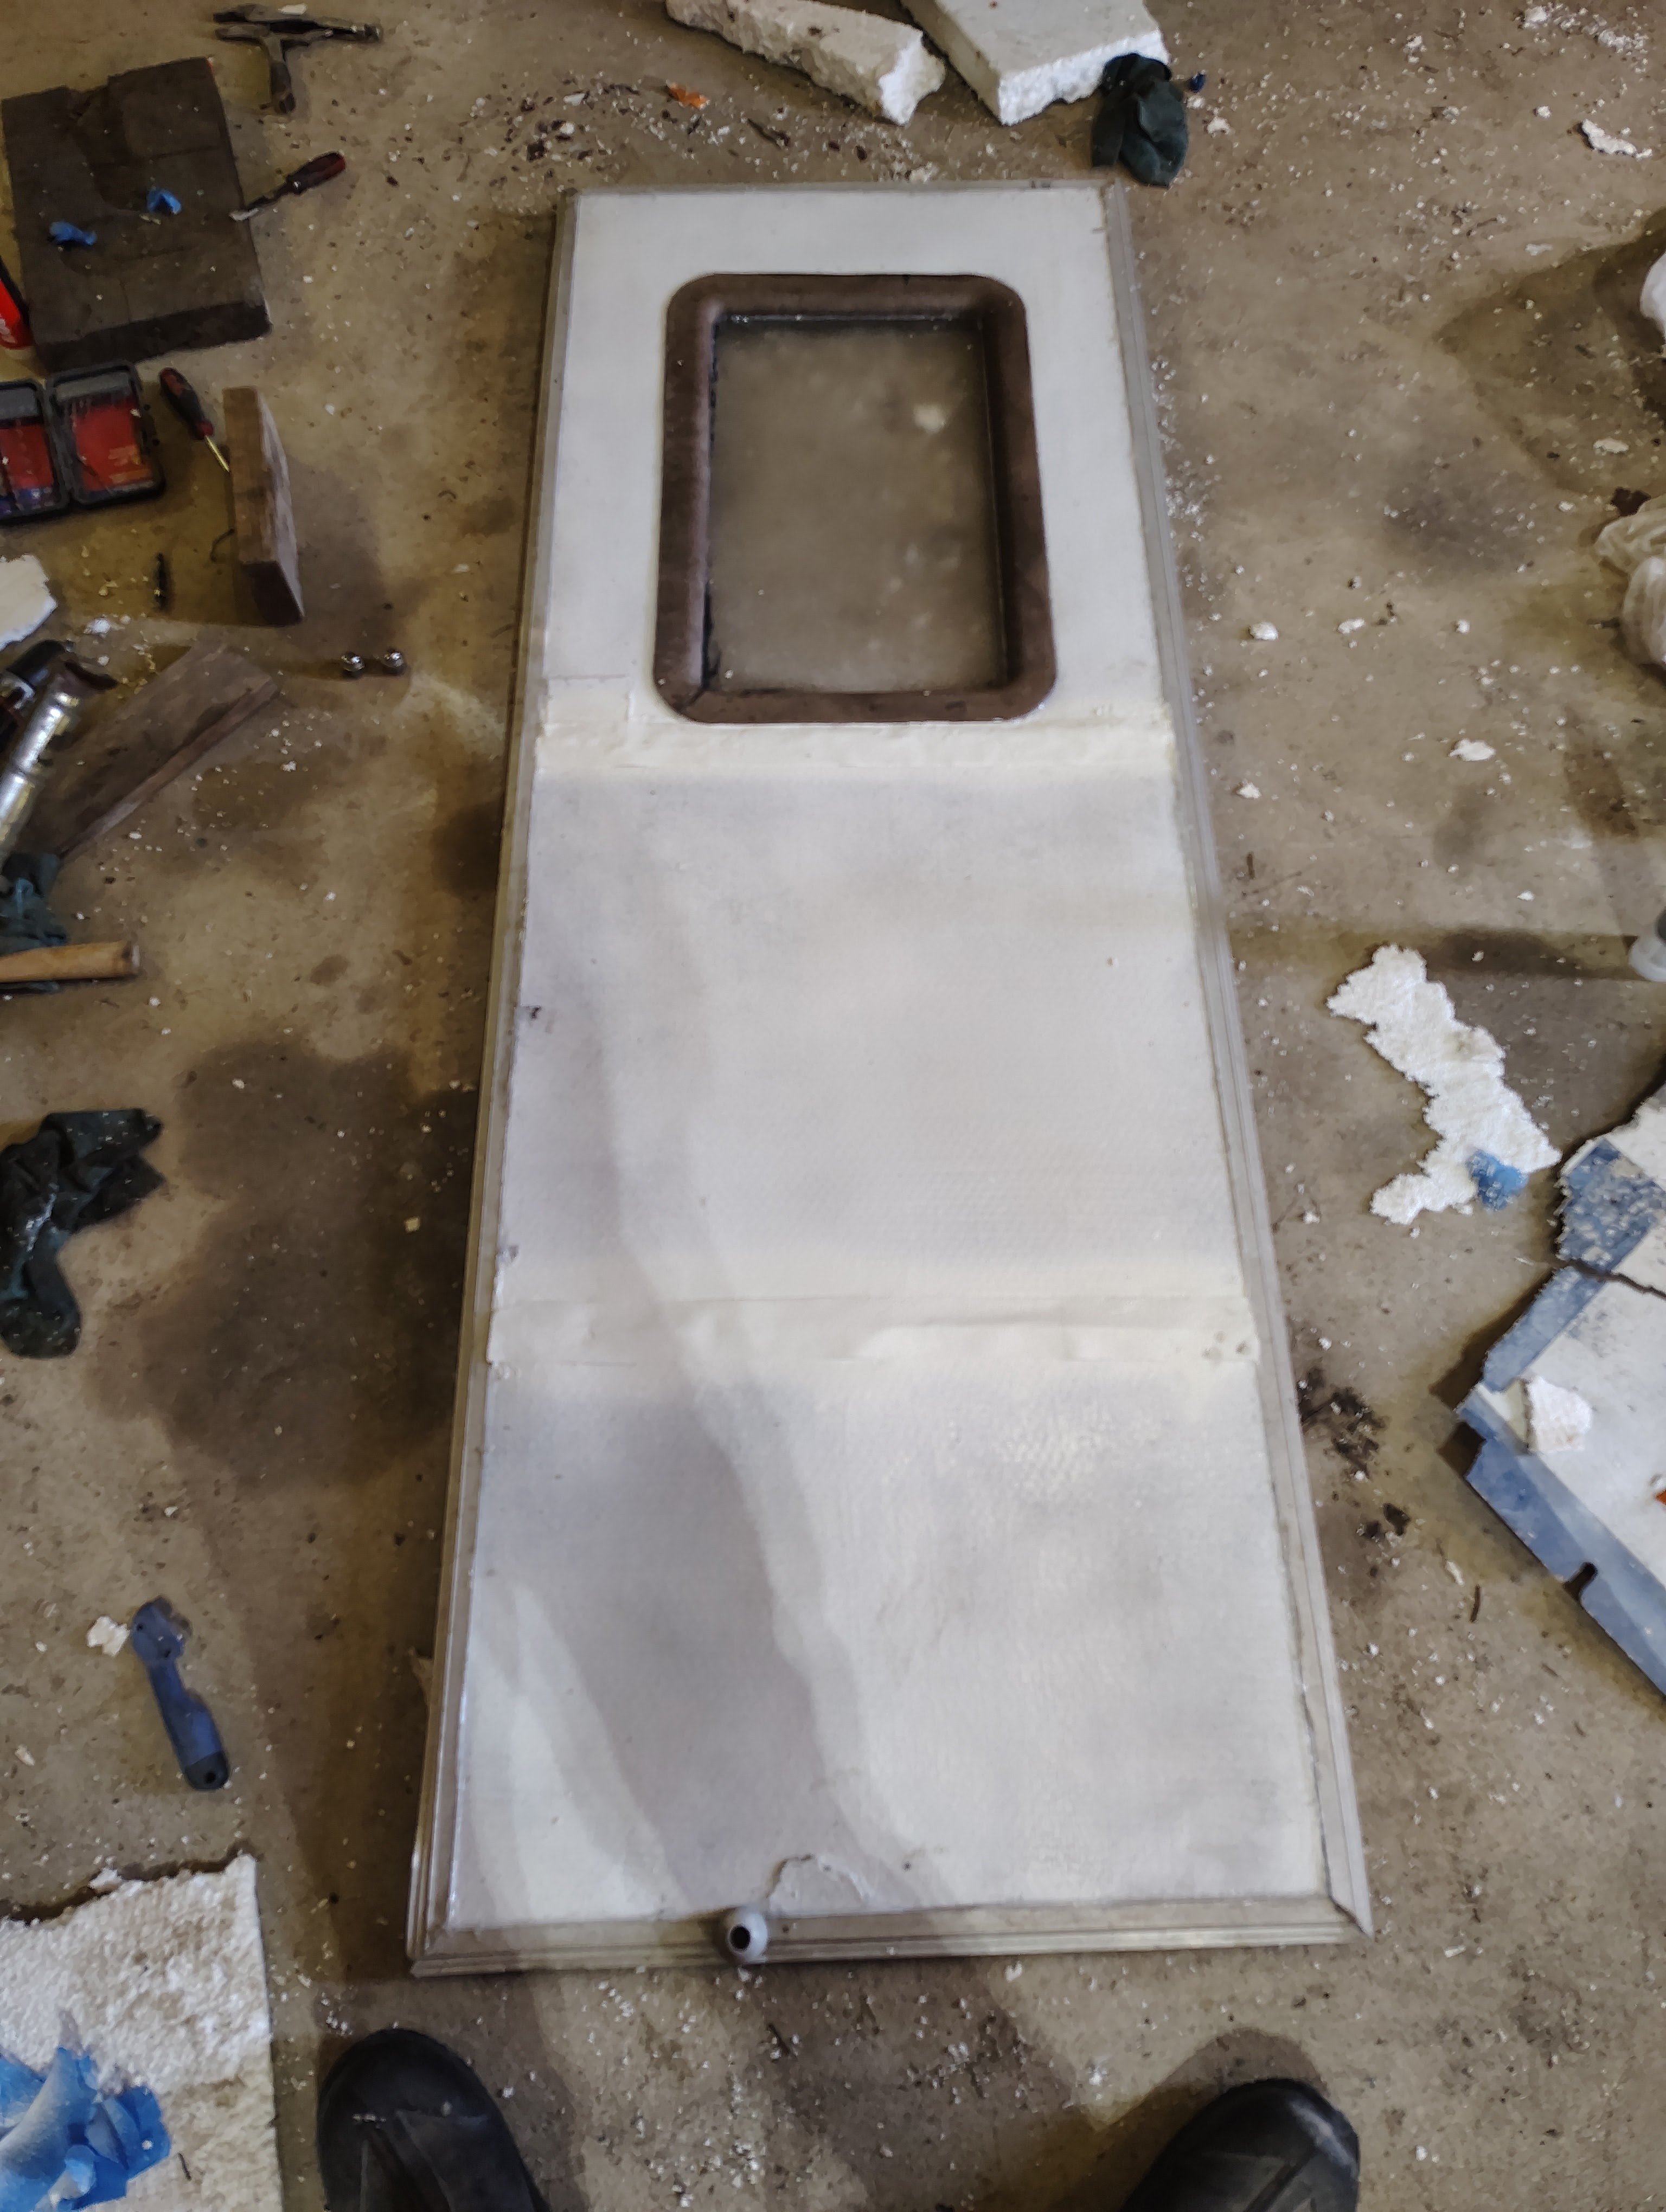
The door was two inches wider than the frame, oops. As it turned those man doors on that old camper were in fact not the same size. So I was left with no choice but to pull the trim off one side of the door and cut everything down by two inches: the outer panel, the insulation, the top and bottom frame pieces, and the inside panel. Even after all that, the door still closed a little tight. Not to worry, I shaved it down a bit in a very precise manner using an angle grinder.
Finally, I toted the door up into the trailer and gathered some tools for the final installation. Using a level for a straight edge, I marked out the proper-sized rectangle for the door on the wall. Next, I put holes in the corners of the outline using a drill and progressively larger bit sizes. I cut the door hole using solely a battery-operated jigsaw and some aggressive blades. It worked… okay. The saw was a bit violent, and my lines weren’t always exactly straight, but that wasn’t a huge deal.
After making a couple of adjustments to the hole, I popped the door/frame into place and screwed it tight all the way around. I caulked around the door frame to seal it up, then I added a latch and a hook to hold the door open when needed. The keen observer might notice that my door is slightly crooked—it’s off by about half an inch. I would tell them that it adds character and that I one-hundred percent intended it to be that way. After the door, I added a large window (also rescued from the camper) about halfway down the trailer to add light and ventilation. It was pretty much a repeat of the same process, although this time I opted to use a circular skill saw for my straight cuts. This resulted in straighter lines and did not provide enough vibration to change my heart rhythm.

Things seemed to move a little faster at this point. I purchased a set of small vents made from ABS plastic on Amazon. Though technically intended for shipping containers, they worked just fine for my application. I installed four of the vents along the top of the same wall as my door and window. My thinking was that the high positioning would avoid bothersome drafts for the chickens and allow year-round ventilation of moisture and fumes. The screen door and windows can only be used sparingly for ventilation during the winter due to cold drafts.
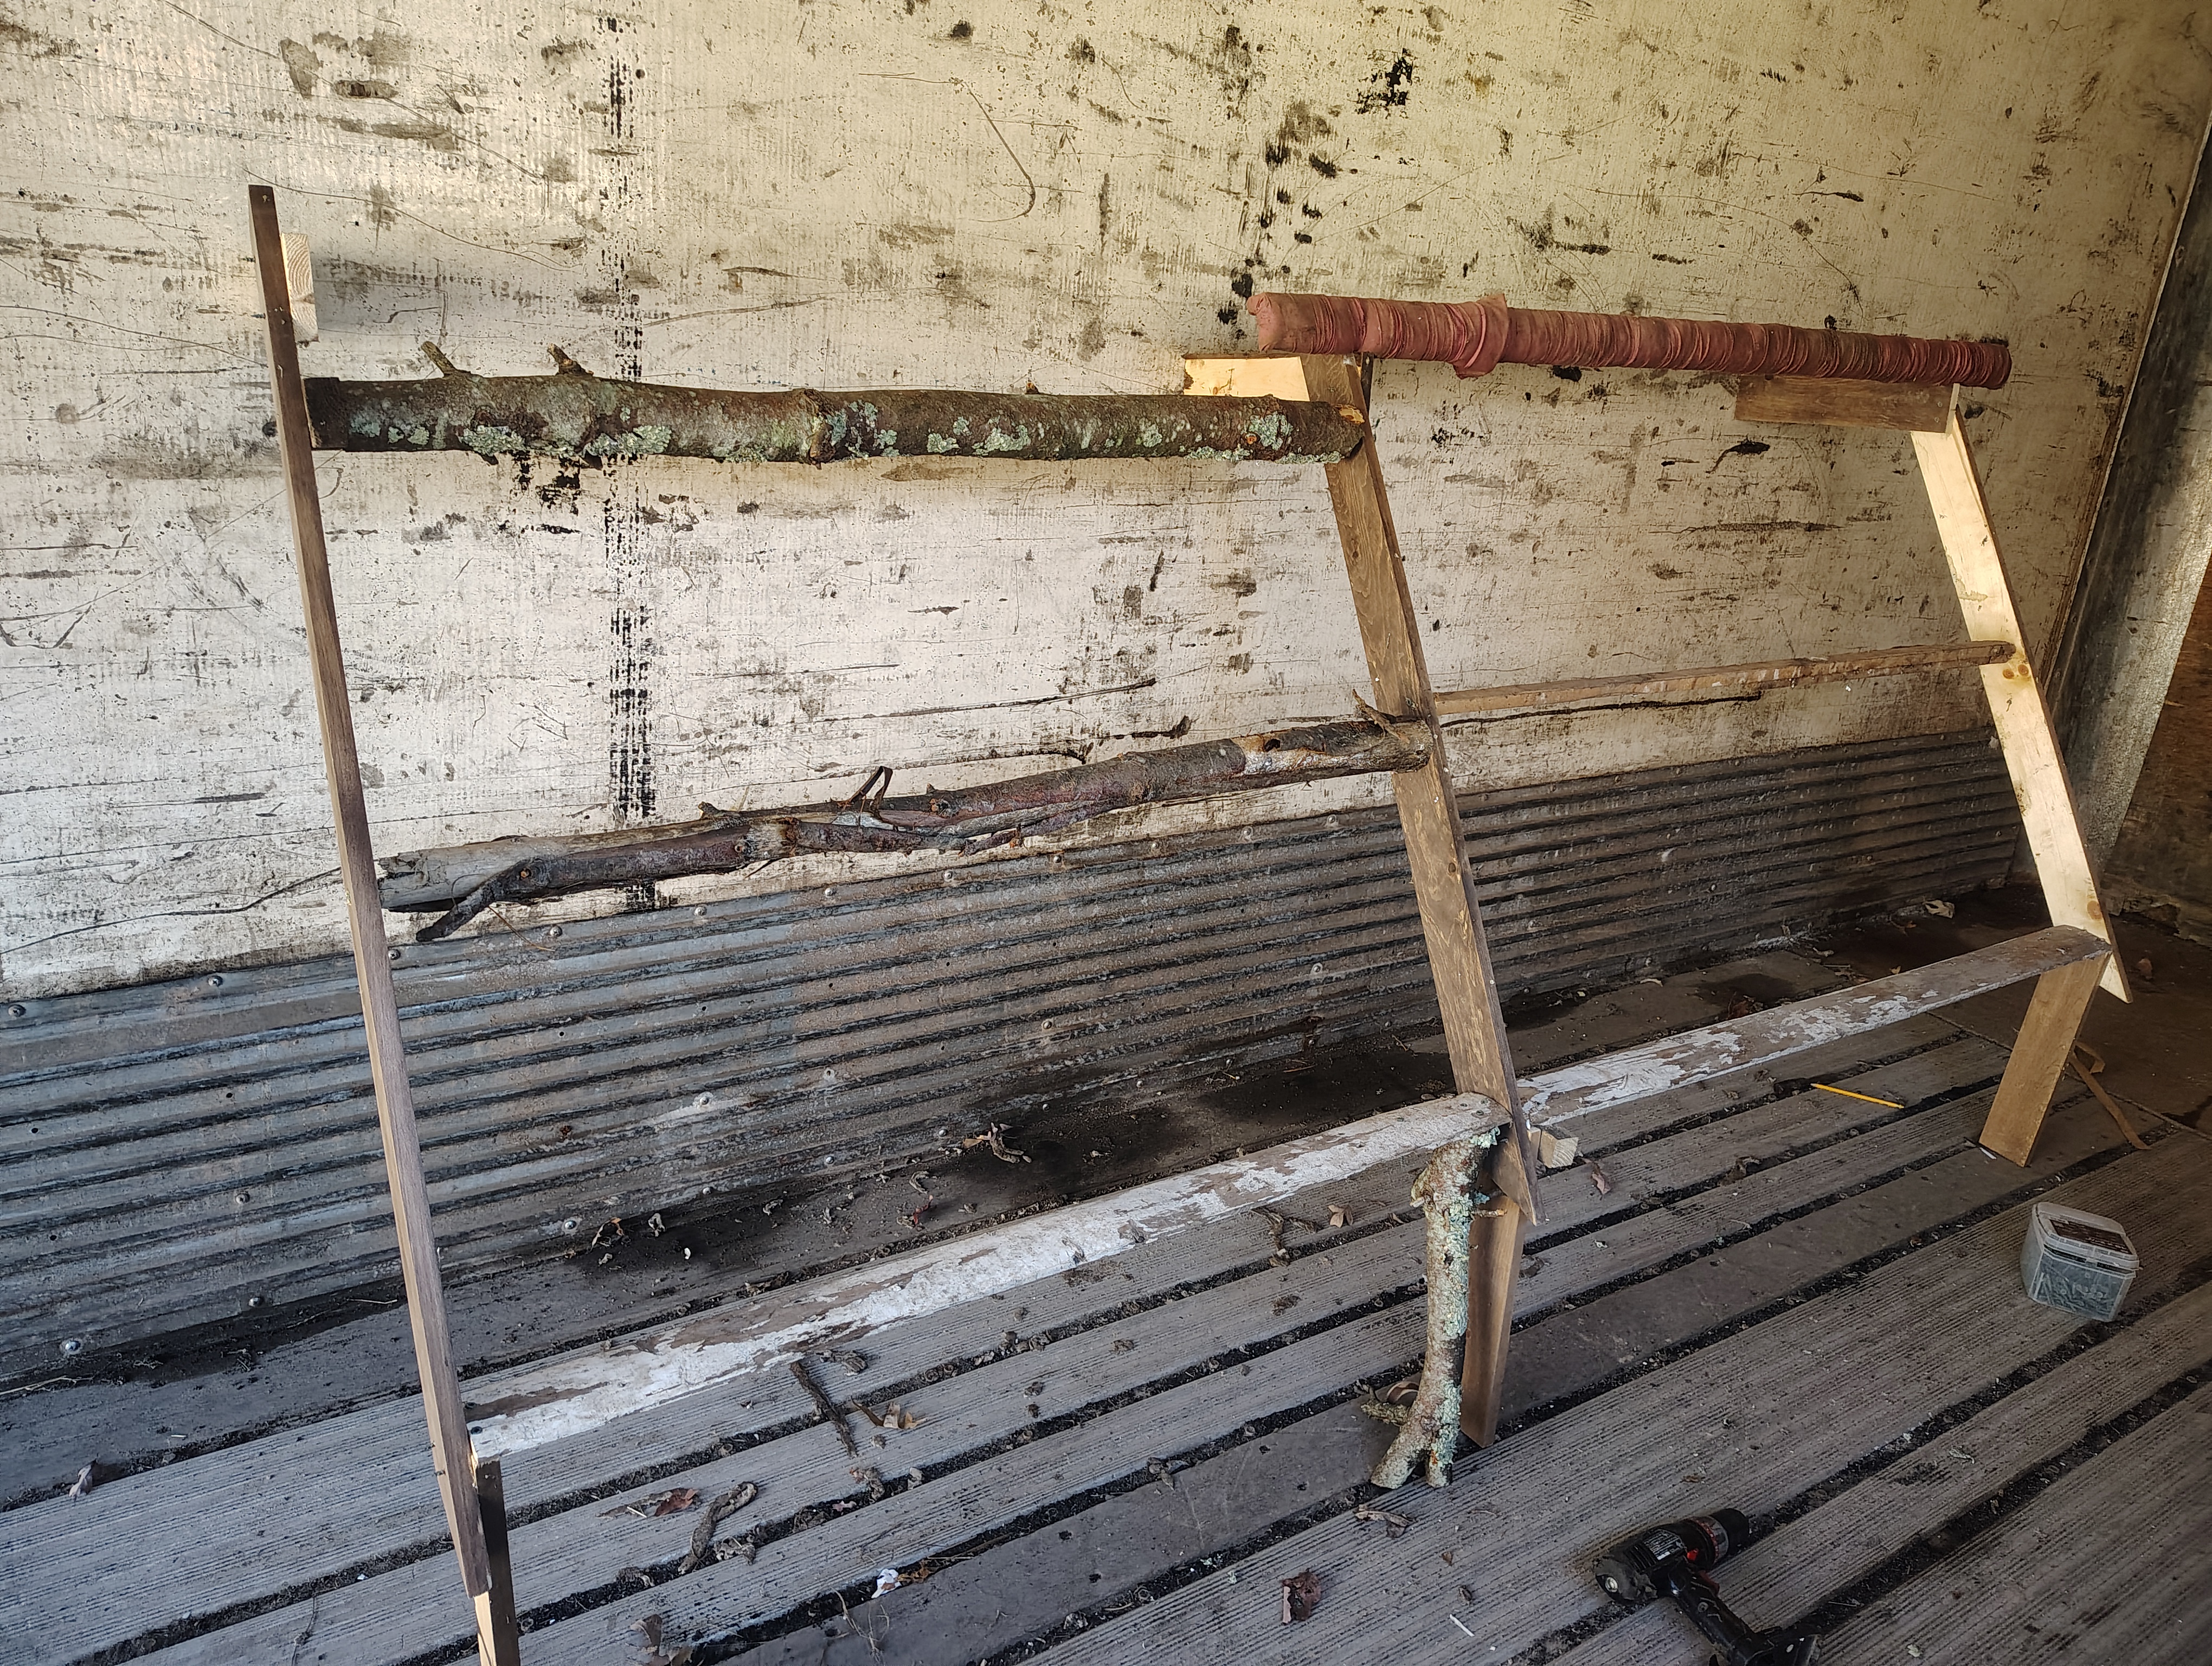
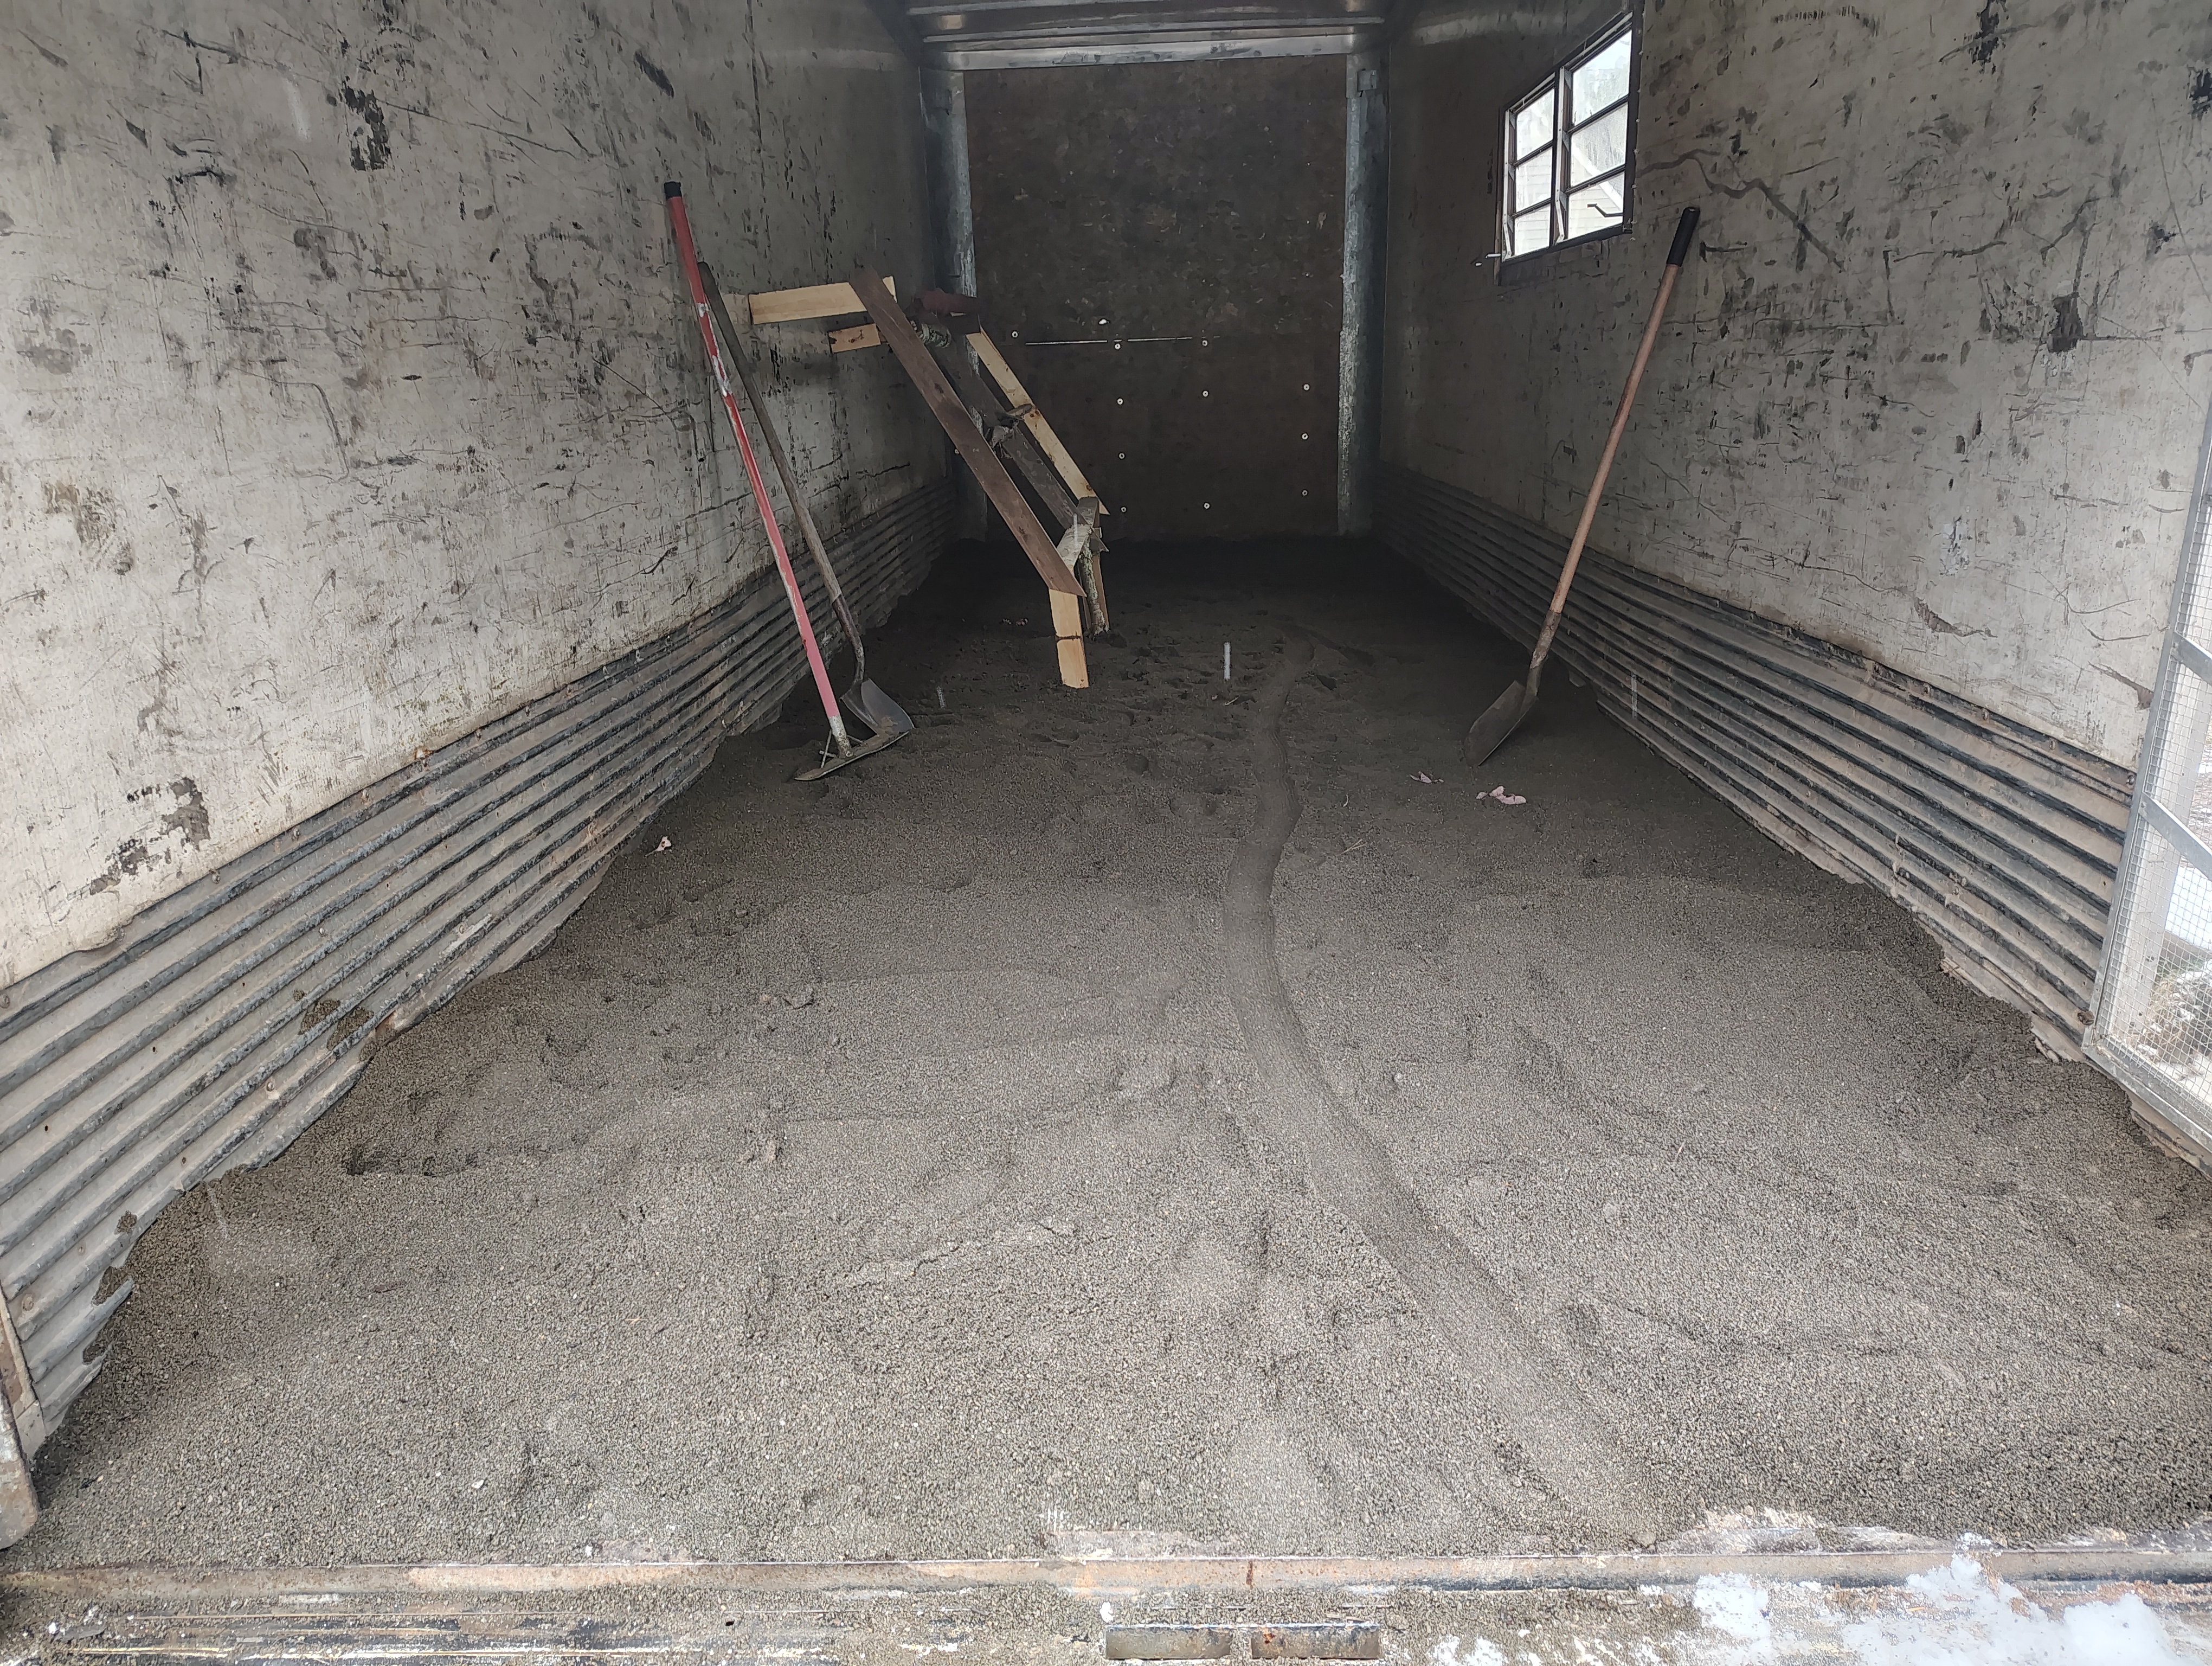
By this time, my chicks were starting to look a lot like chickens, and the pressure to move them was building. I had, and still have, lots of things left to do, but I had to choose what was necessary to finish. After googling some tutorials, I turned my attention to crafting a set of roosts. Again, wanting to save some cash, I use mostly scrap materials we had lying around. This time I had a mix of 1x4s, 1x2s, and fence panels. When all that ran out, I finished with fallen branches found in the woods. The farmer is nothing if not ingenuitive, or cheap, depending on who you ask. Making sure to space my roosting bars at least 12 inches apart horizontally and vertically, I built a sizable set of ladder-style roosts in short order. Spacer legs were affixed to the bottom and back of the roosts to keep the whole thing adequately spaced from the floor and wall.
With that mountain climbed, I contacted a nearby friend with a dump truck for some assistance. I had decided to try out river sand for bedding in my coop, and being near the Susquehanna River, we have a sand pit right outside town. The sand cost me around forty bucks for a load, which I thought was a pretty good deal. One load proved to be plenty, and my father and I had it all shoveled into the trailer the same day. We ended up with a layer about 2-3 inches deep across the whole floor.
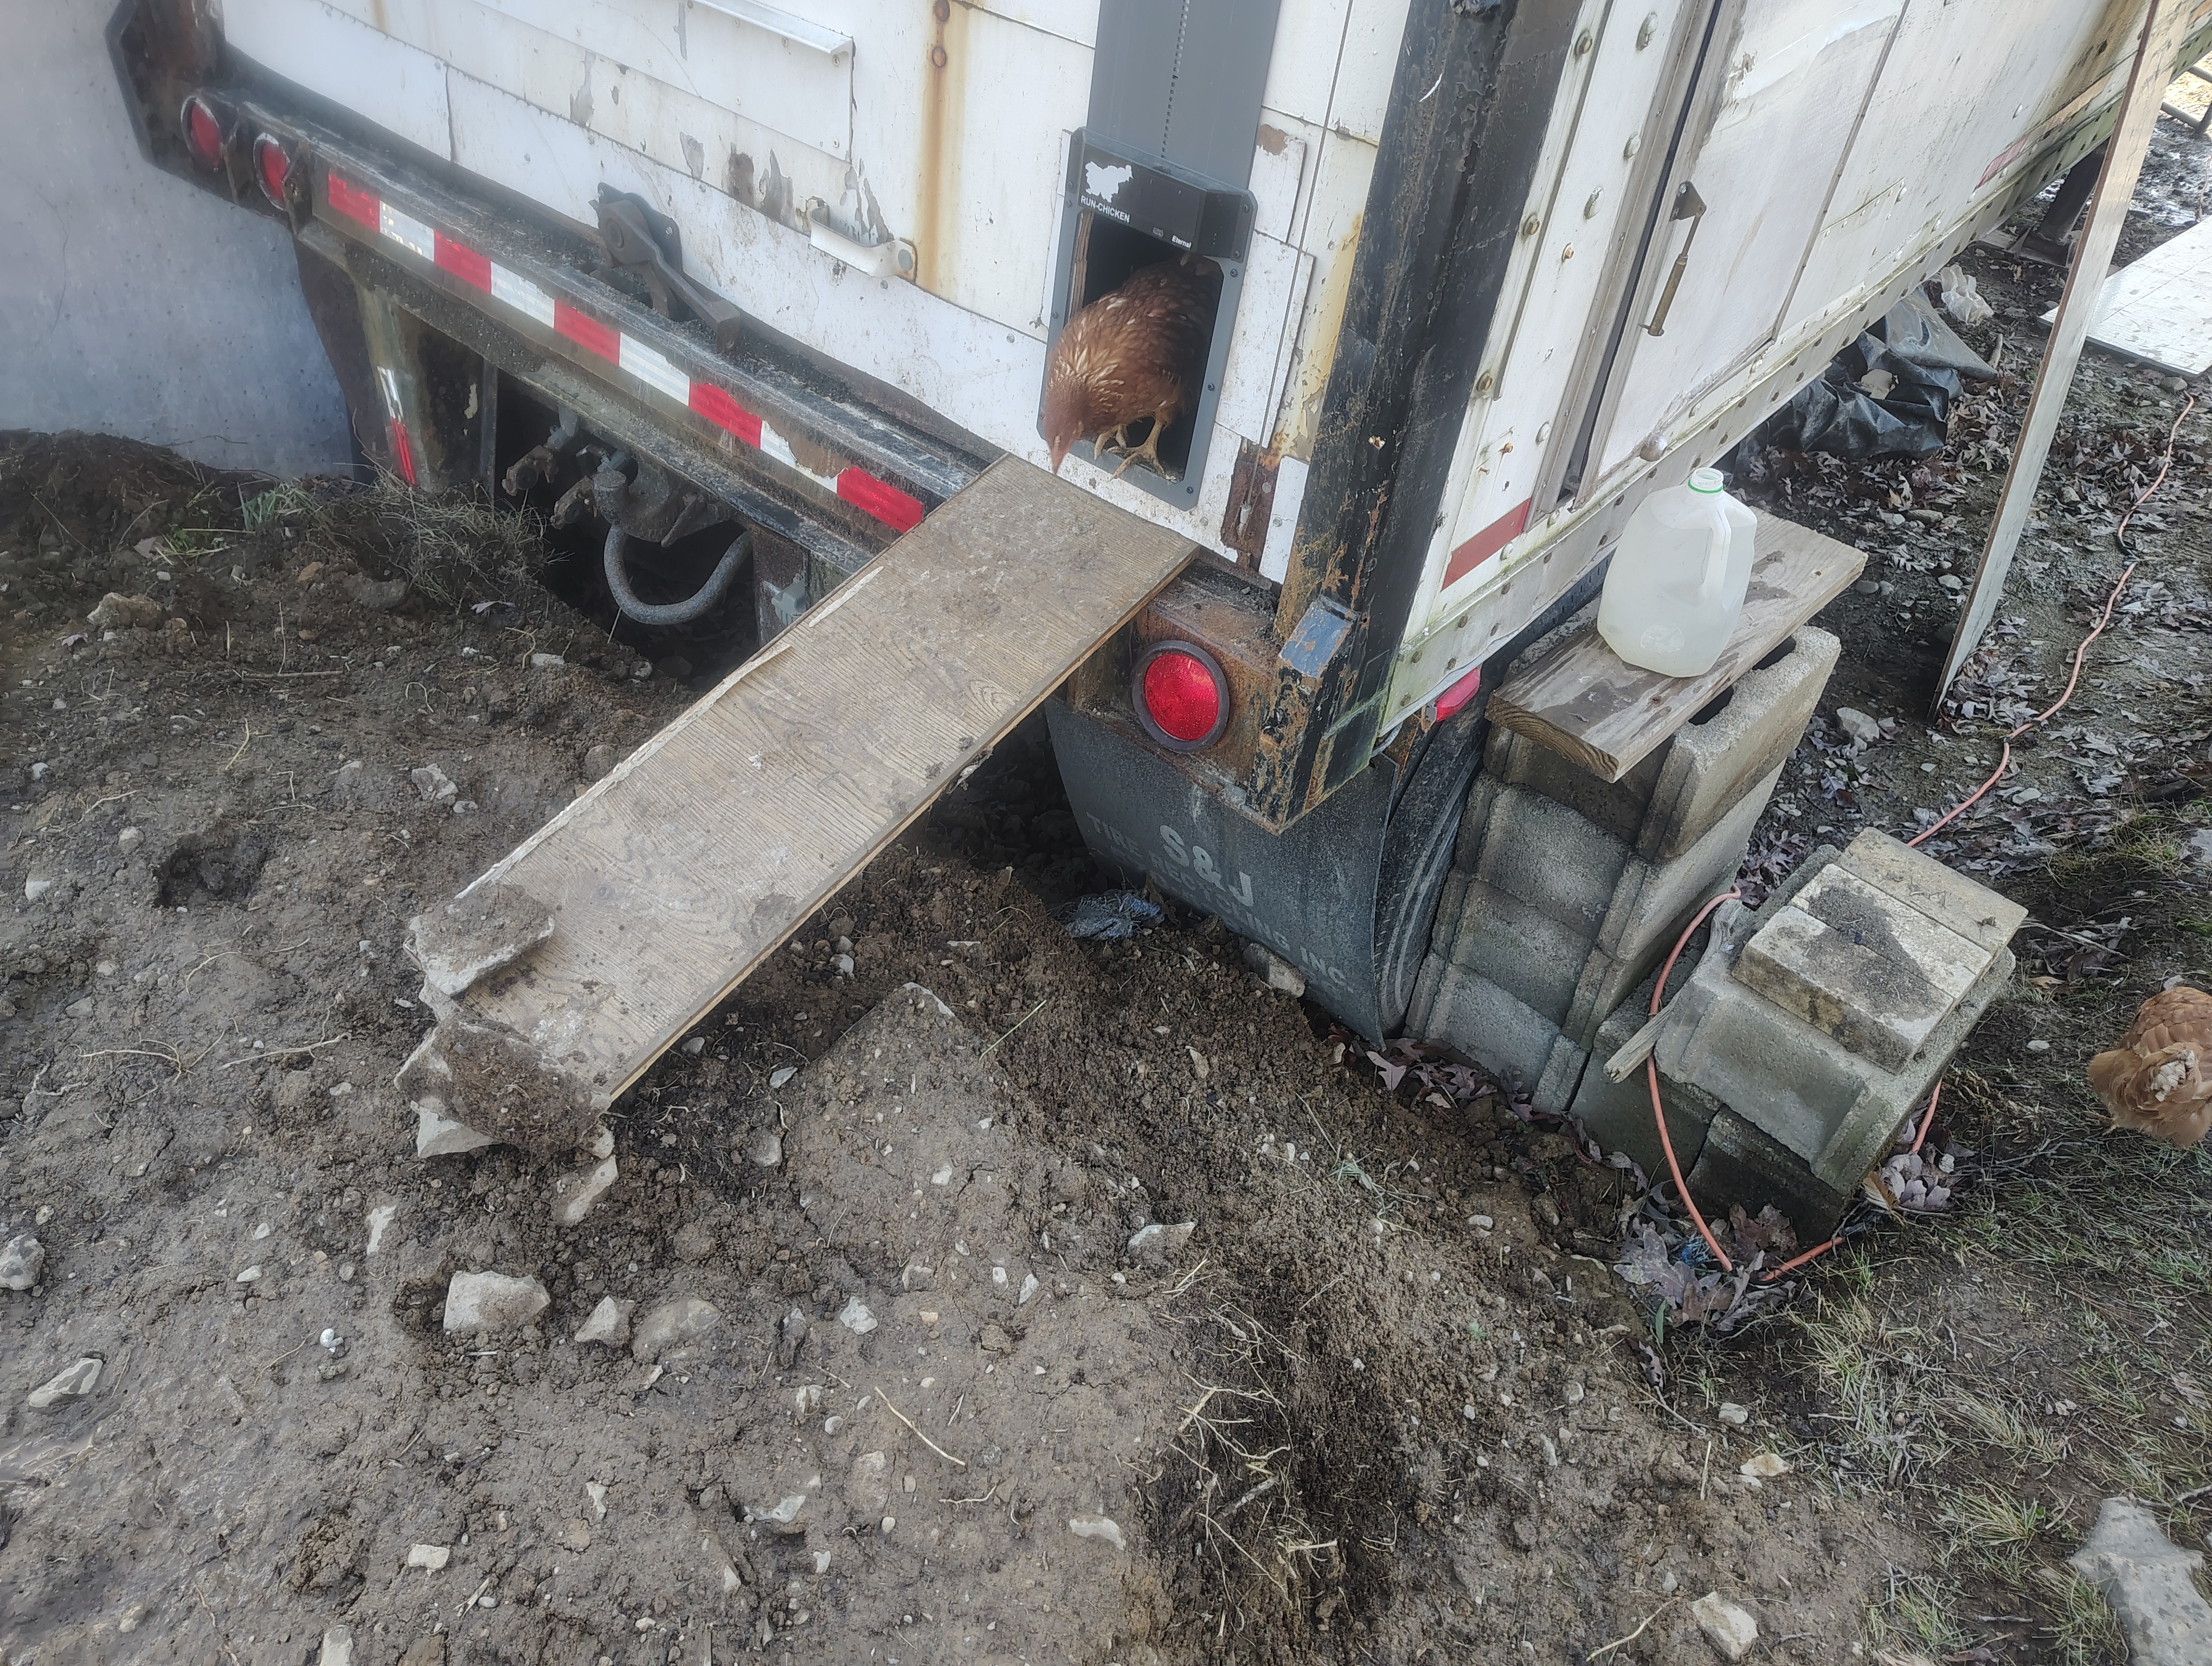
Lastly, before moving the chickens into their permanent residence, I wanted to add a door just for them. I ordered a solar-powered automatic chicken door in a stroke of laziness. Installation was a quick job, thankfully. I elected to install the door in the bottom panel of the roller door. I cut a hole and screwed the automotic door into place in short order. I wedged a scrap board in place to function as a ramp, and I was done. Theeen I noticed there was a decent gap along the top of the roller door when fully closed. I solved that by laying some metal sheeting up there and weighing it down with rocks.
The End Result, for Now
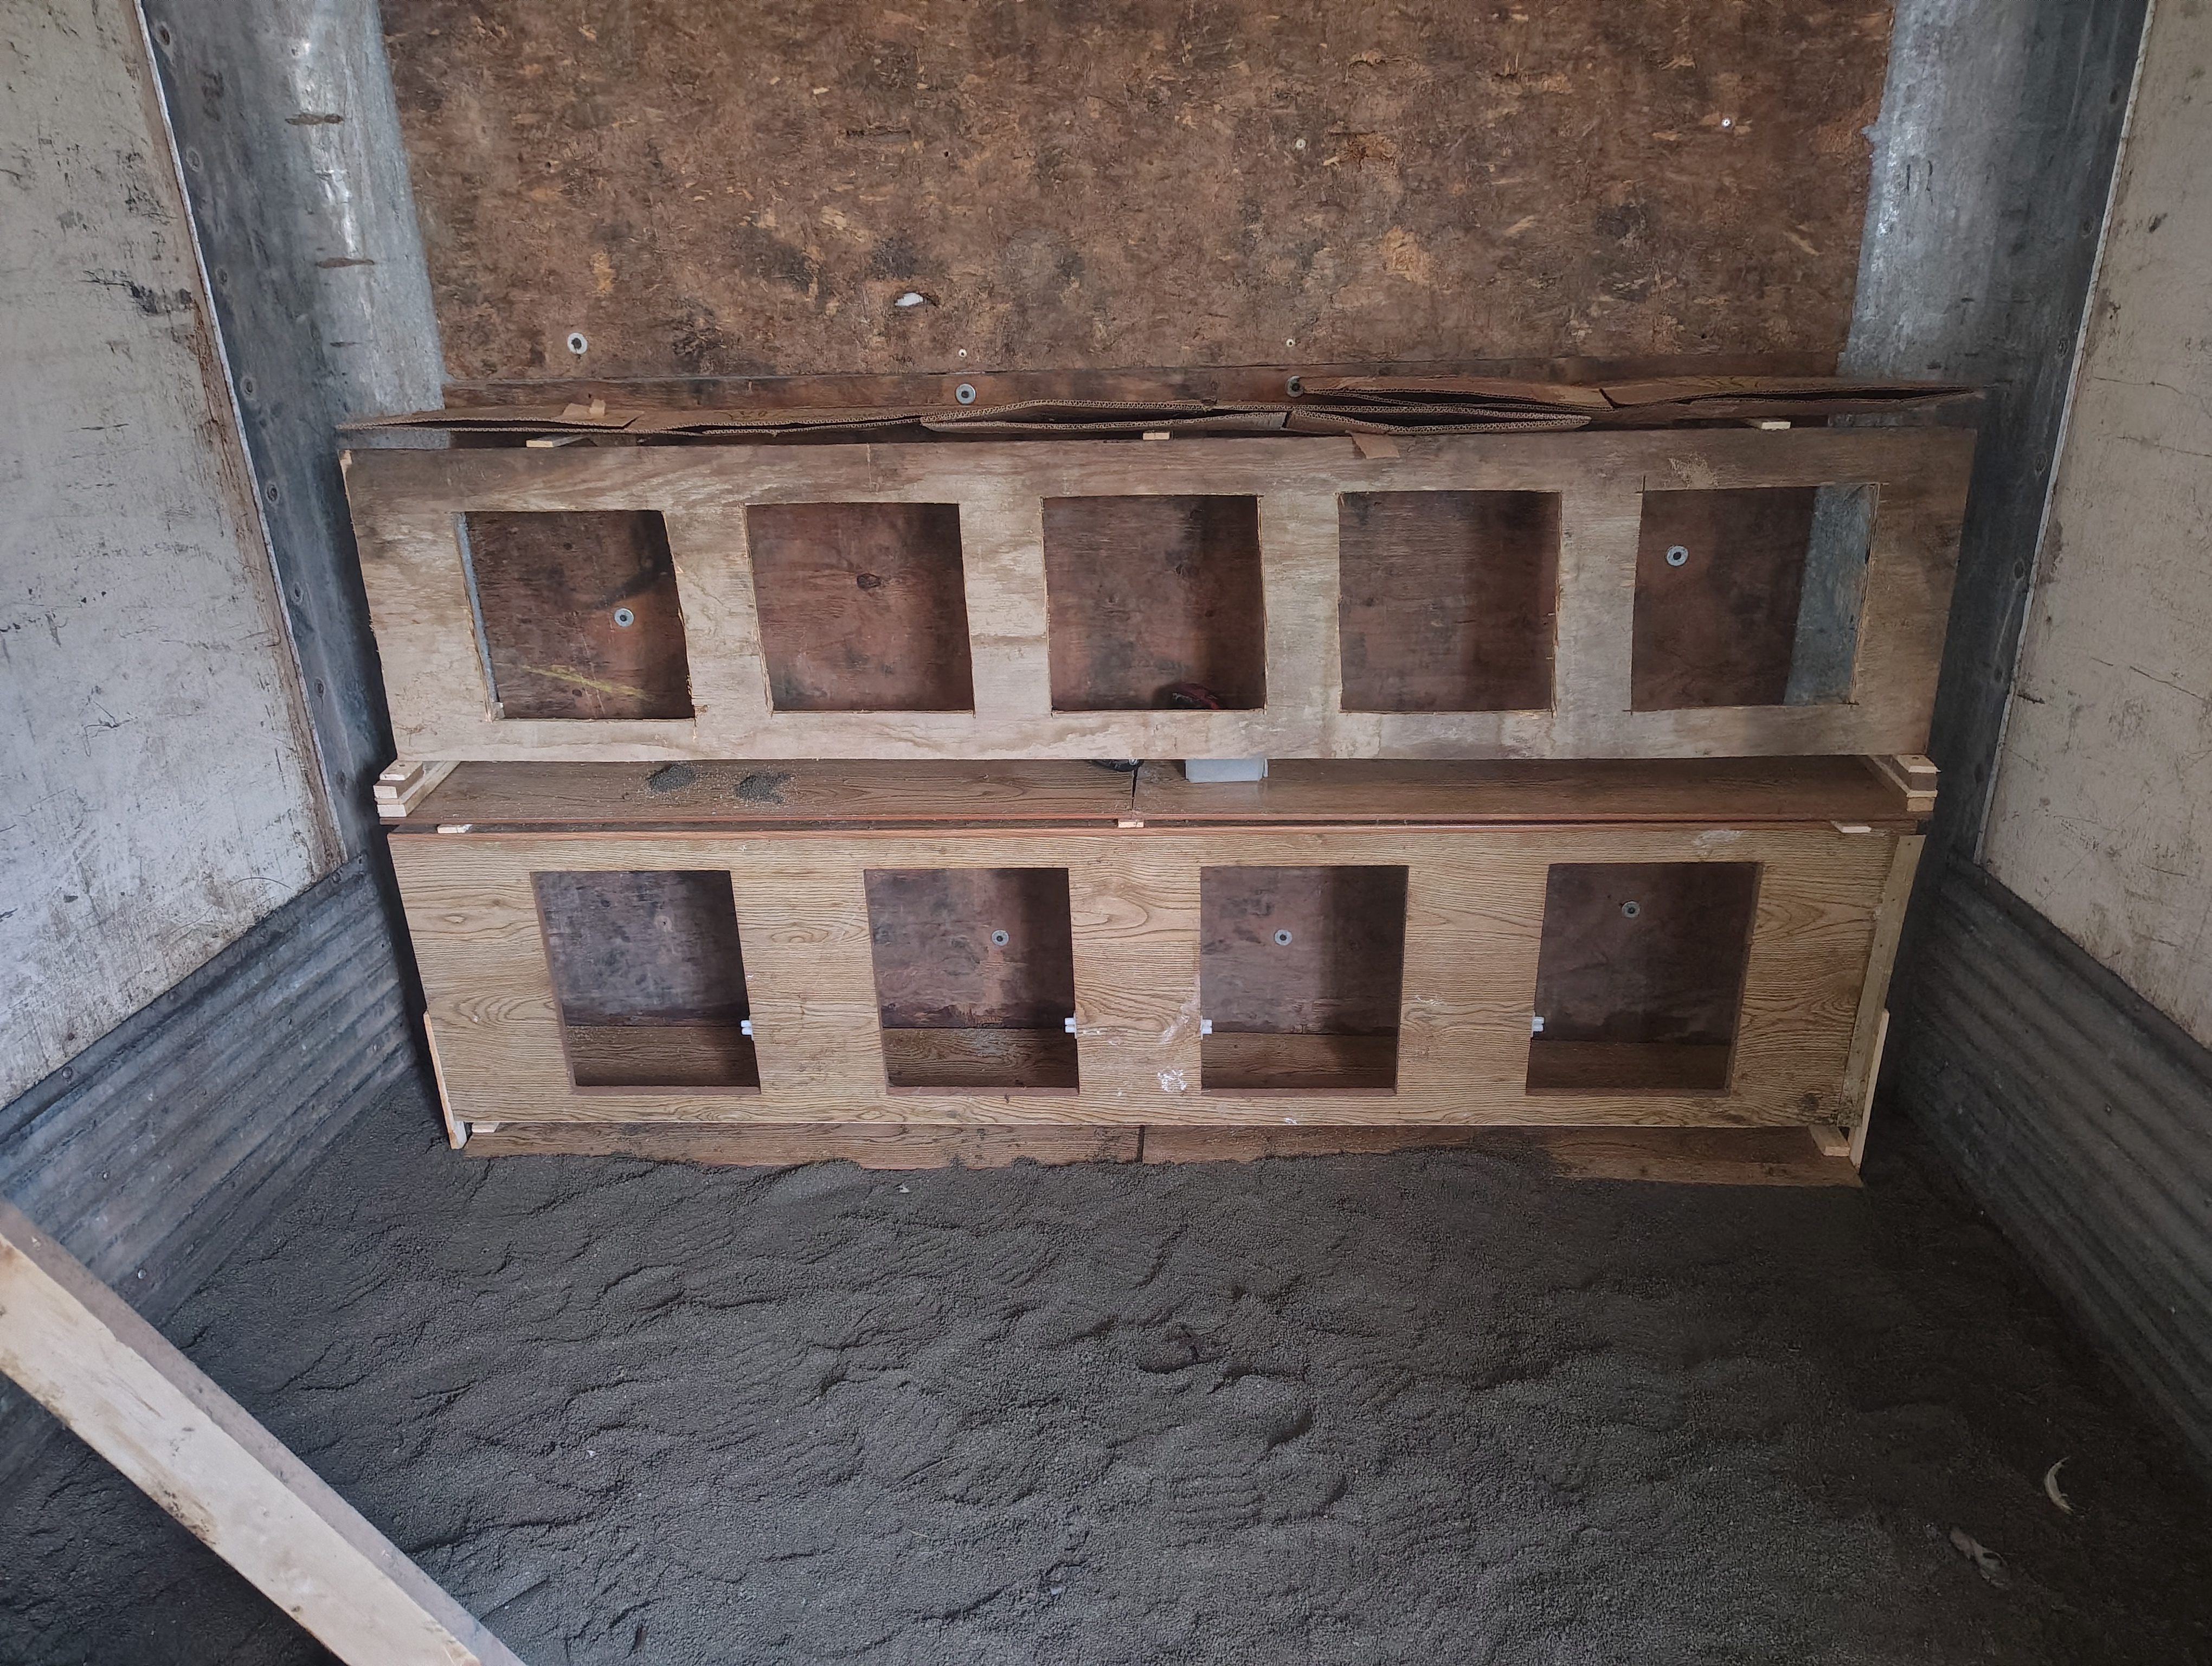
For the most part, I’ve been happy with the chicken trailer since moving the chicks in. The chickens have plenty of space and may very well be gaining some more roommates in the future. I have since added some custom-designed roll-out nesting boxes in anticipation of the upcoming egg-laying season. The trailer is still wanting for a couple things, namely some sort of electricity for lights and outlets.
In conclusion, the cost of materials in today’s world make it worth considering repurposing an existing structure of some sort for your coop. Even if you weren’t looking to raise as many chickens as I am, a smaller trailer box or used shed could be a viable option. Has anyone else out there converted a trailer, shipping container, or something else into a chicken coop?

Leave a comment